
modifications > Turbosmart Wastegate
Why did you change out the Wastegate on your RS?
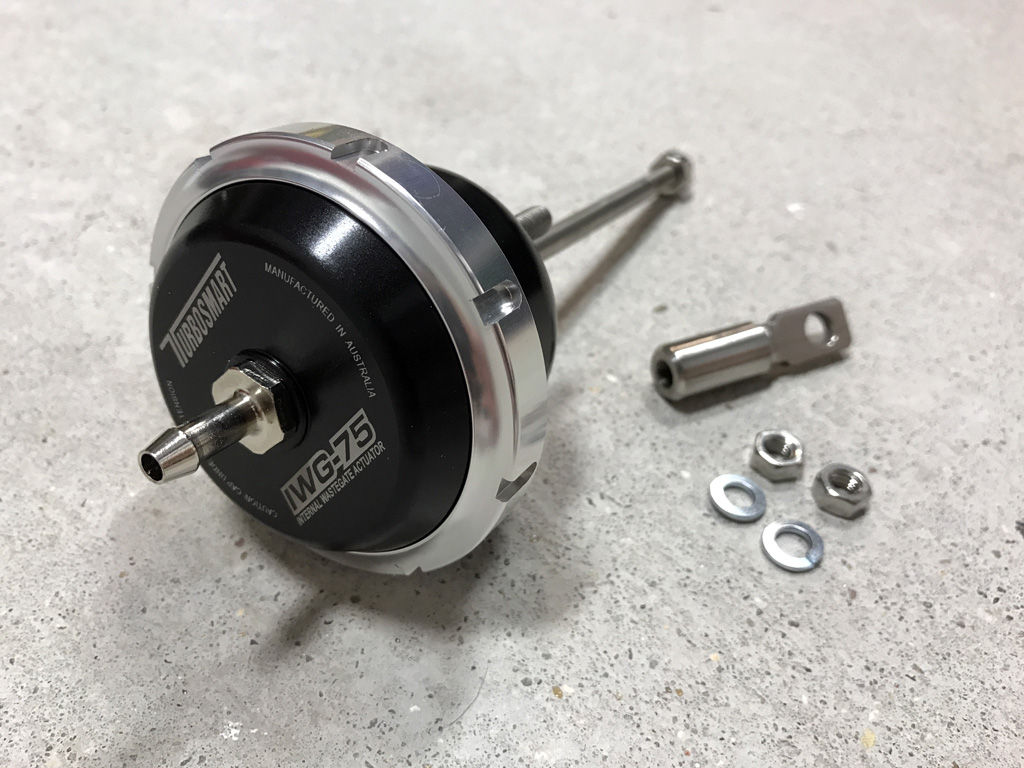
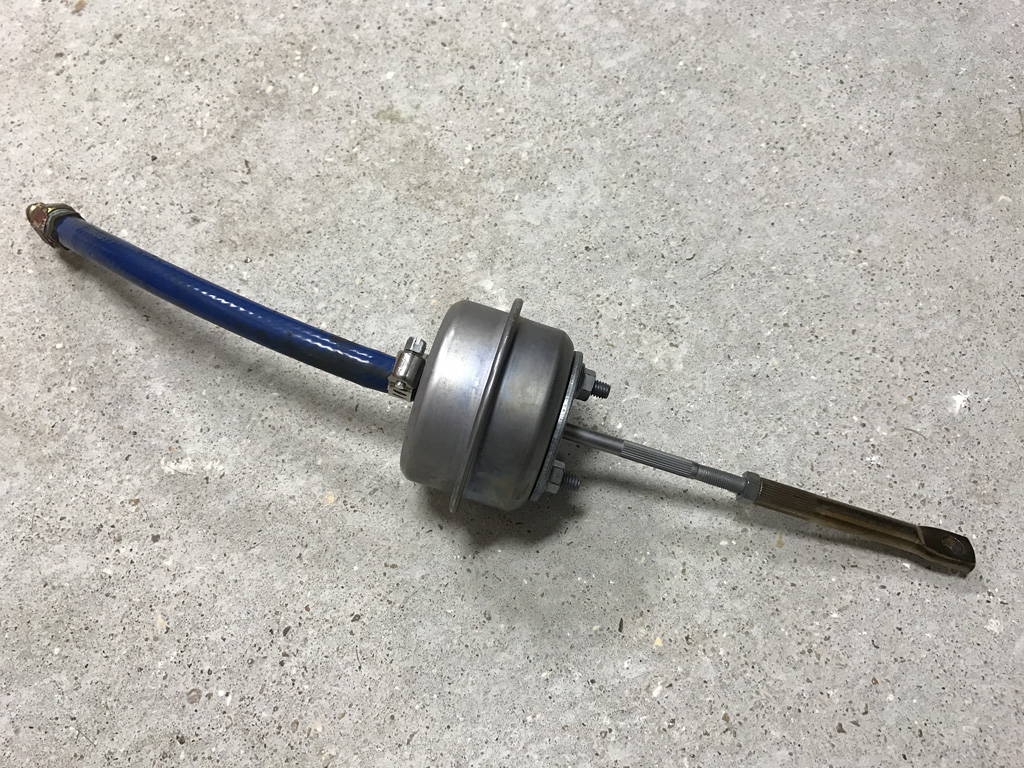
The factory Focus RS internal wastegate is optimized for the factory boost pressure set by Ford. My tuner, Tune+, sells the Turbosmart Wastegate as part of his W400 performance package. This aftermarket Wastegate will hold higher boost pressures than the stock Wastegate. The goal is to keep the flapper door shut longer so that the turbocharger spins faster to create more boost pressure. This stronger Wastegate can achieve that need.
Date Completed:
03/19/17
Materials:
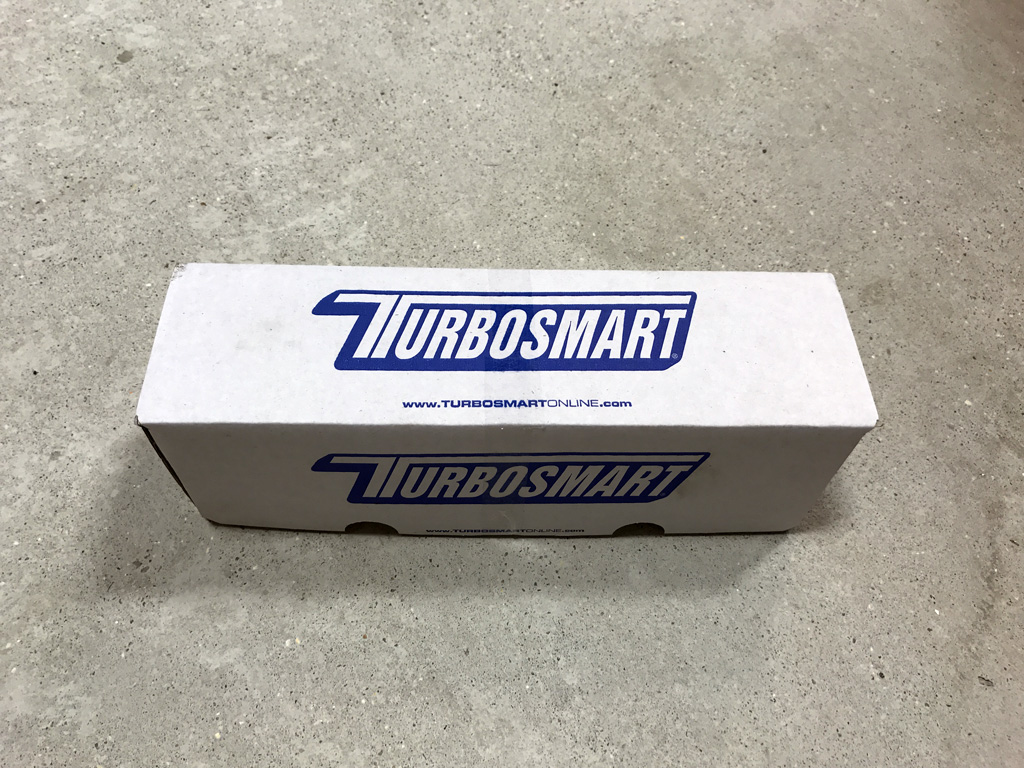
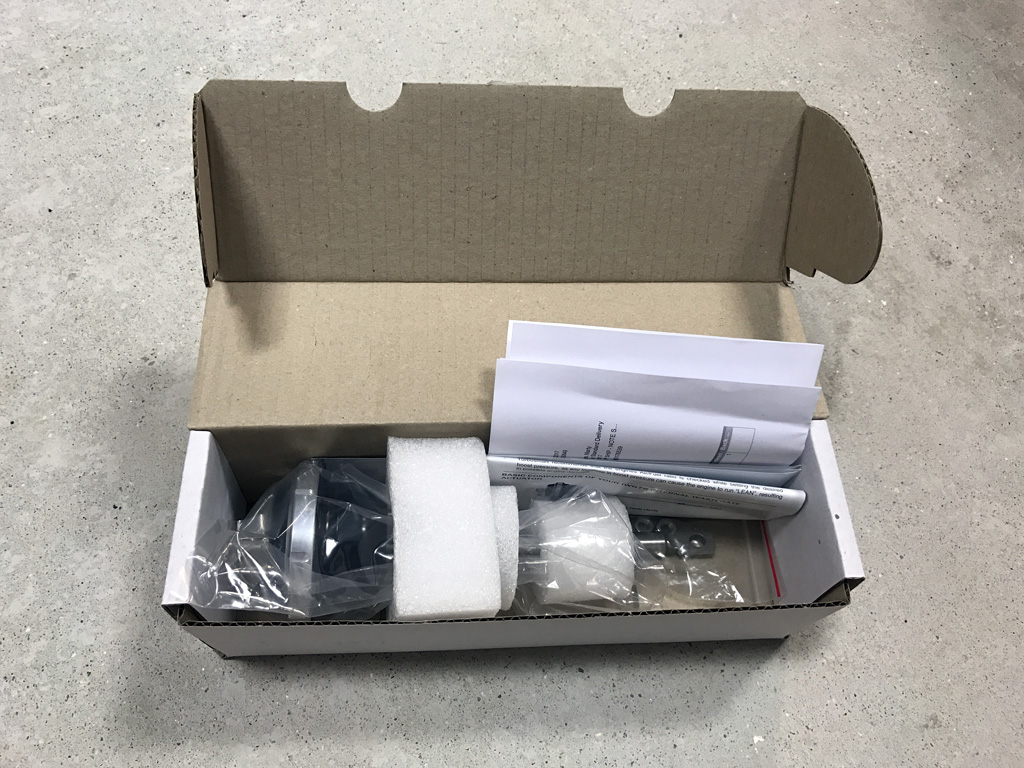
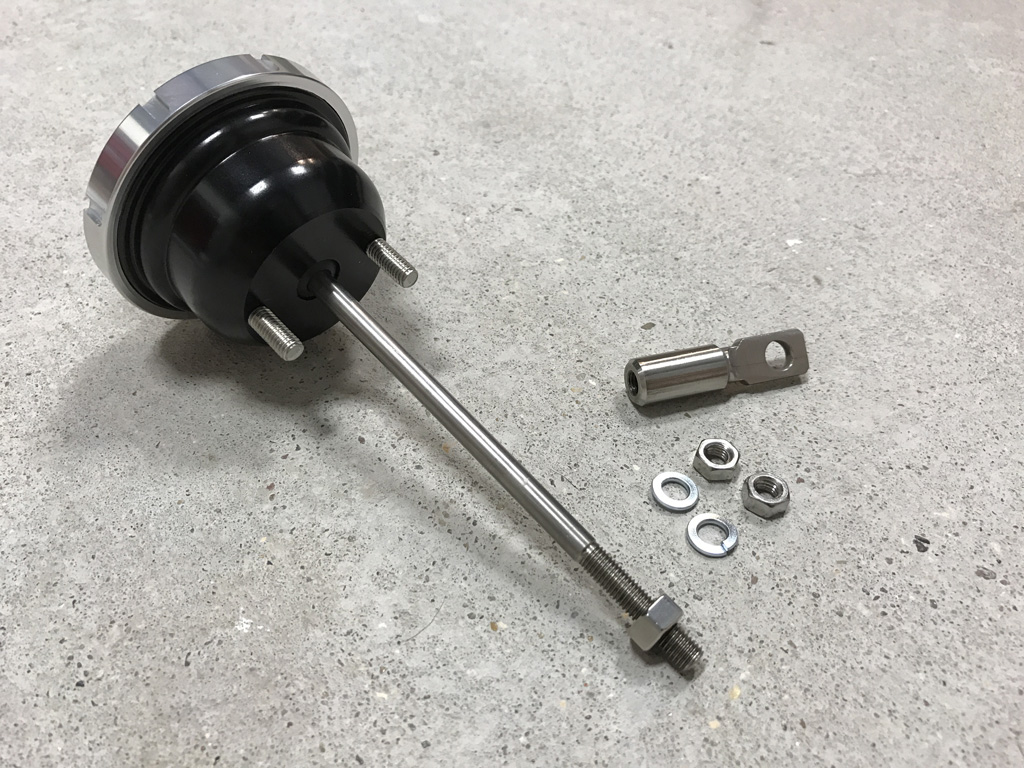
- Turbosmart Wastegate (provided with Tune+ W400 kit)
Tools:
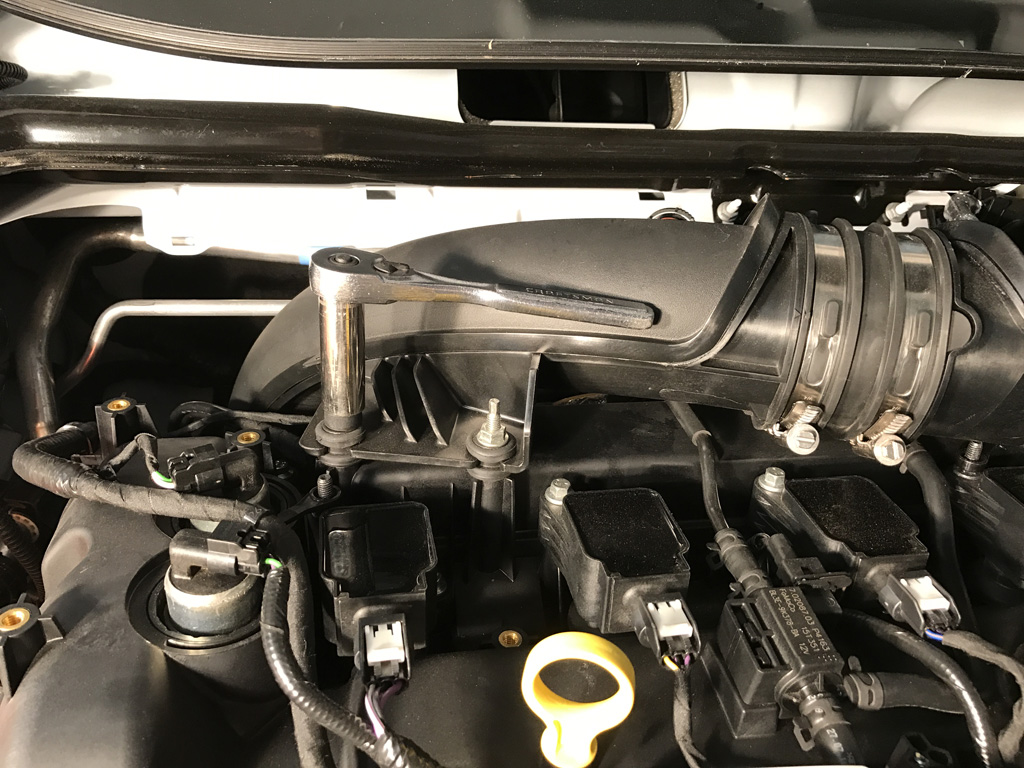
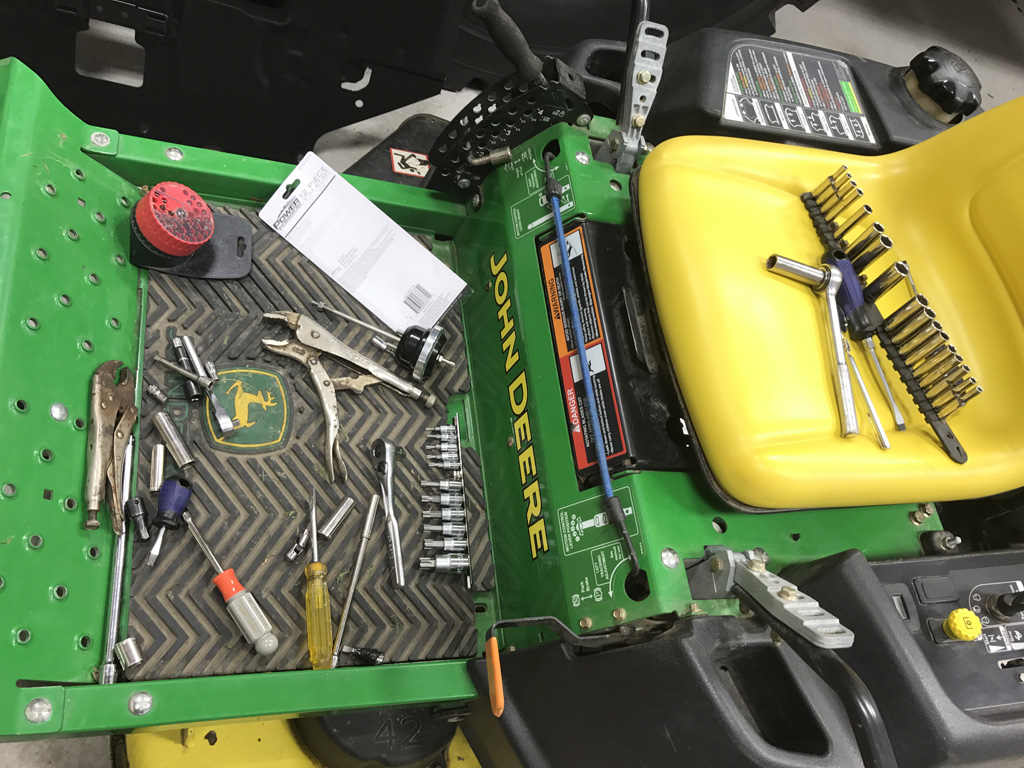
- 1/4" drive ratchet, handful of extensions, tons of short sockets (T30, 7mm, 8mm, 10mm, 13mm)
- 3/8" drive ratchet, handful of extensions, sockets (13mm deep, 15mm)
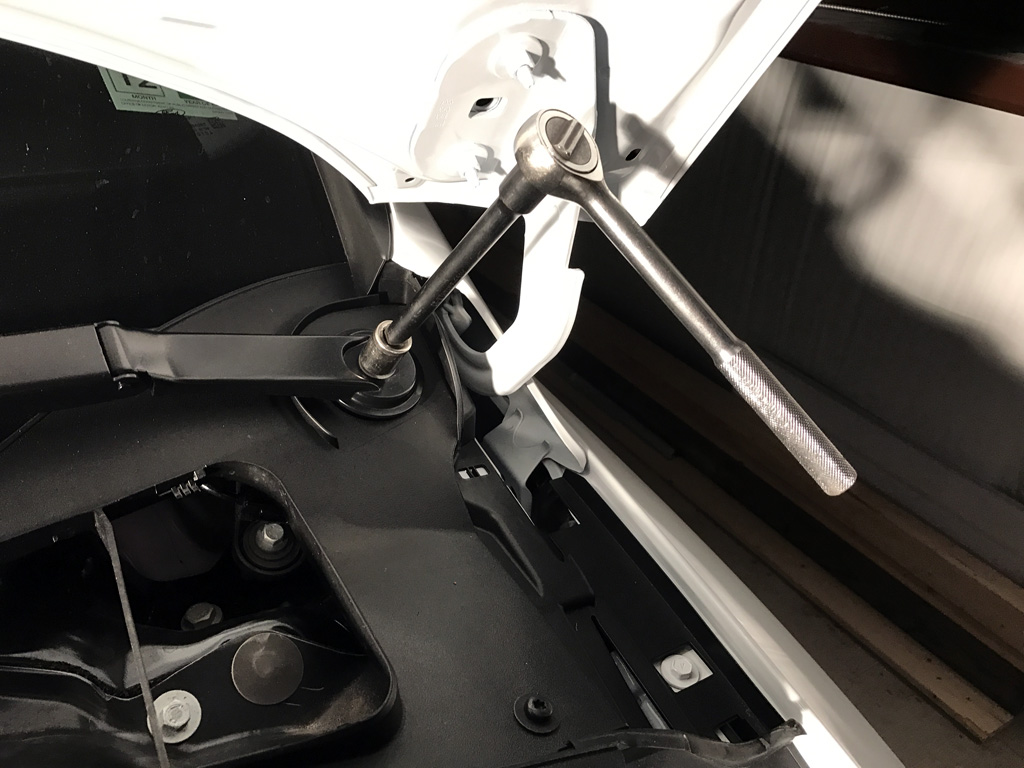
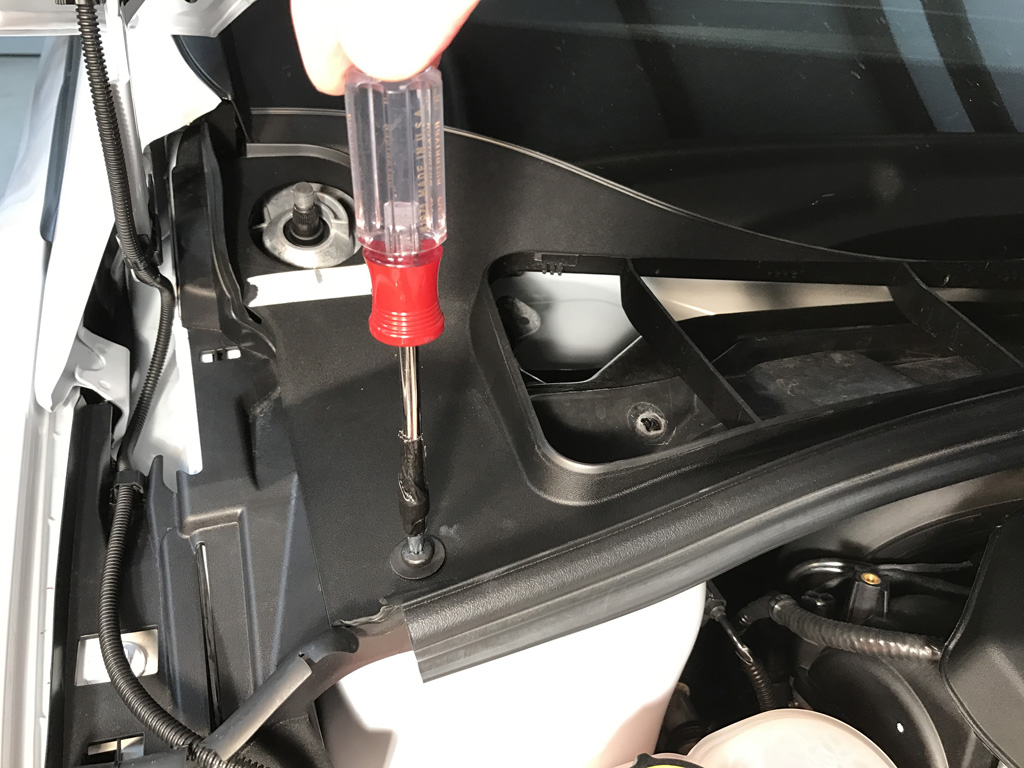
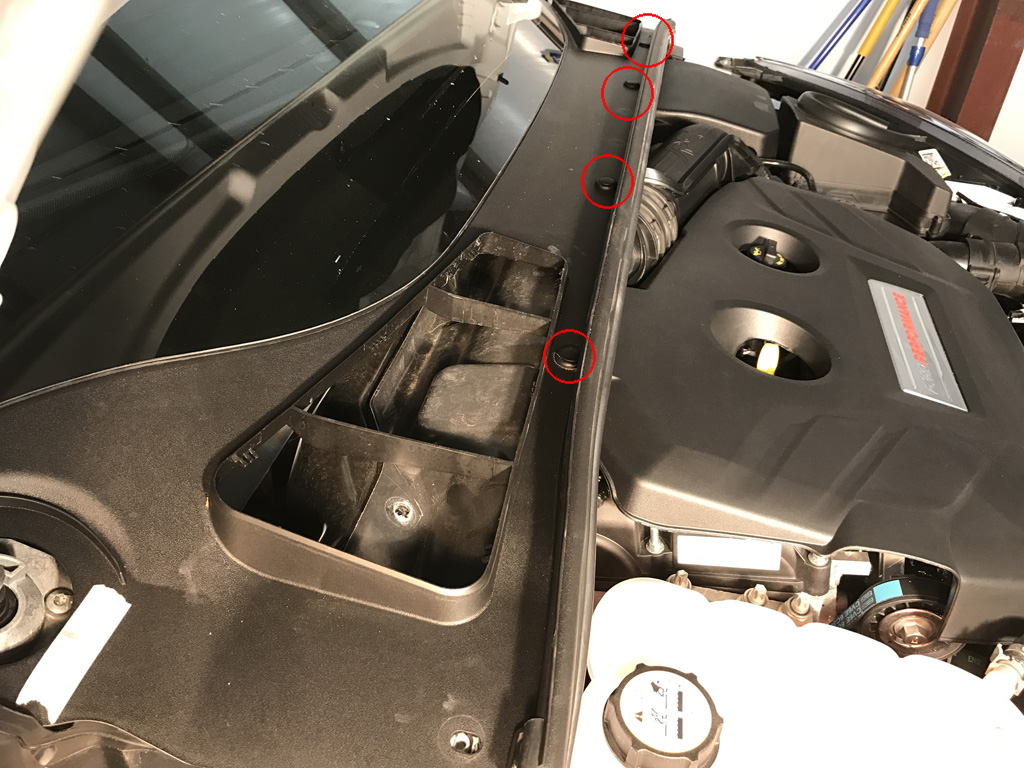
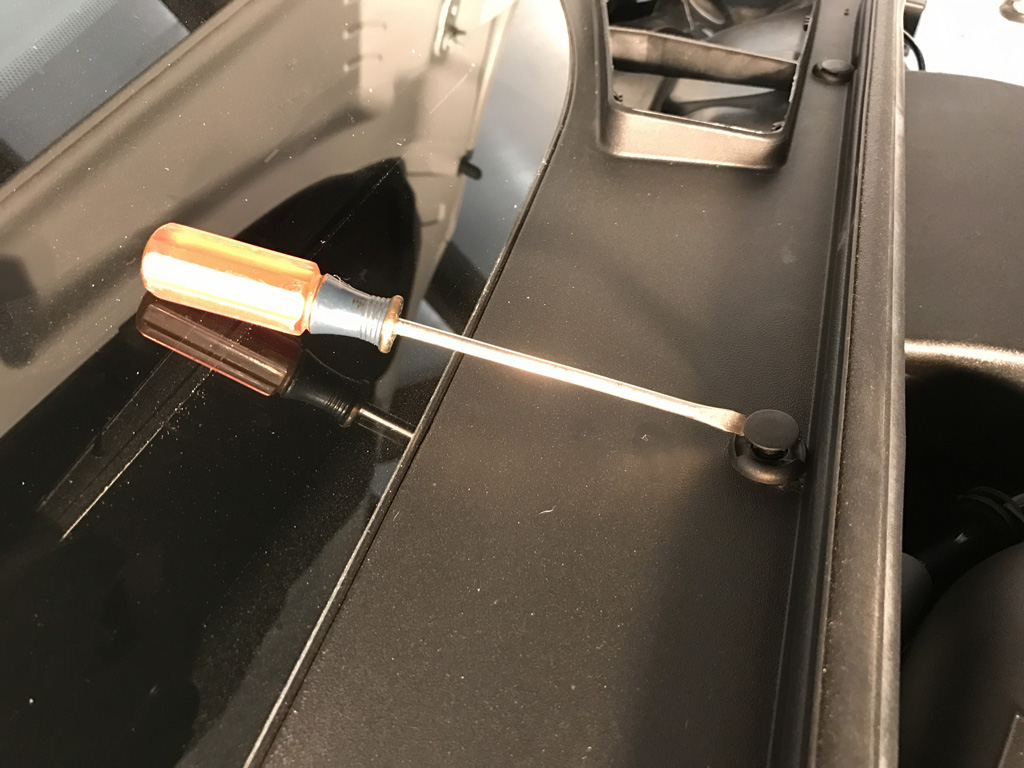
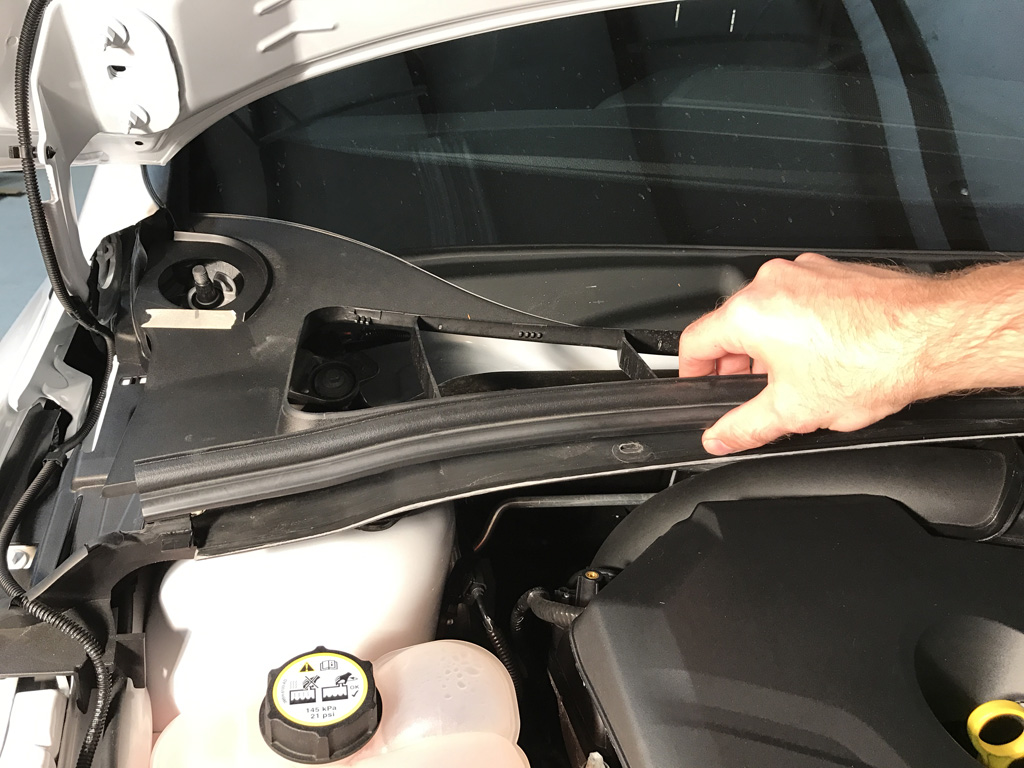
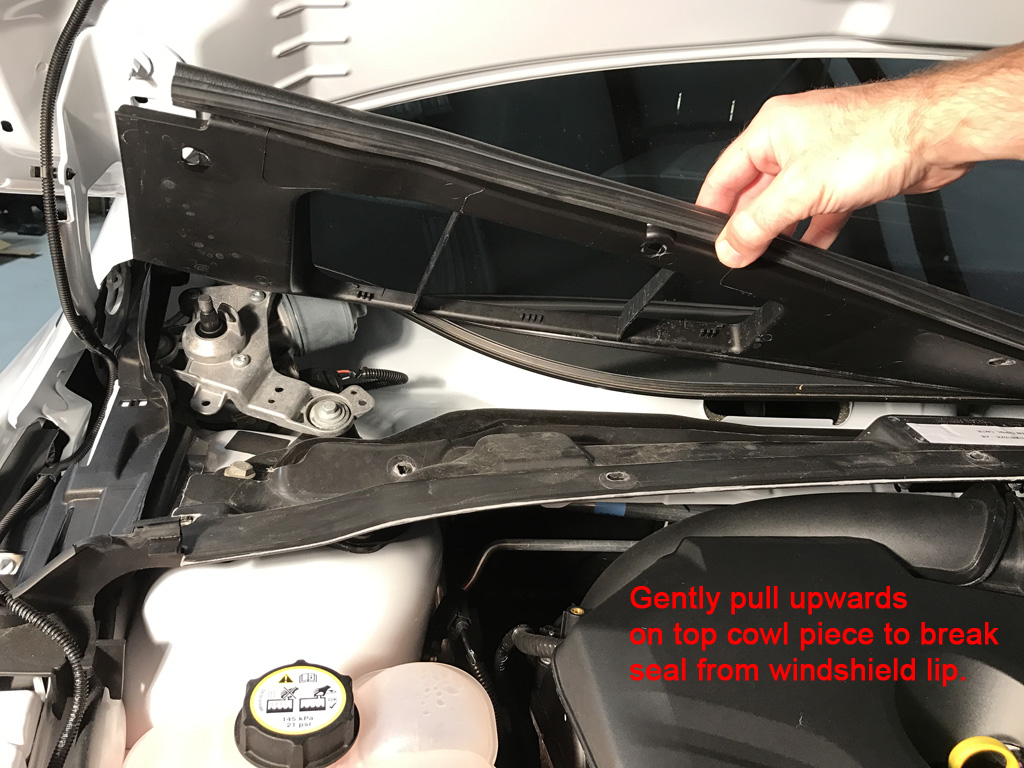
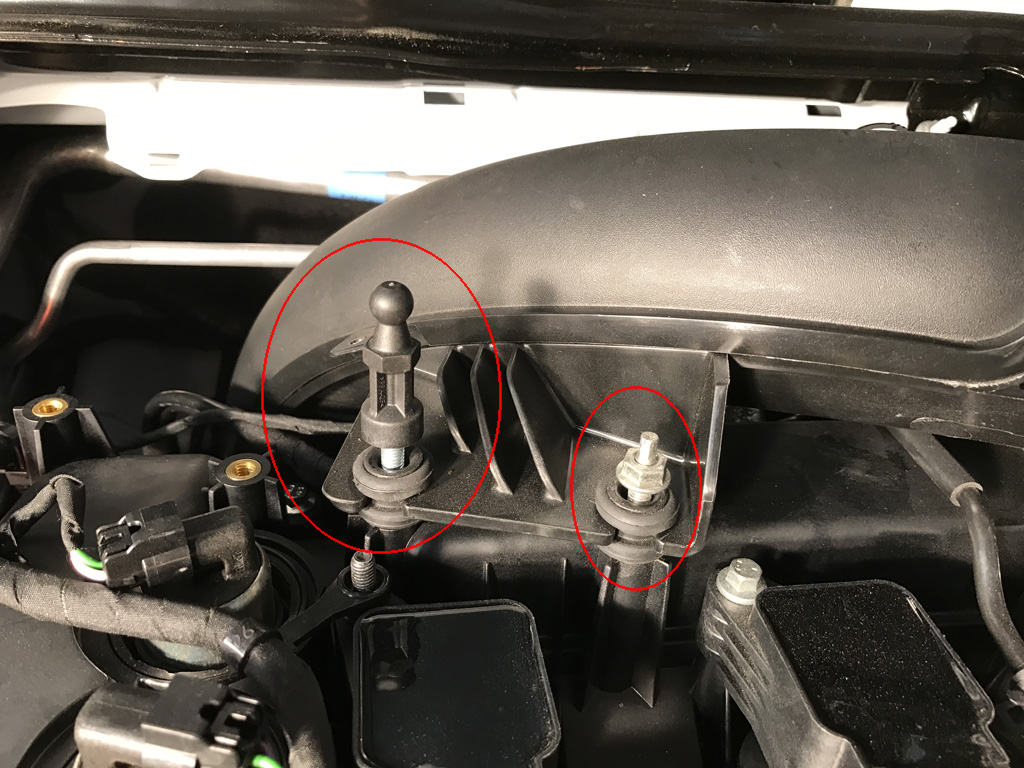
- Trim removal tool or flat-blad screwdriver to pull clips on undertray and top/bottom cowl pieces
- Flat-blade screwdriver to remove circlip on factory Wastegate arm to flapper door post
- 7/16" combination wrench for jam nut on new Wastegate arm
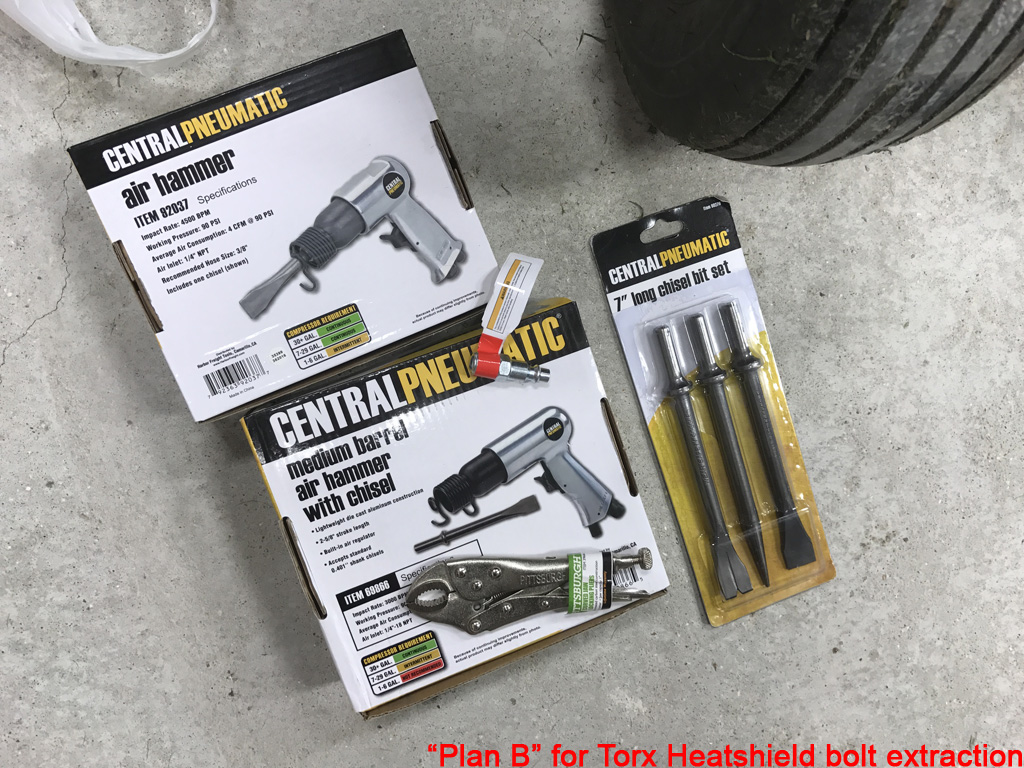
- Air Hammer + long chisel plus a shop air supply (only if you strip the bottom heat shield bolt!)
- 10,000 lb 2-post lift (optional, but highly recommended!)
- Flashlight or Movable shop lighting
- Roku shop TV with Pandora blaring (optional)
*A friend for moral support is always optional.
Notes:
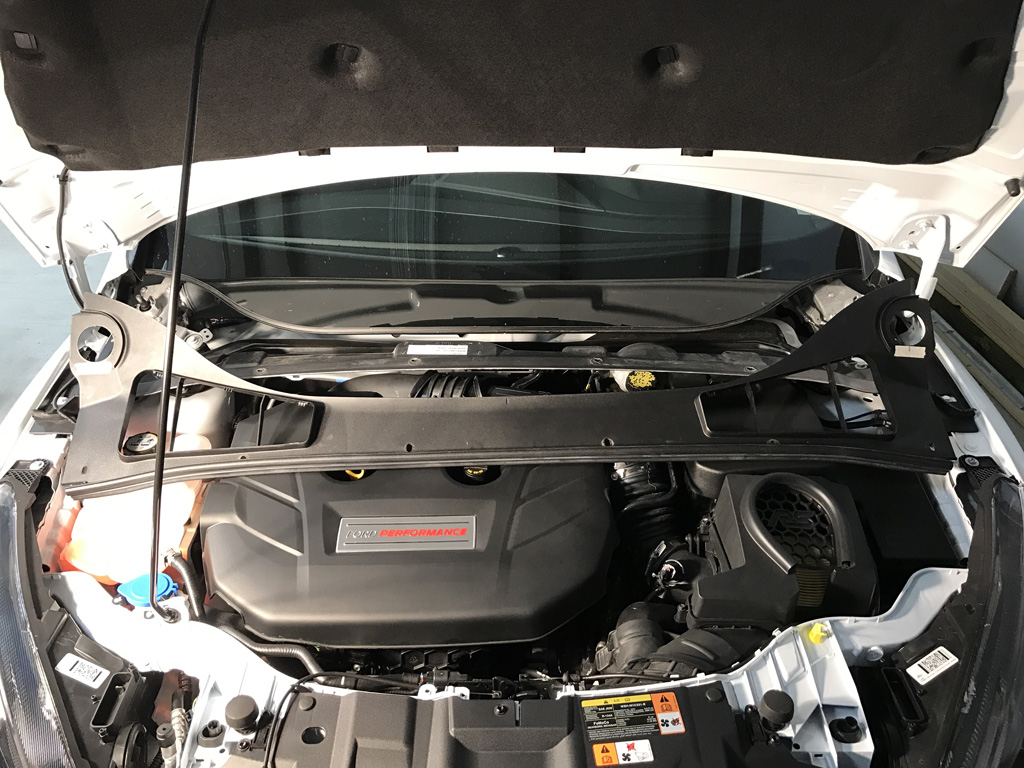
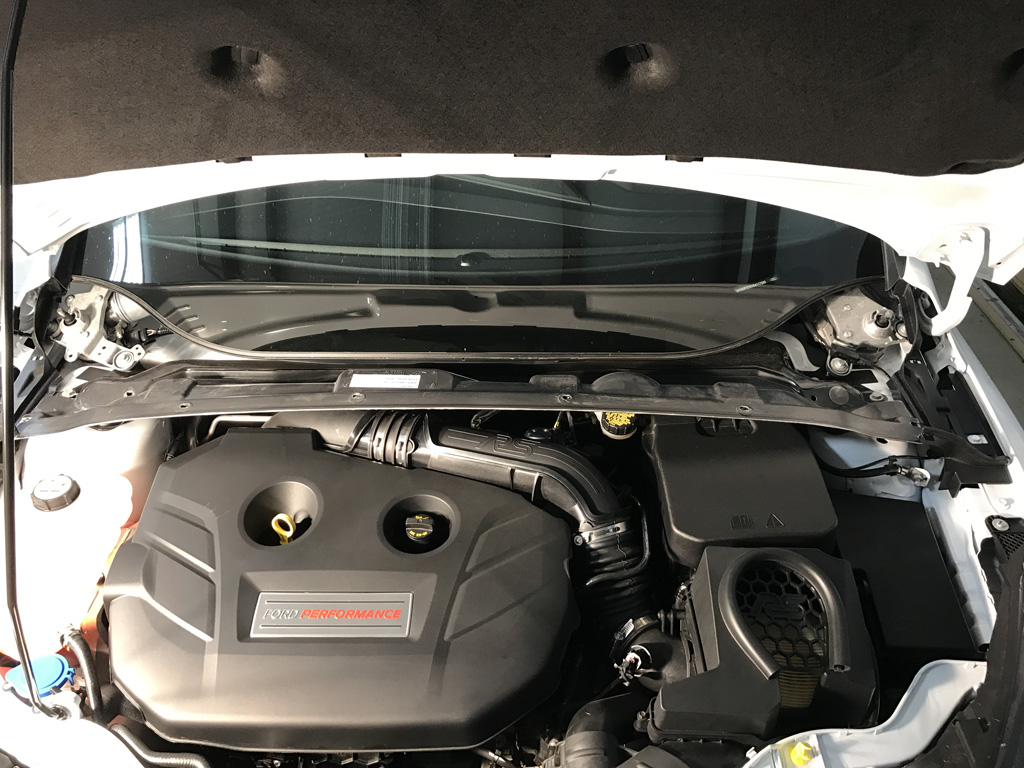
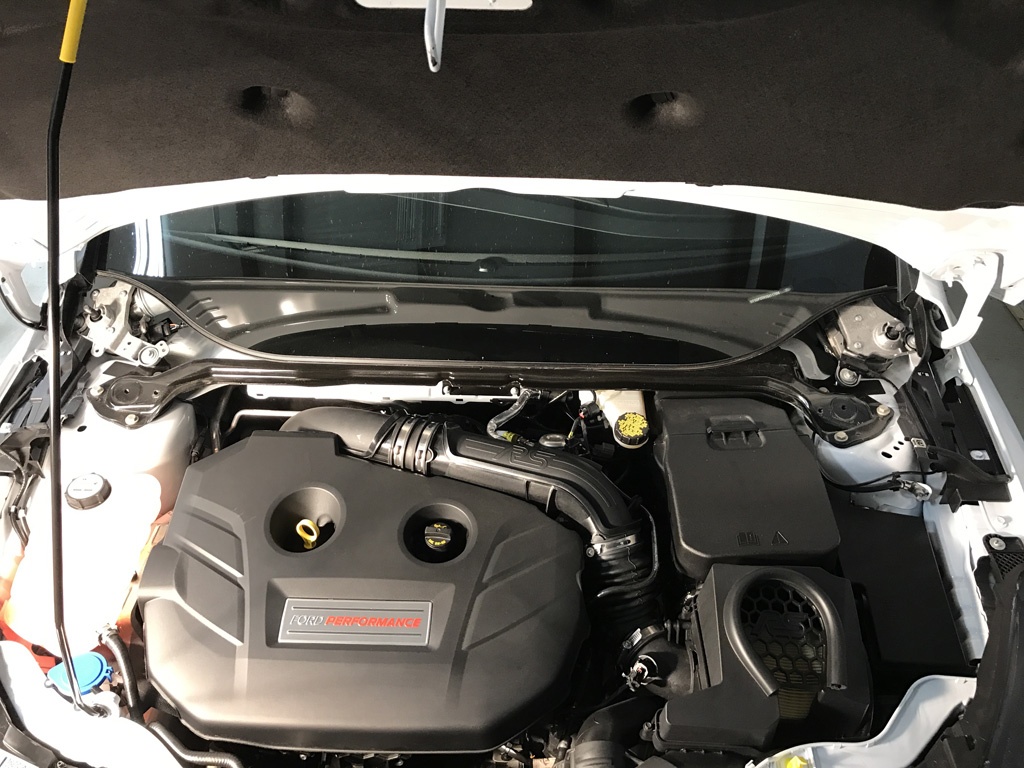
1. Install should take about 1.5 hours, but took me about a day due to issues with lower heat shield bolt. I also took my time because of taking pictures for this website.
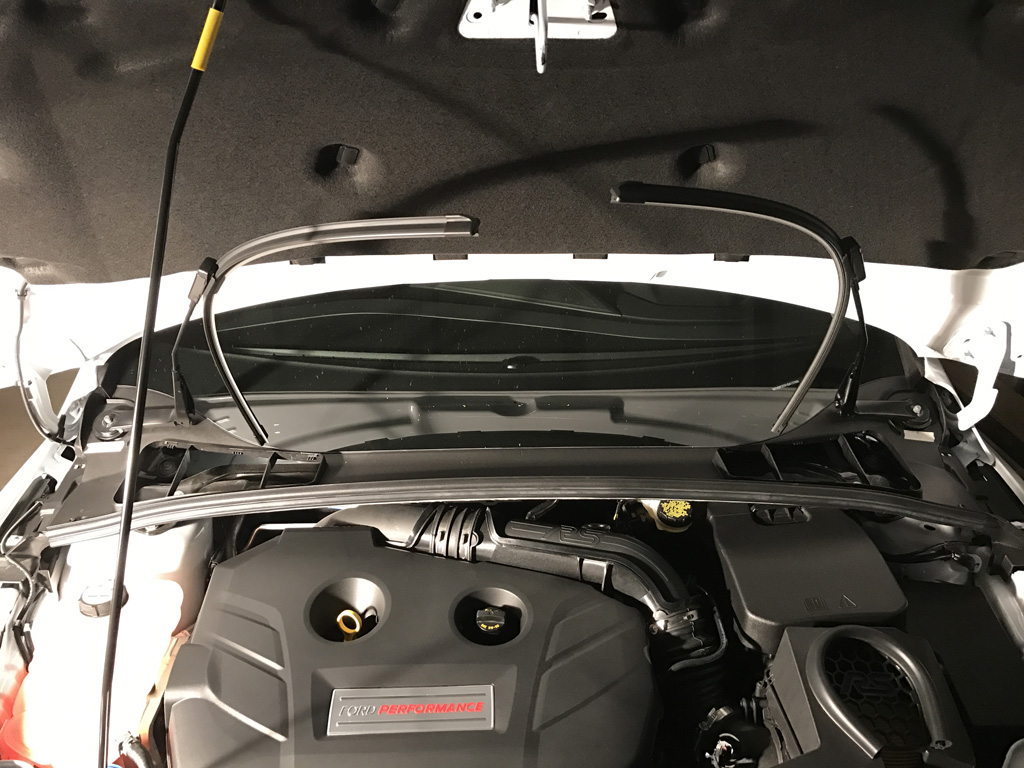
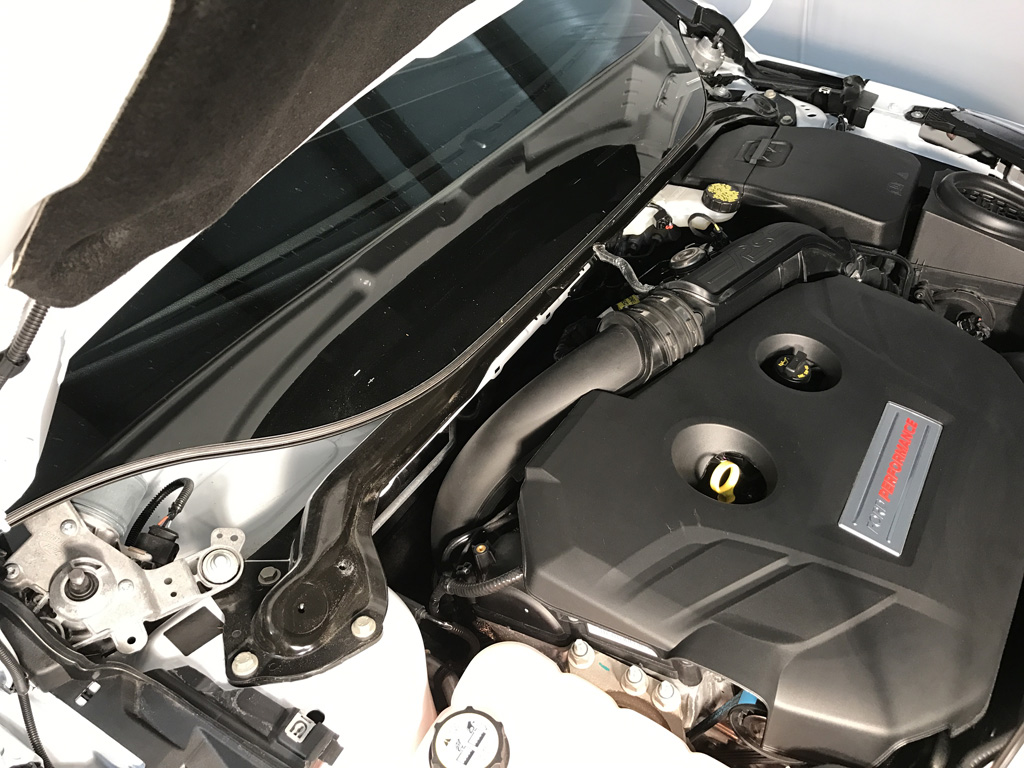
2. Car is somewhat dirty in the pics. Sorry for the bug splatter on the windshield.
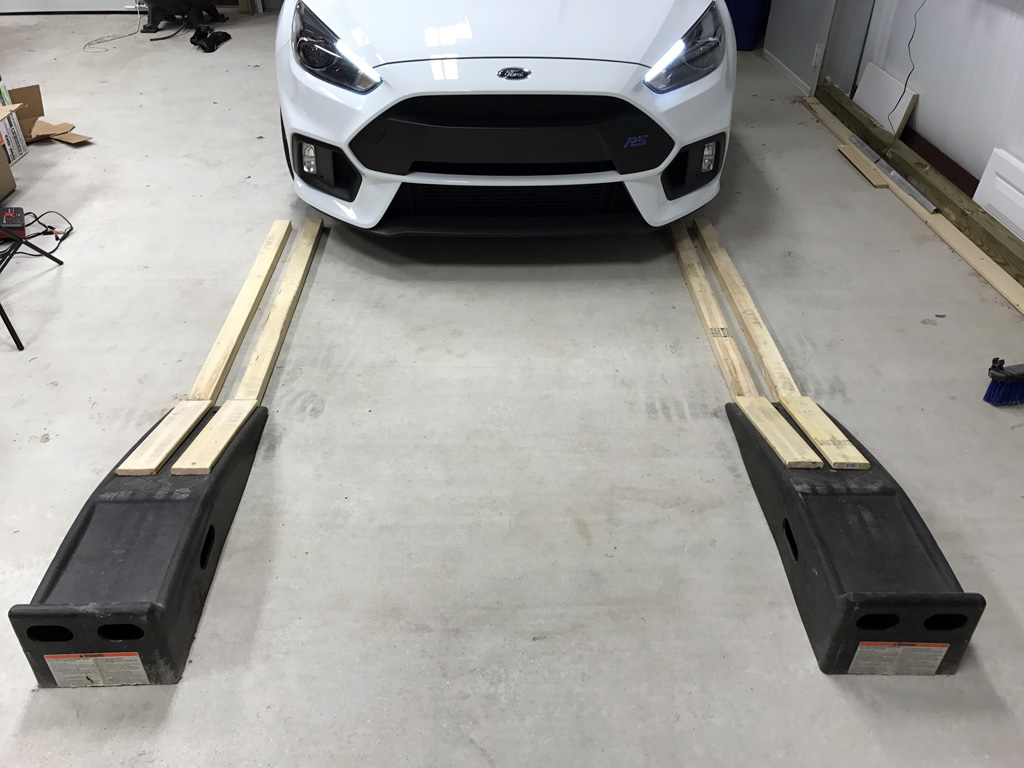
3. This install doesn't need to be on a lift, but it would have sure helped! I opted for my garage on ramps.
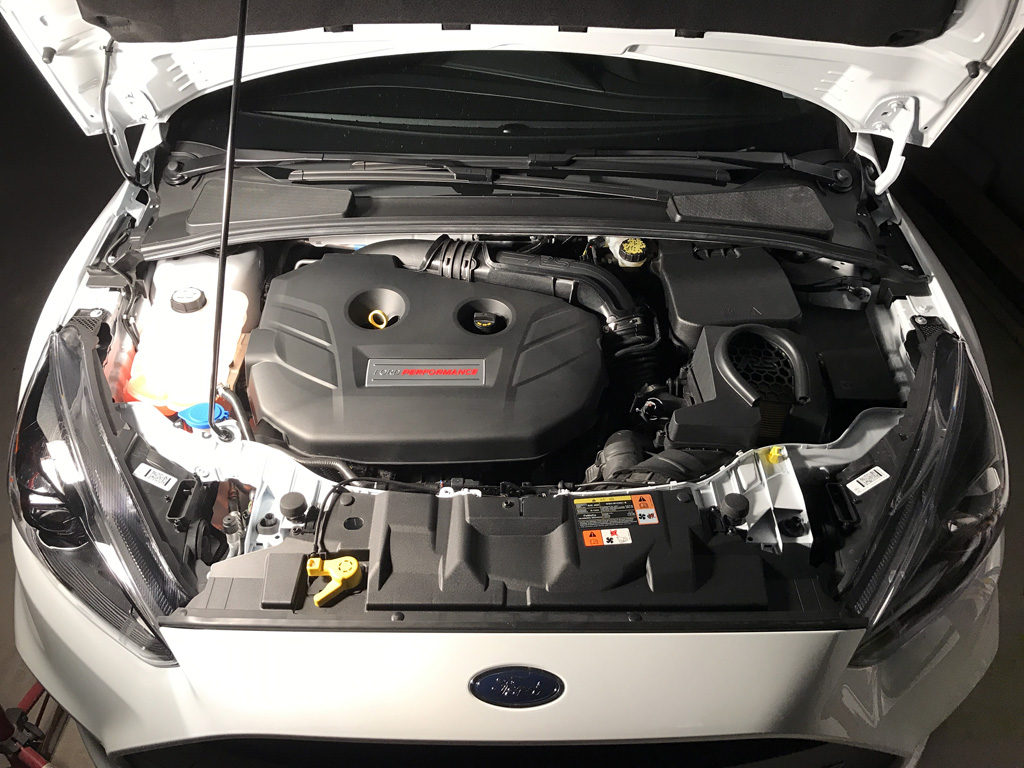
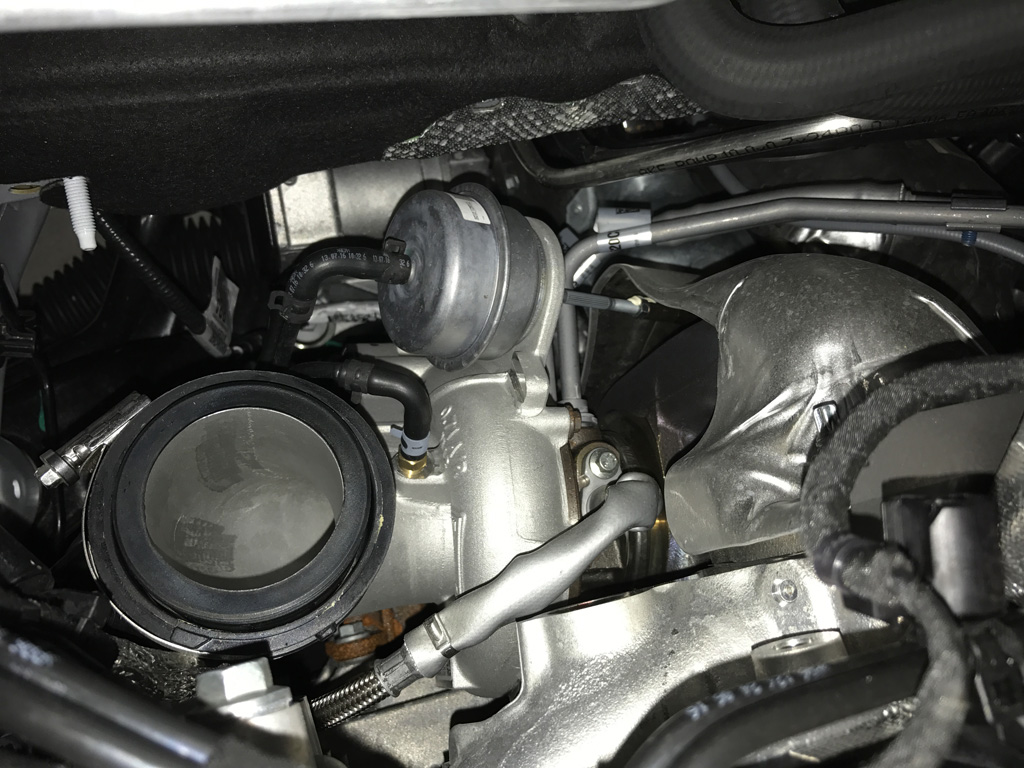
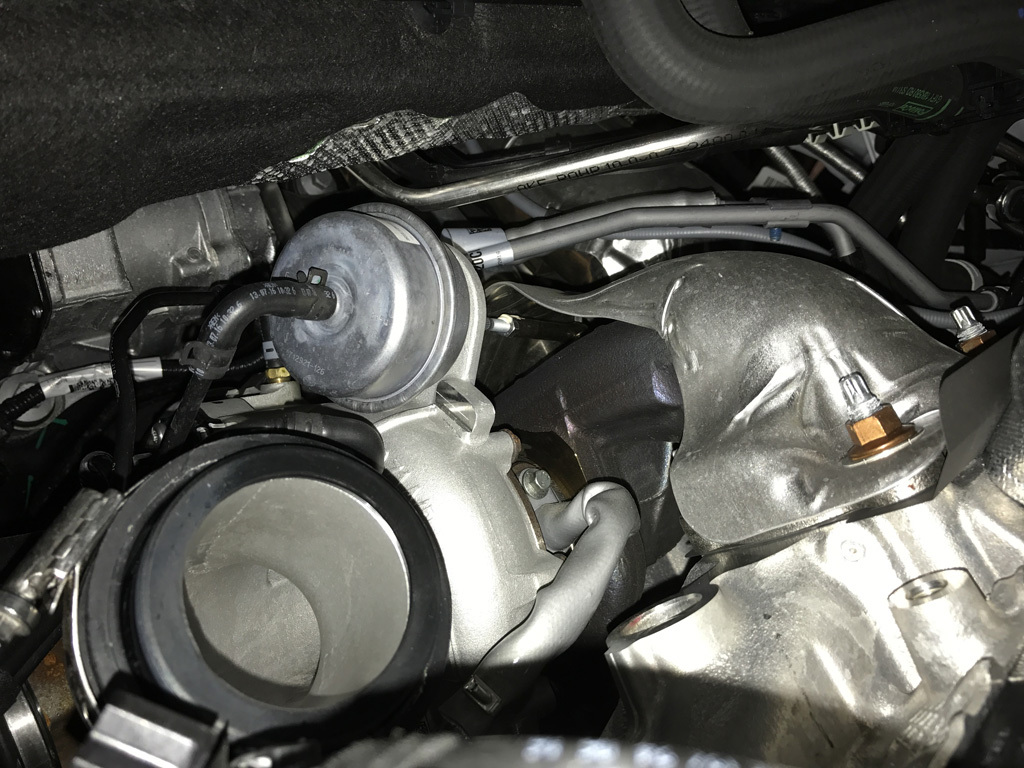
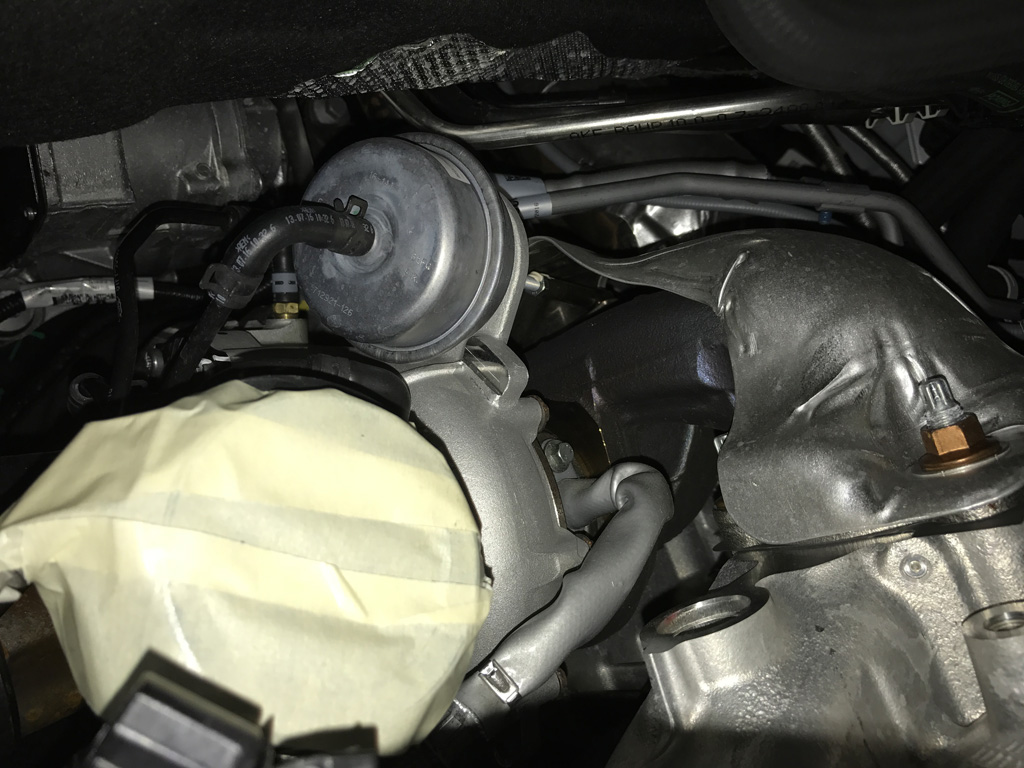
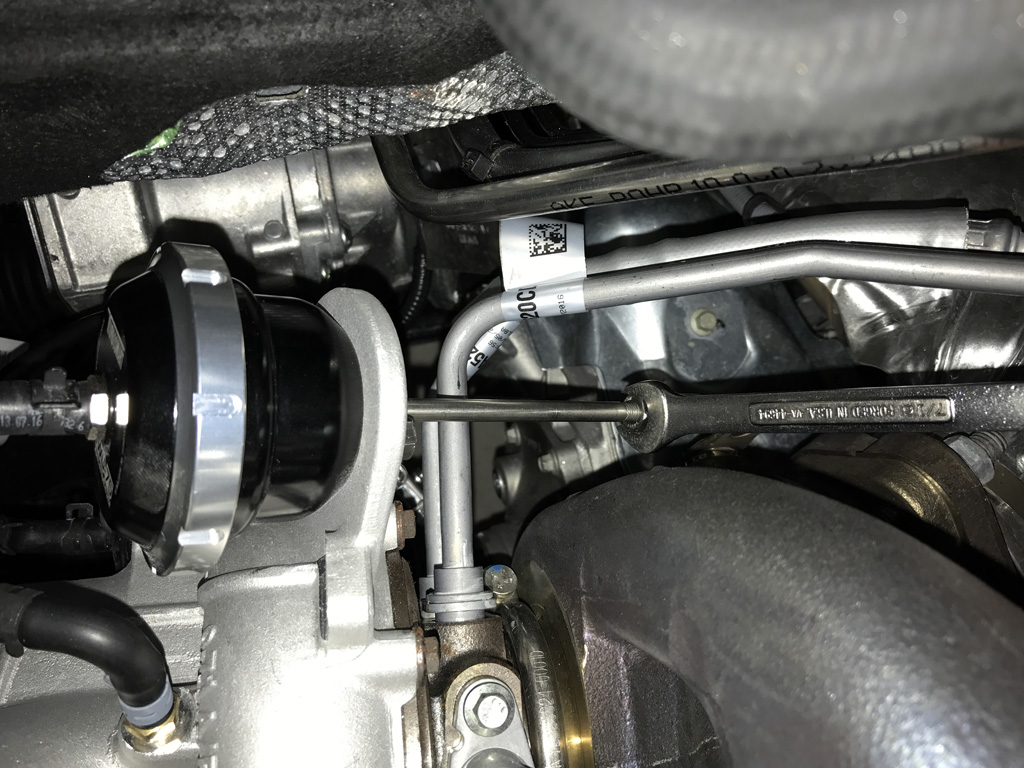
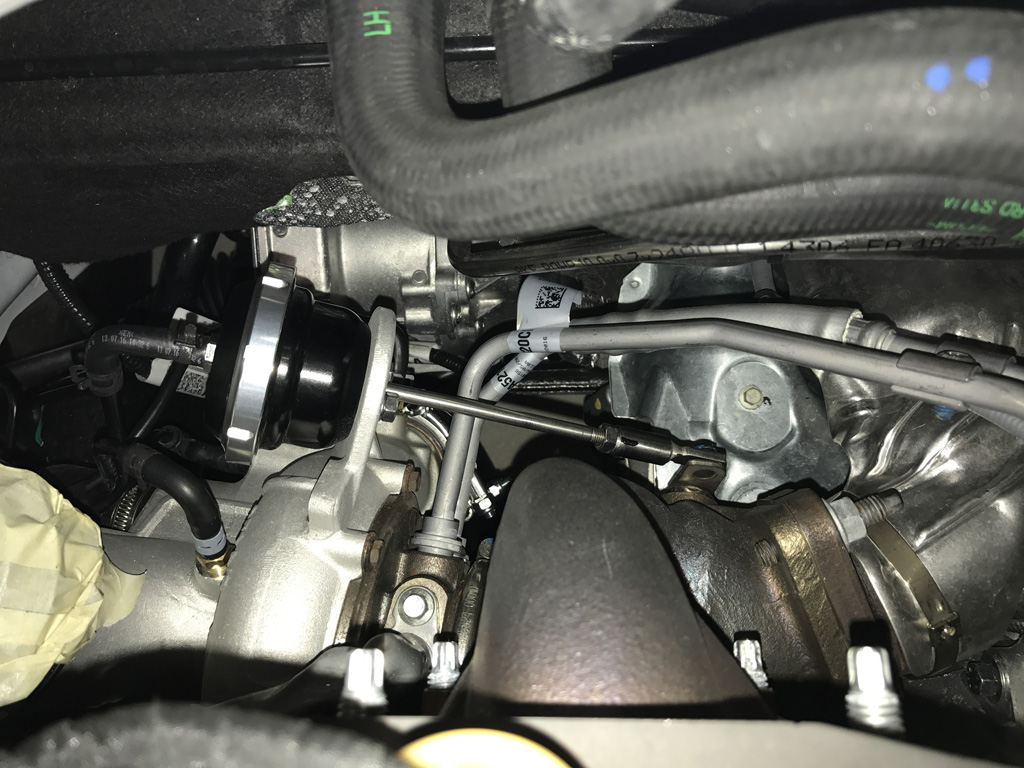
4. I recommend doing this swap on a completely cold engine. You are working around the turbine housing the entire time.
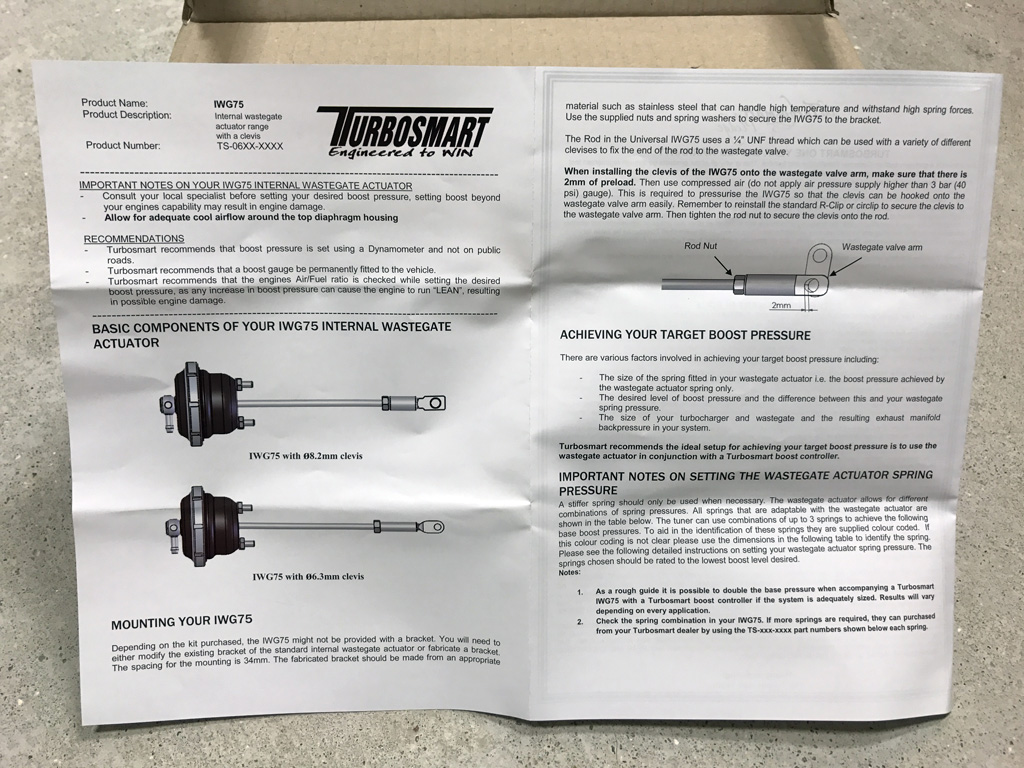
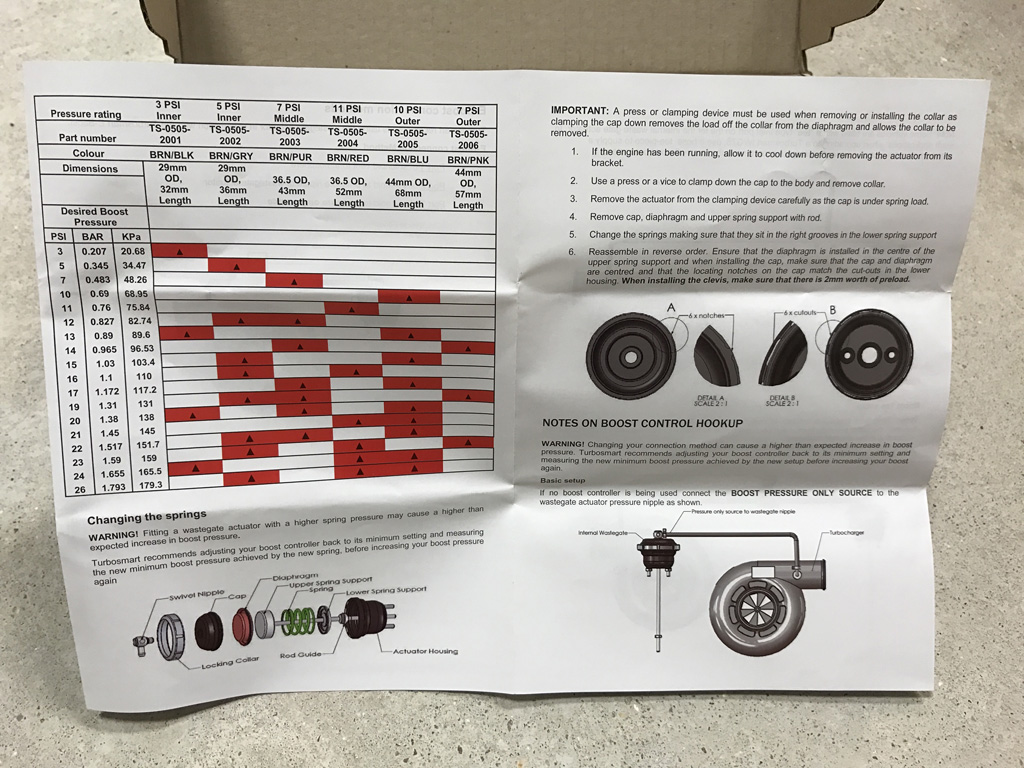
5. The Turbosmart instructions are for a generic setup, not RS specific. If it doesn't fit don't force it.
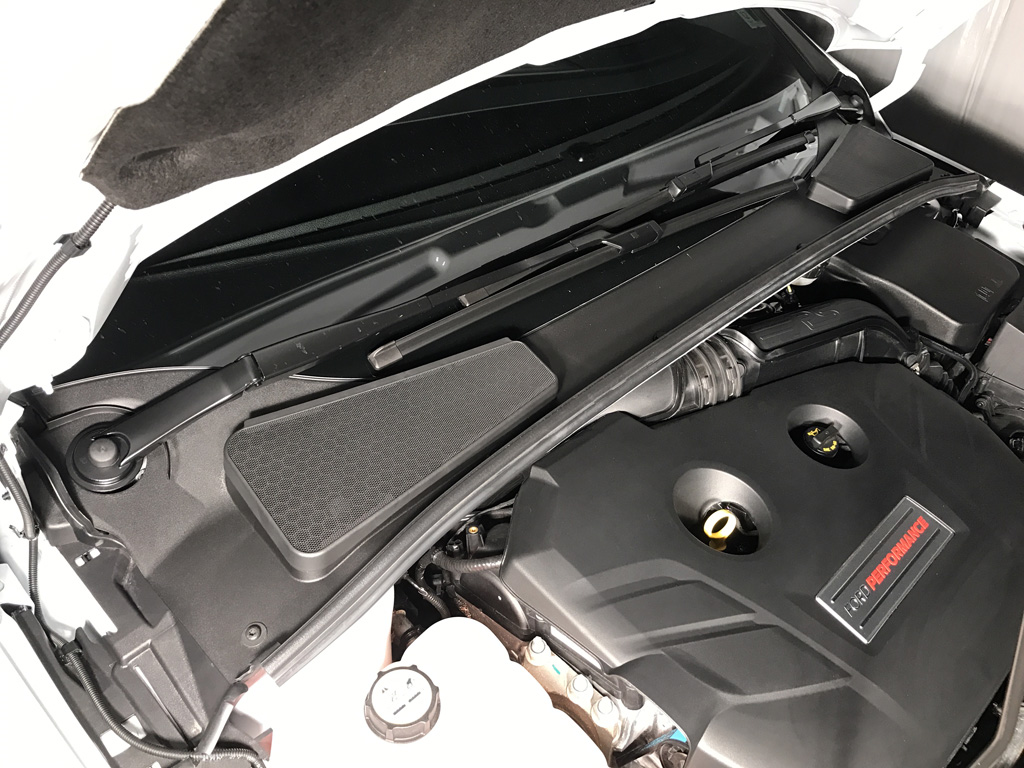
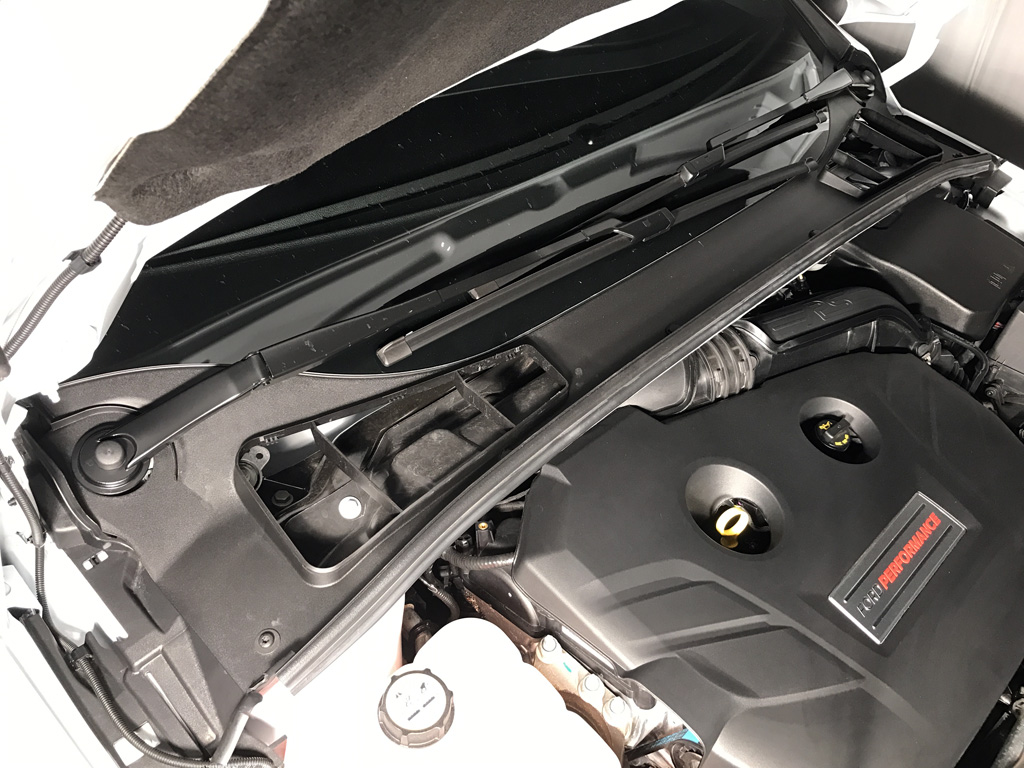
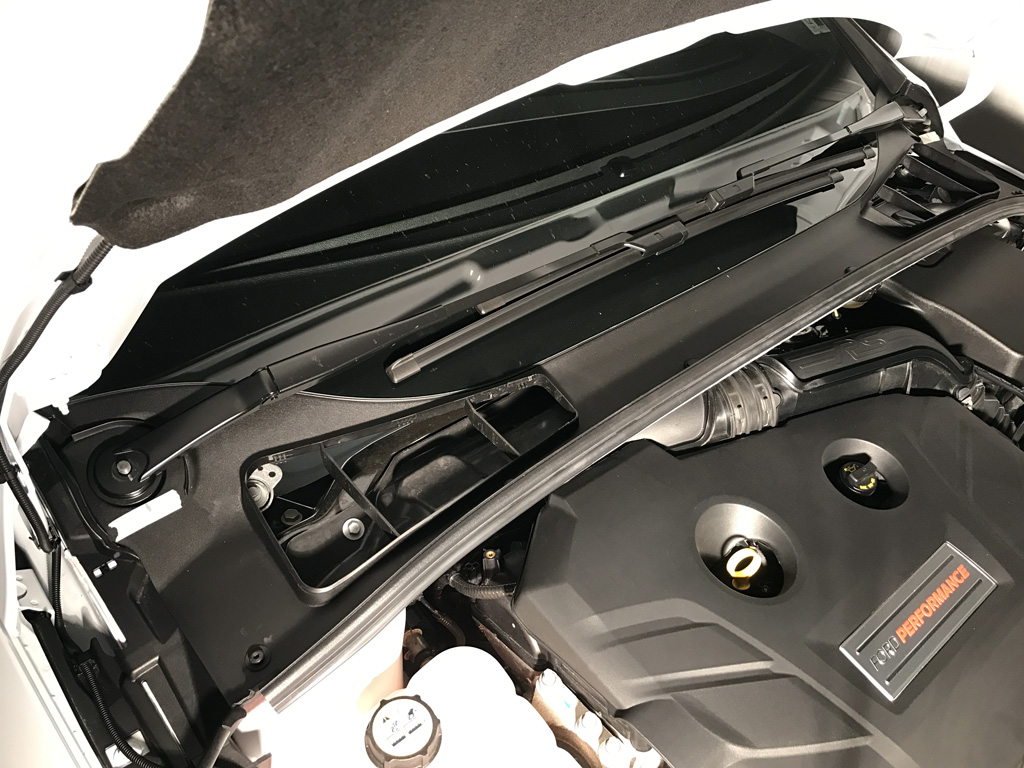
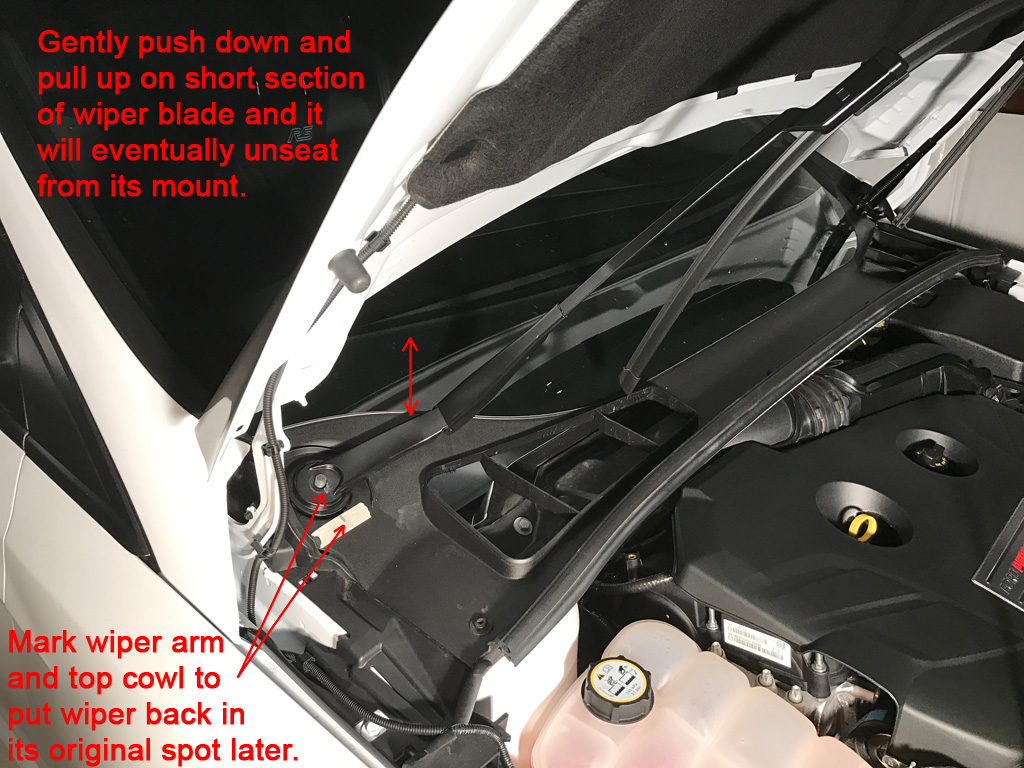
6. Mark the wiper blade arms and cowl with tape to clock the wipers back where they go when you reinstall them.
7. No need for any special tool to remove the wiper blades. Firm grip on the short section where it hinges, push down and up 3-4 times.
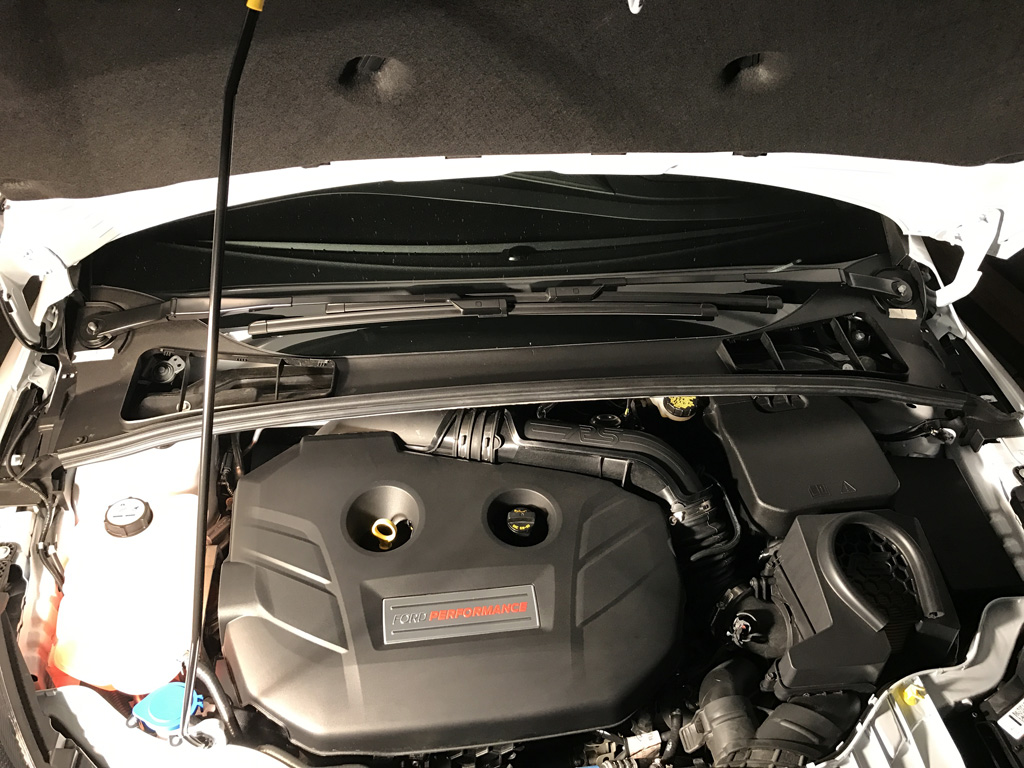
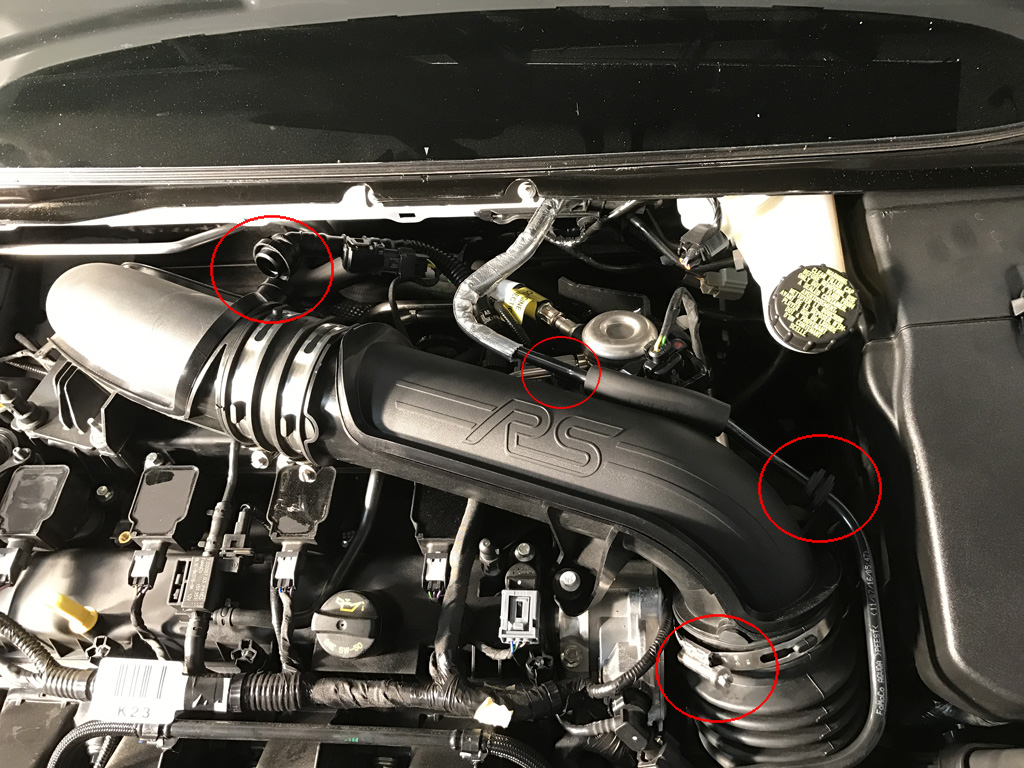
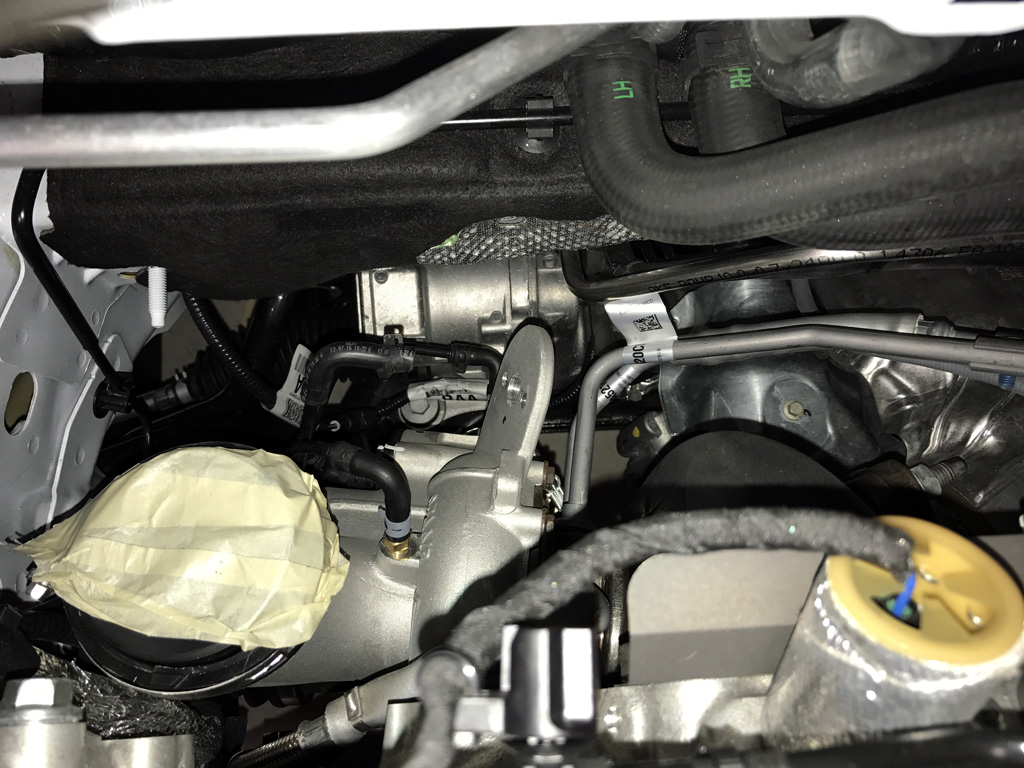
8. Once you remove the intake piping make sure to tape over the turbocharger inlet to prevent anything from falling inside.
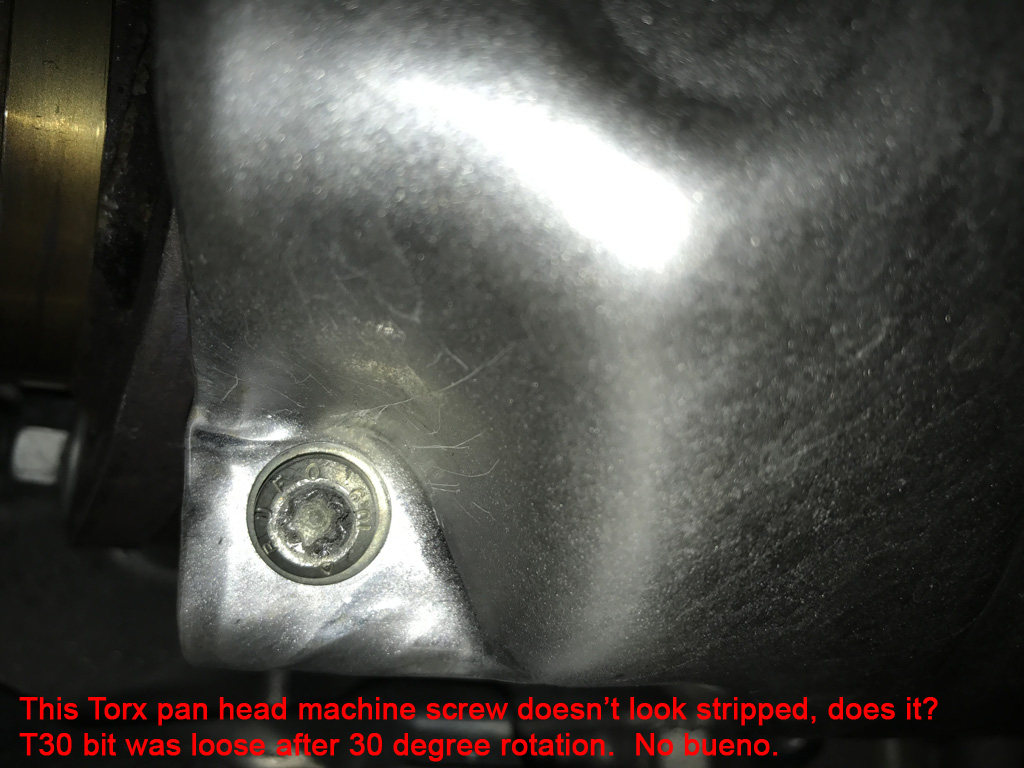
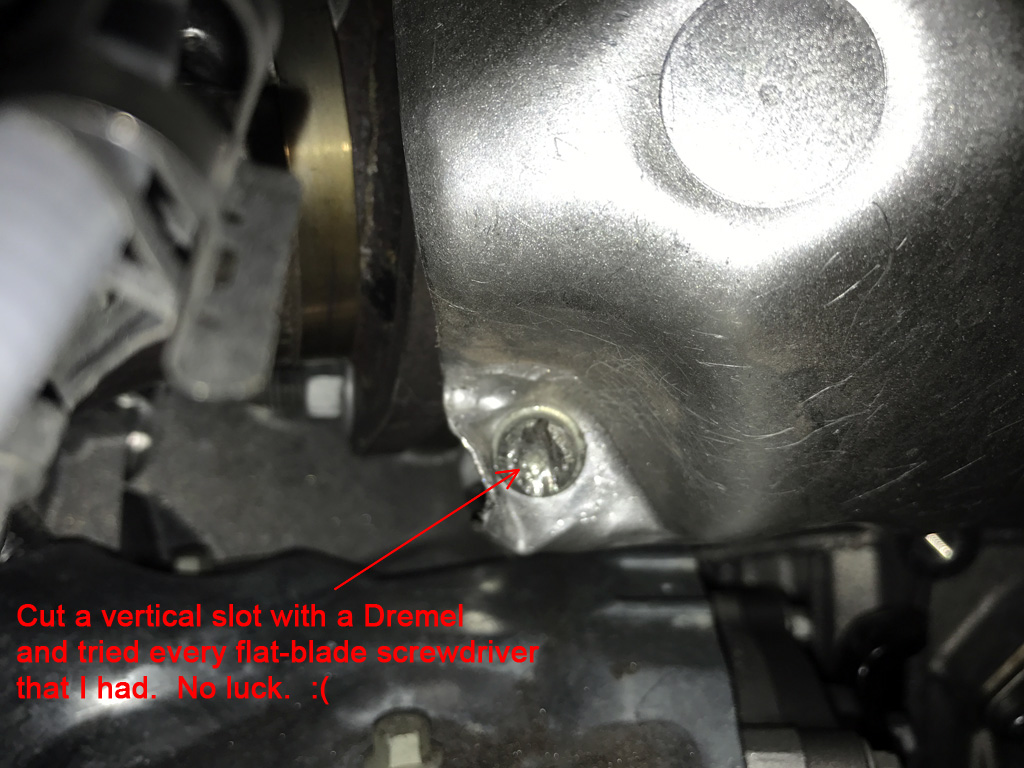
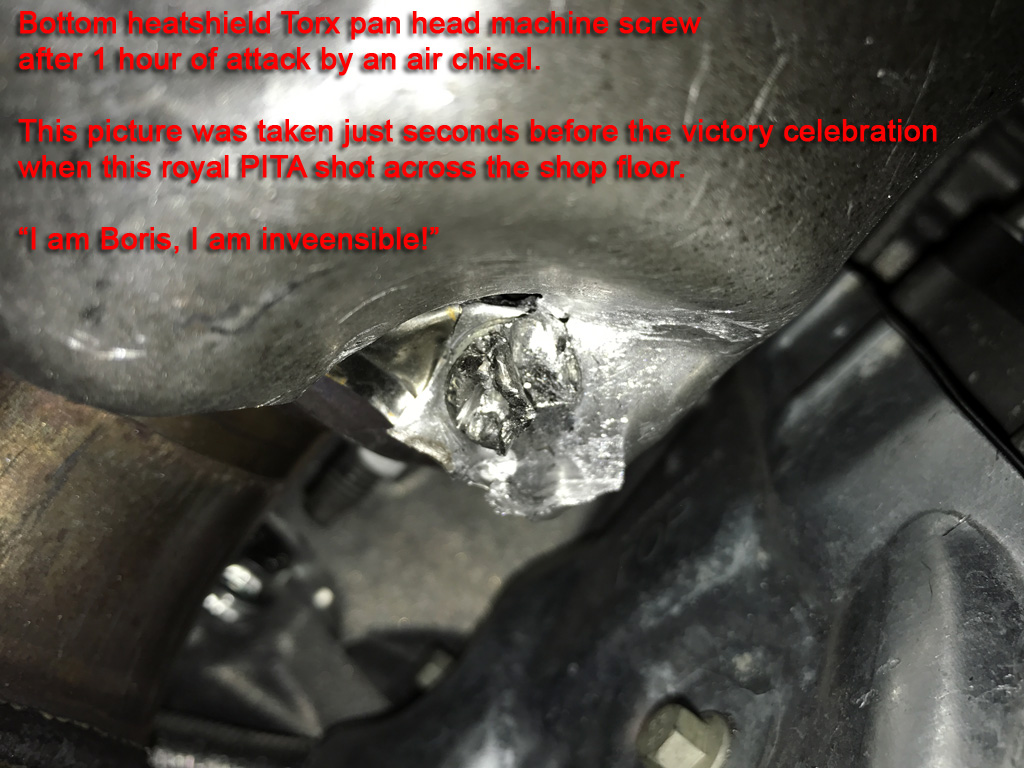
9. I can't stress this enough. Take your time with the lower heat shield bolt. I ended up stripping mine and it took an air hammer + chisel to remove it!
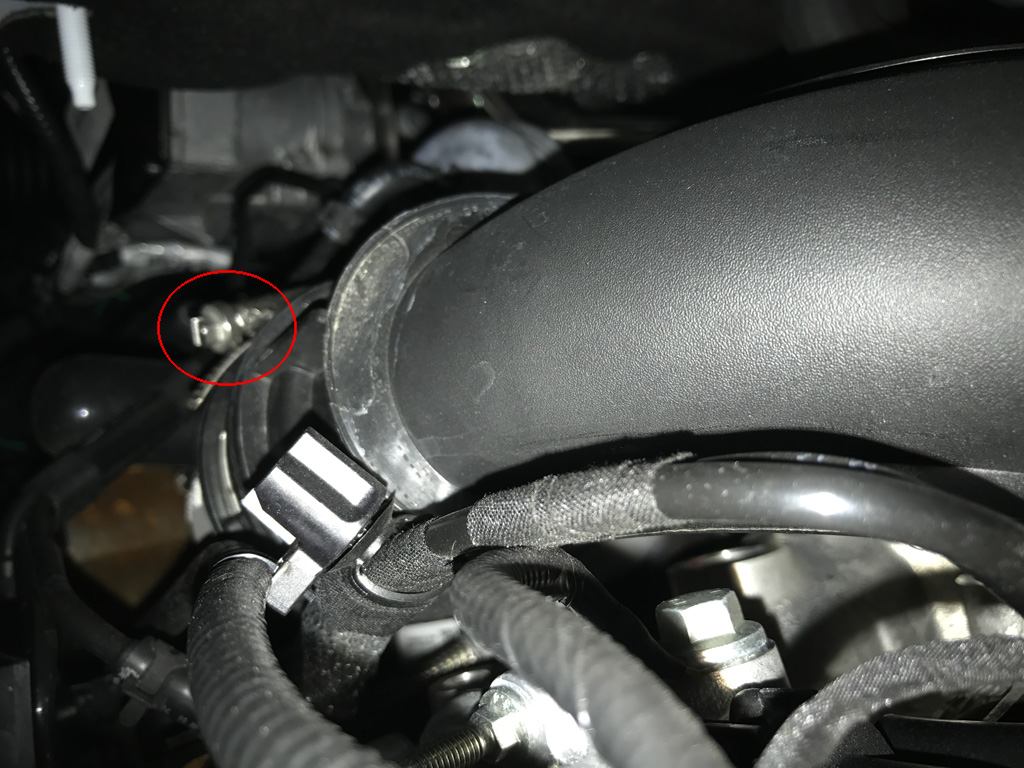
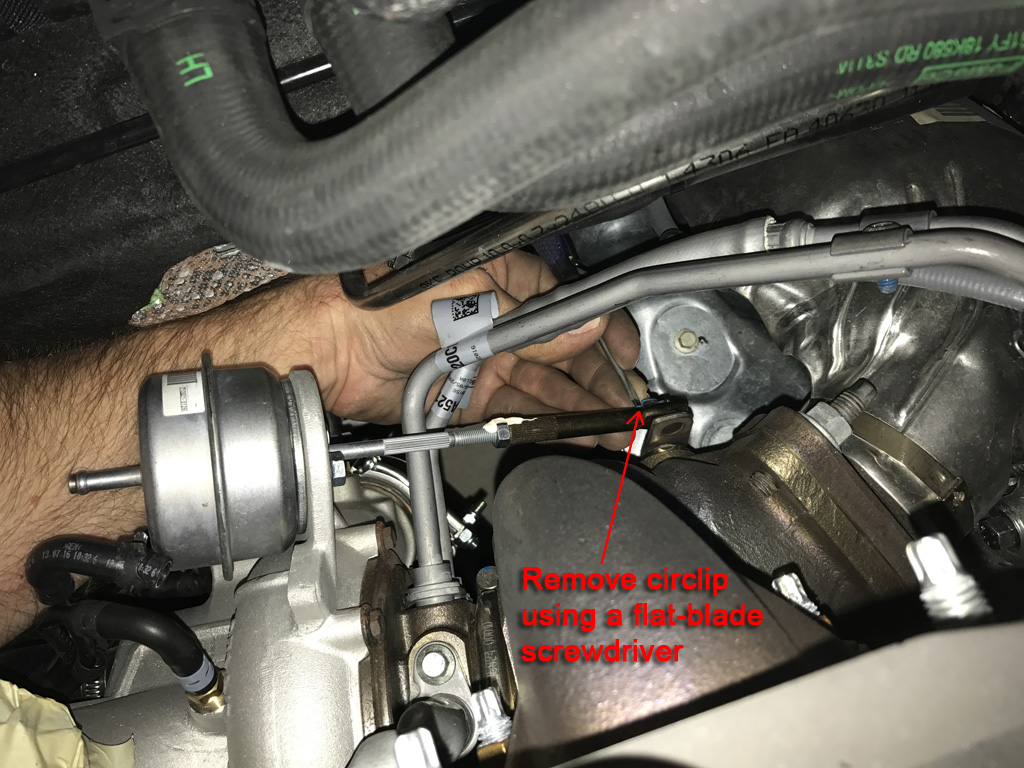
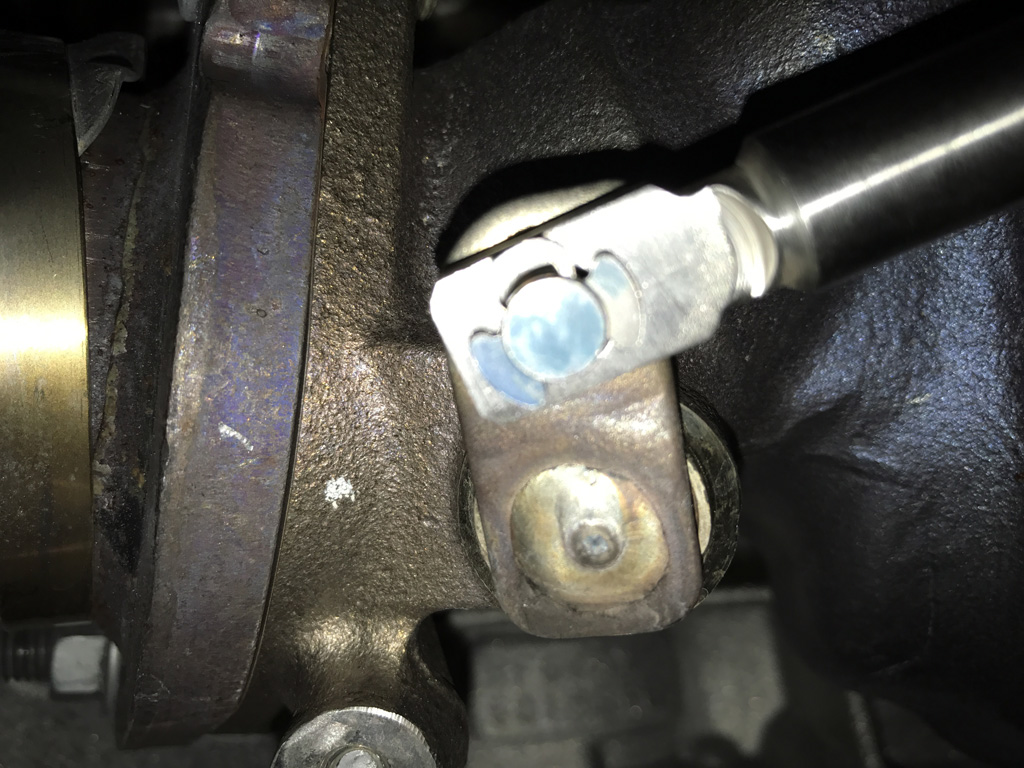
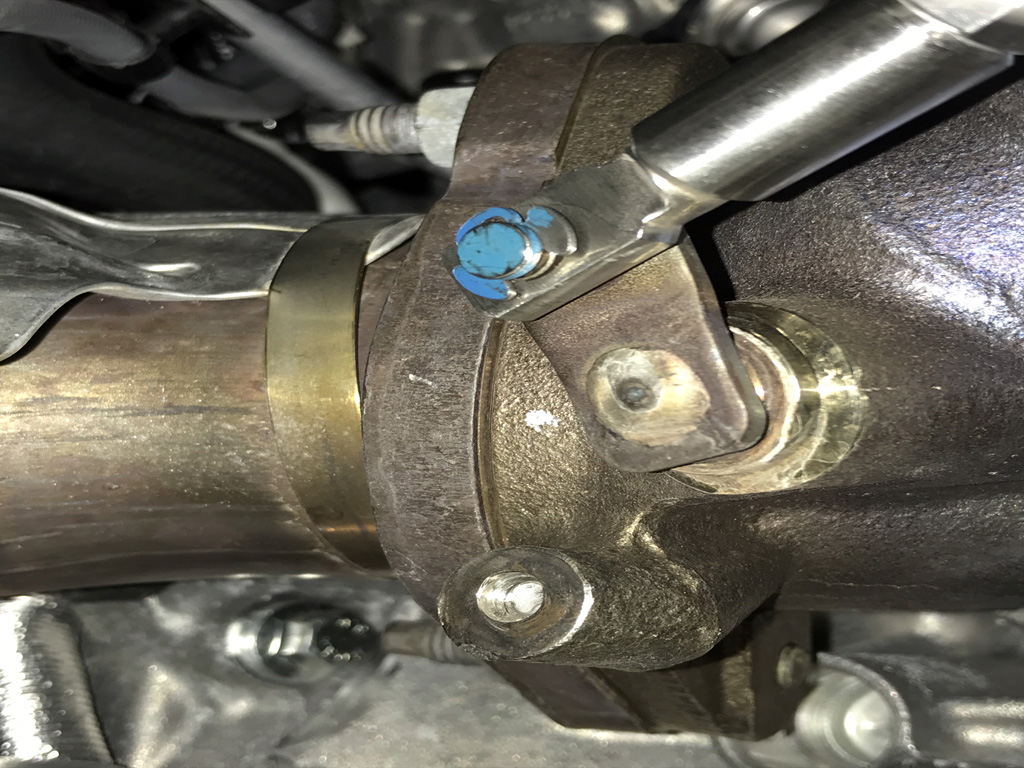
10. I used a flat-blade screwdriver to remove the factory circlip on the Wastegate arm to flapper door post. Don't lose the circlip!
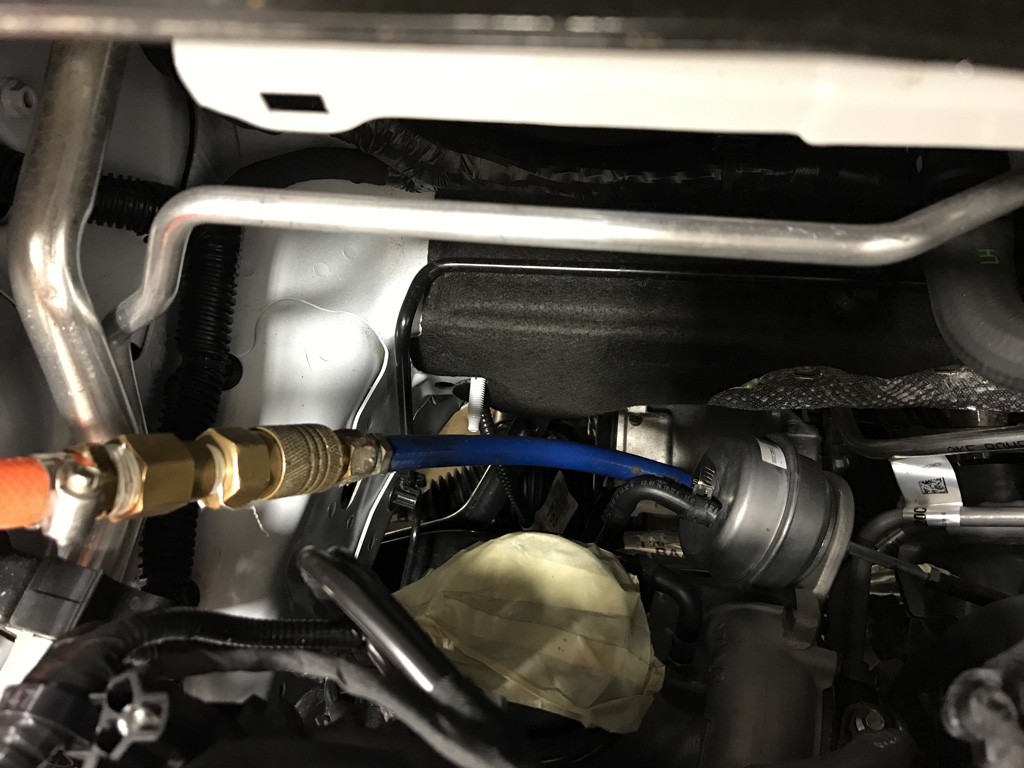
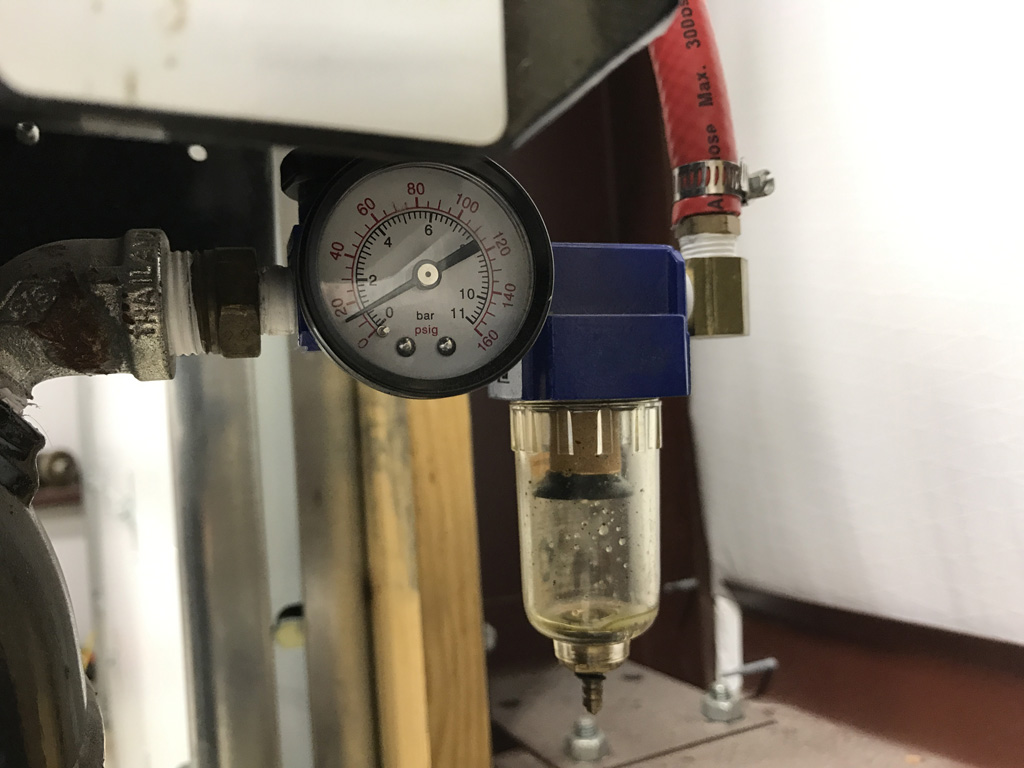
11. To make it easier to remove the factory Wastegate rod I hooked the Wastegate up to my shop air compressor with 15-20 psig of air pressure.
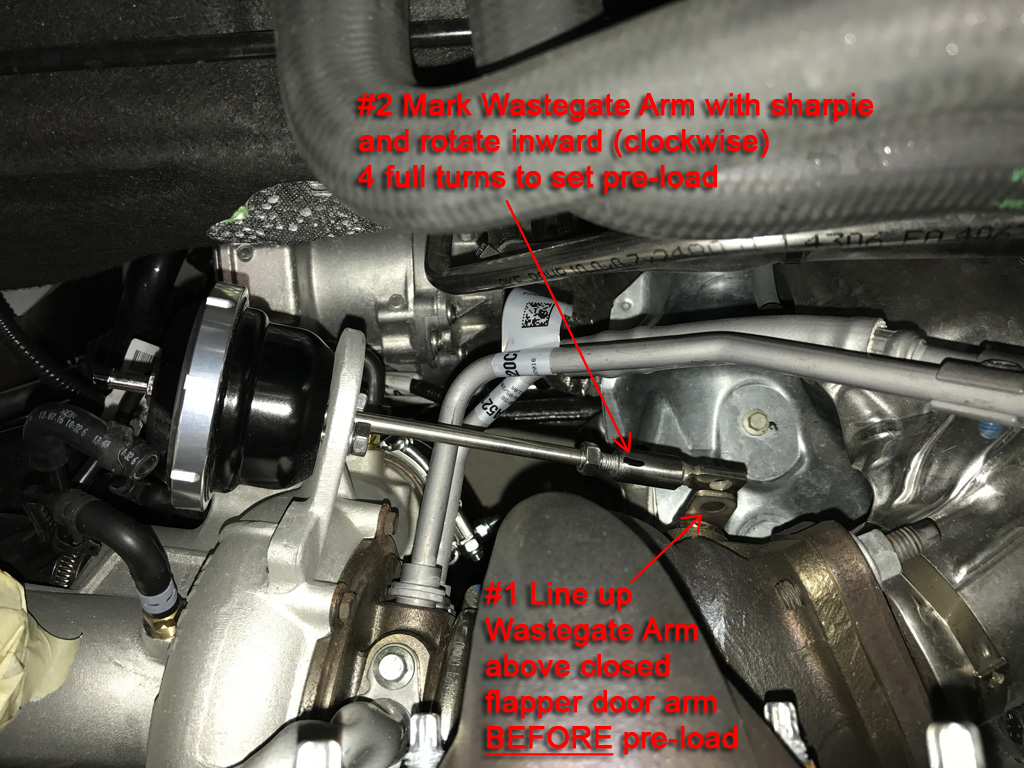
12. Once you adjust the new Wastegate arm to fit right over the top of the shut flapper door, mark the clevis (rod end) and turn it clockwise 4 full turns to set the correct pre-load.
13. Follow step 11 above and use air pressure to make it easier to install the new Wastegate arm on the flapper door post.
14. Reinstall the factory circlip on the Wastegate arm to flapper door post.
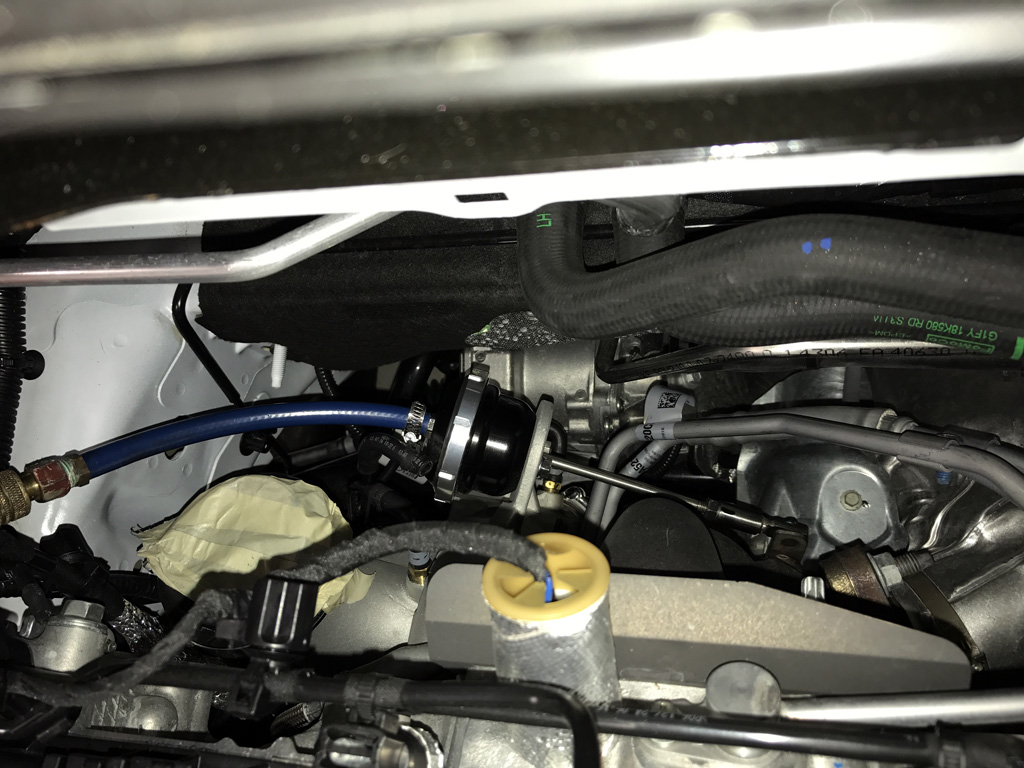
15. Reverse your steps for reassembly.
16. Who needs Race Ramps when you have wood leftovers from a project you didn't finish!
17. Reversible back to stock.


|