
modifications > MCS TT1 Suspension
Why did you put the MCS TT1 Suspension on your RS?
As stated on my Whiteline Swaybar modification page, most factory stock vehicles will not have an optimal suspension for racing applications due to set criteria on NVH and cheap budgets set by the corporate bean counters. The general public doesn't want a harsh ride, yet the weekend racing enthusiast wants better handling and performance from their newly purchased vehicle. Who wants a land yacht feeling with tons of body roll while trying to negotiate an autox slalom? Not this guy.
Case in point are the factory front struts/rear shocks + springs on the Focus RS. Although Ford had a decent setup with electronic, dual-rate shocks on the RS there is always room for improvement. In steps Vorshlag/MCS to make things better. Vorshlag has earned fame with their adjustable caster/camber plates for strut-equipped cars. They also earned negative fame when they picked apart the factory RS setup in great detail both on their website and on their YouTube account. I like constructive criticism, and Vorshlag is an authorized Motion Control Suspension (MCS) dealer that offers the MCS TT1 Suspension to improve on those factory RS faults.
I chose the MCS TT1 Suspension because I'm a weekend enthusiast that enjoys autox, drag racing, and the possiblity of future lapping days. It's the entry level MCS single adjustable suspension setup offered by Vorshlag. They also sell the Whiteline MAX-G and higher end MCS suspension setups that include double adjustable shocks and remote reservoirs as well. Those higher level kits come at a much higher price, however. I don't plan on going to the autox nationals, so the entry level MCS TT1 Suspension is perfect for me. It should definitely get rid of the factory RS "pogo effect" ride. Say goodbye to wifey's bouncing boobies. :(
Date Completed:
05/25/18 - 05/27/18, 06/17/18 - 06/29/18
Materials:
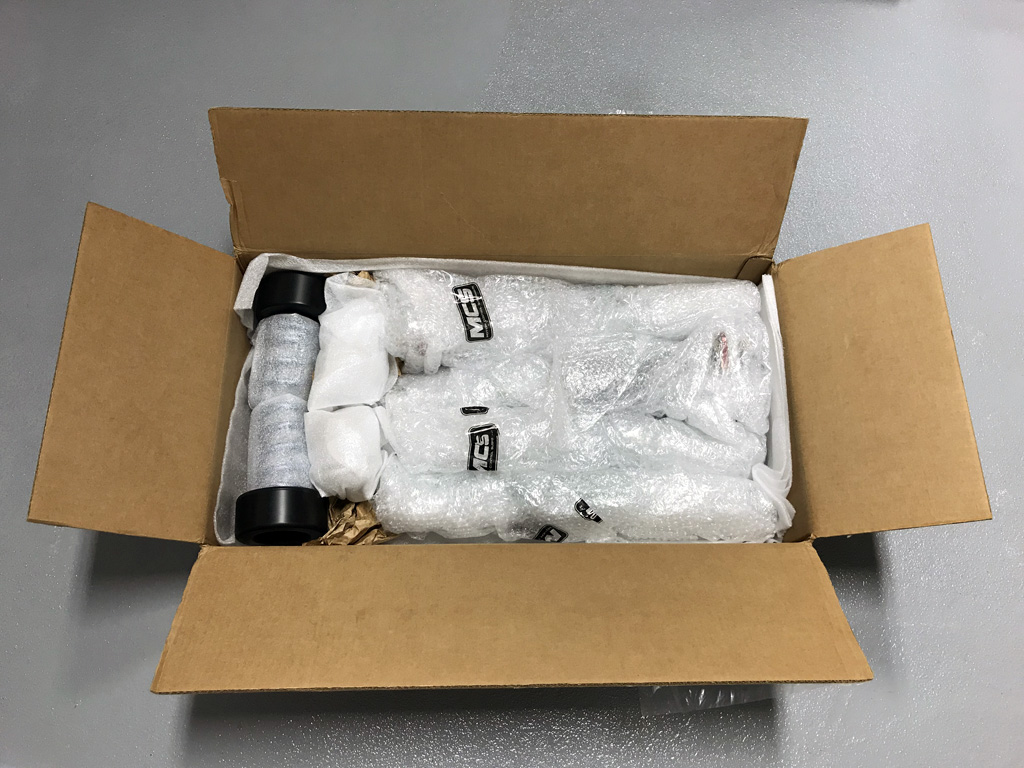
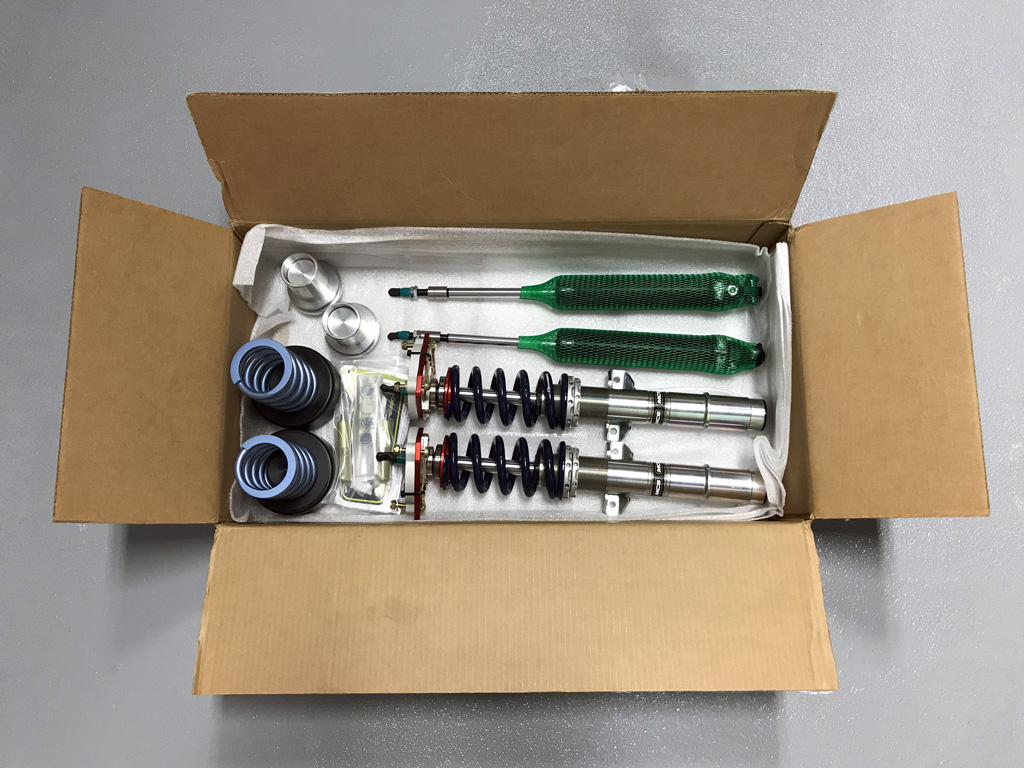
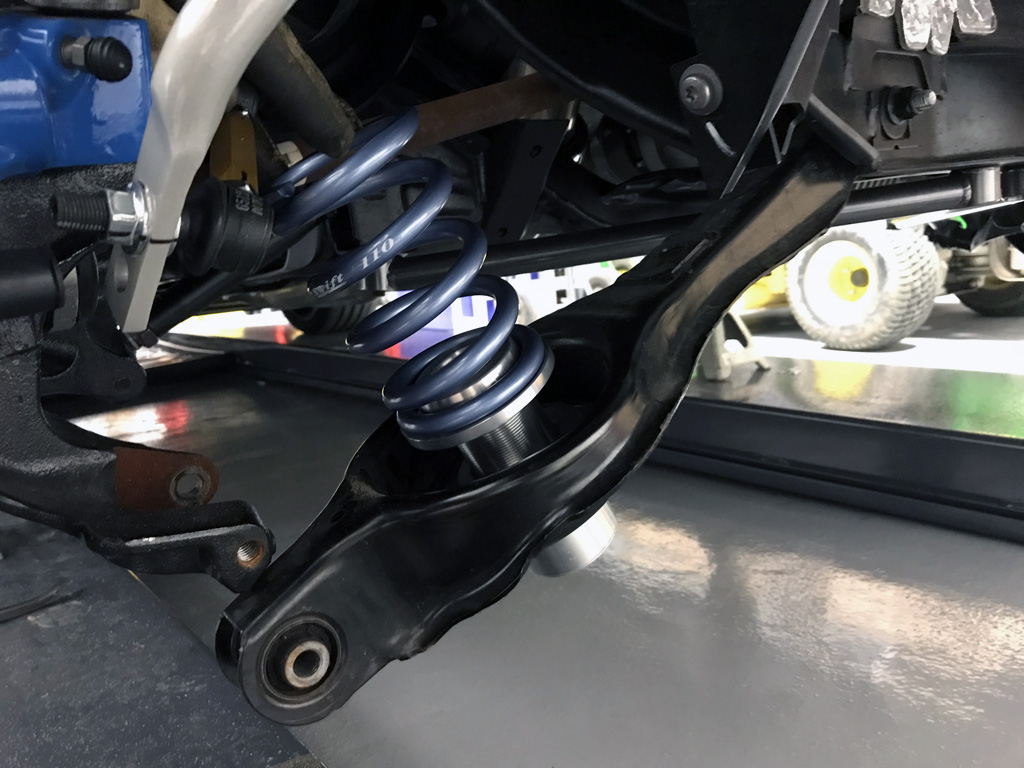
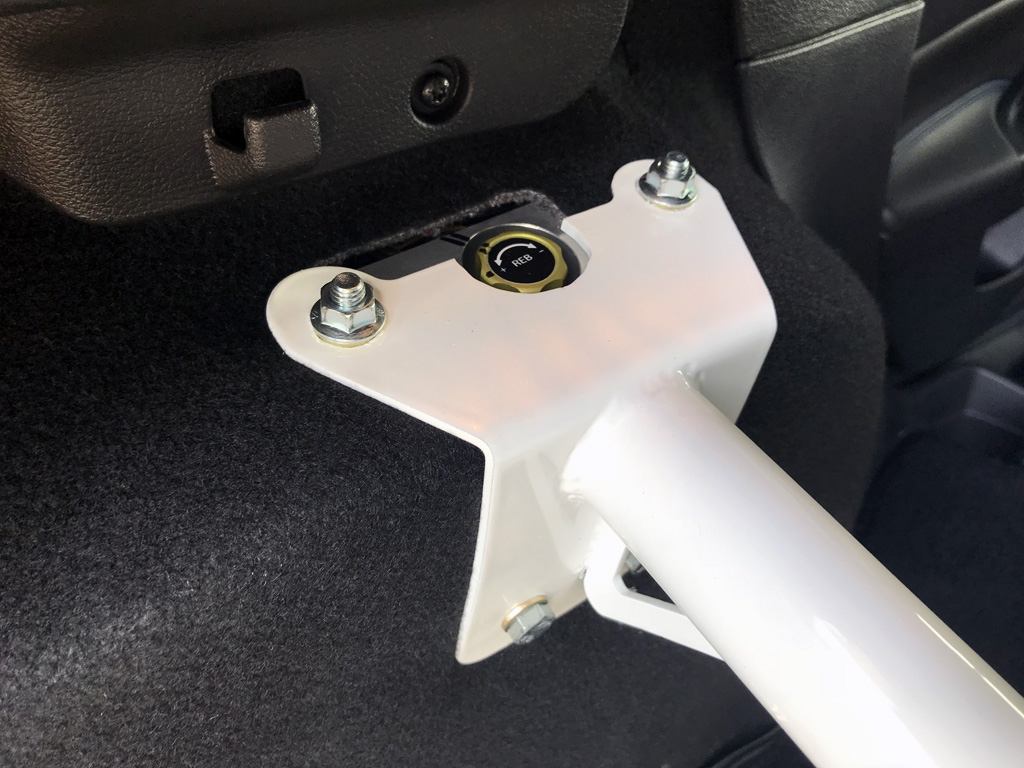
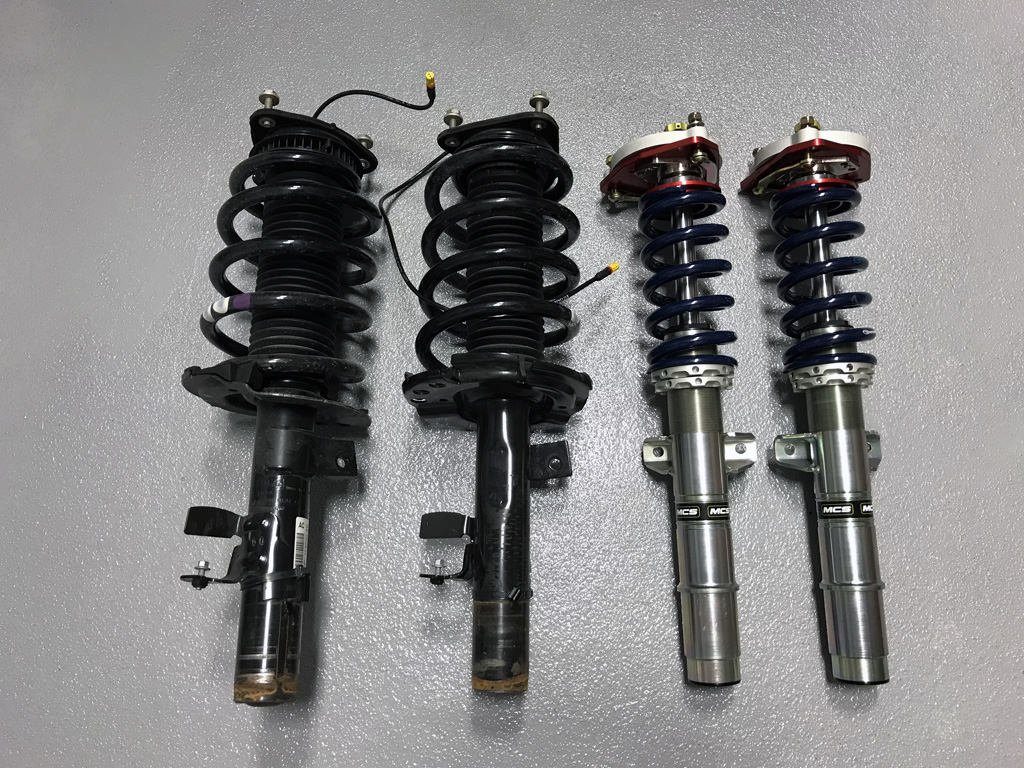
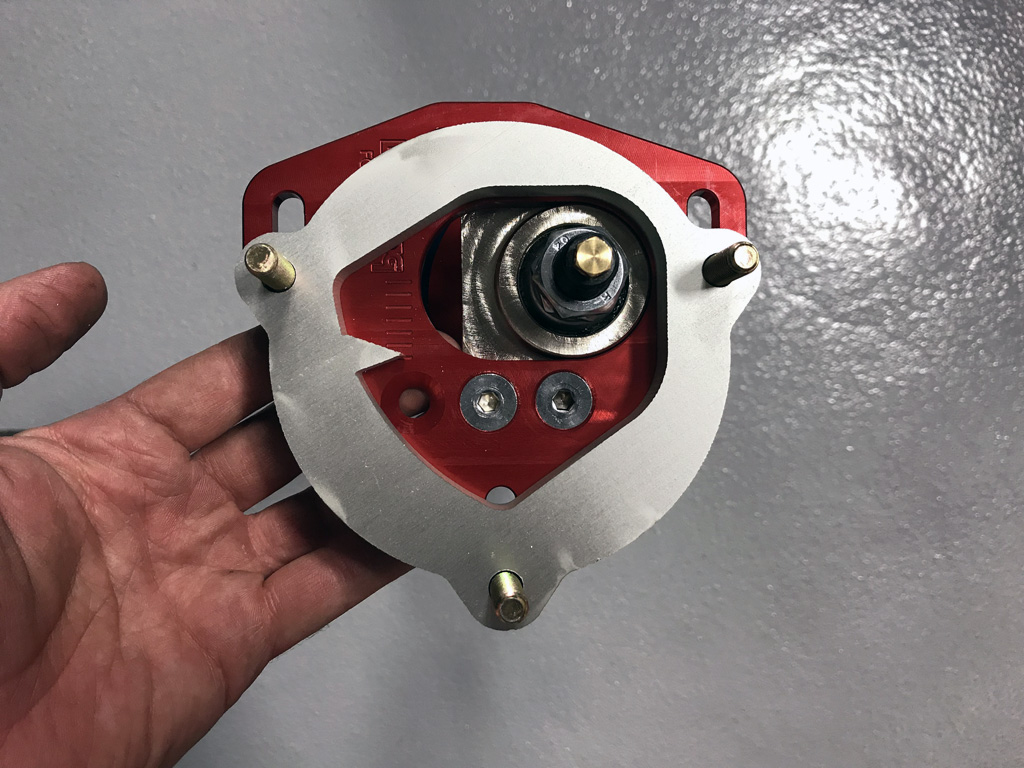
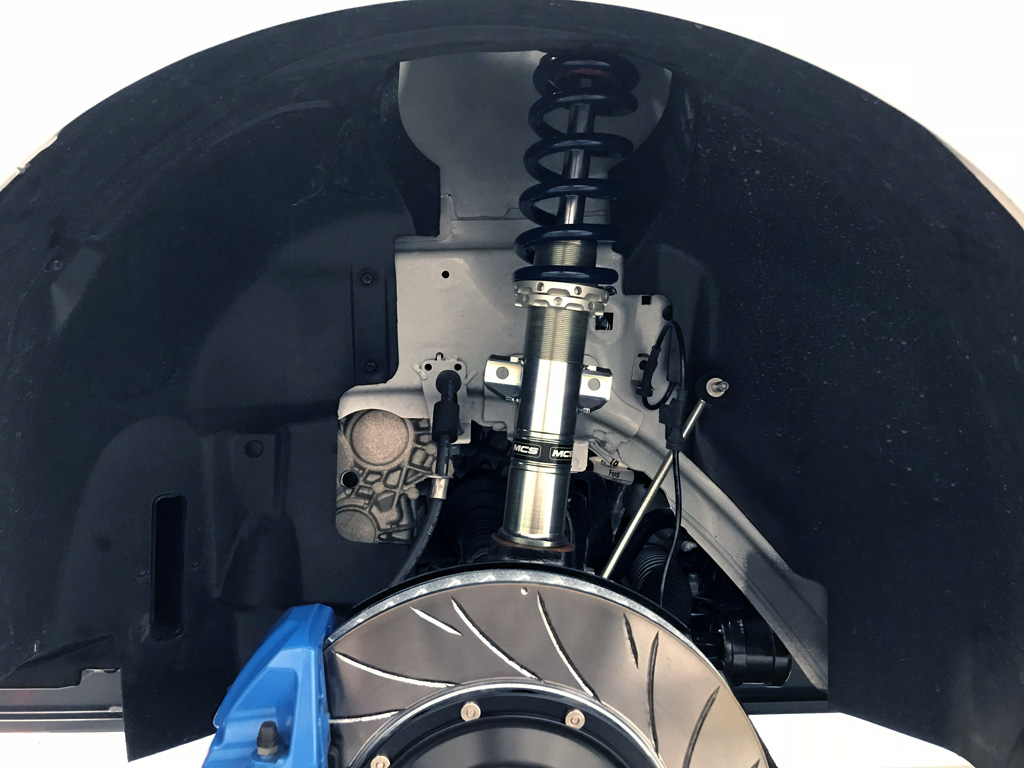
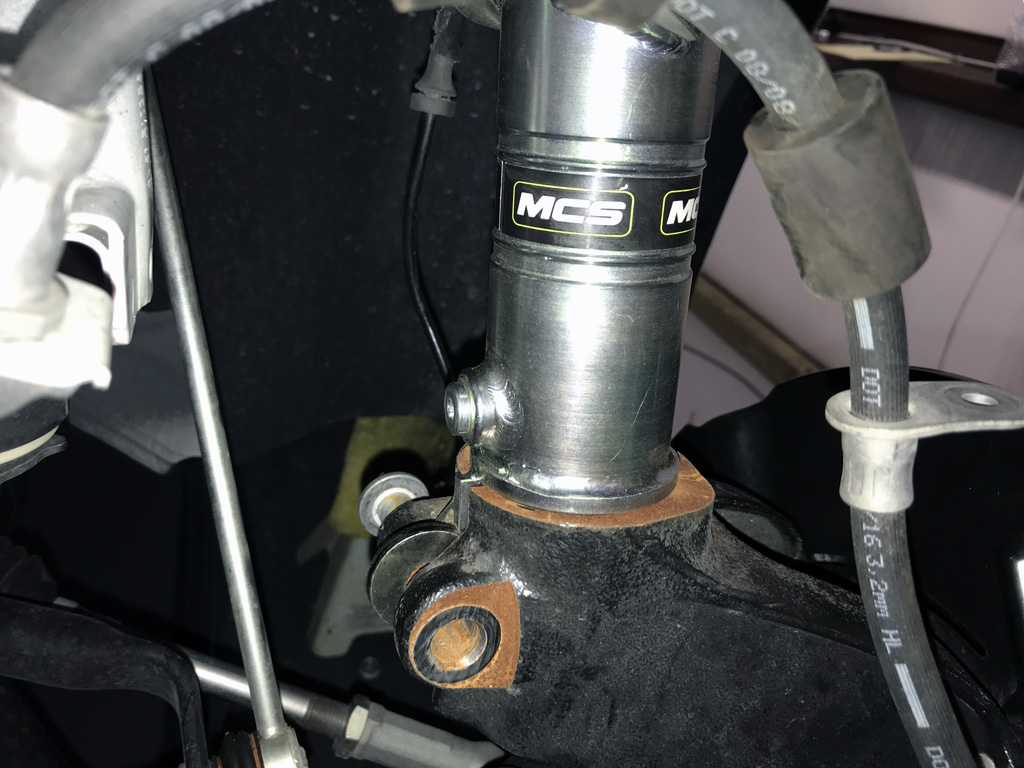
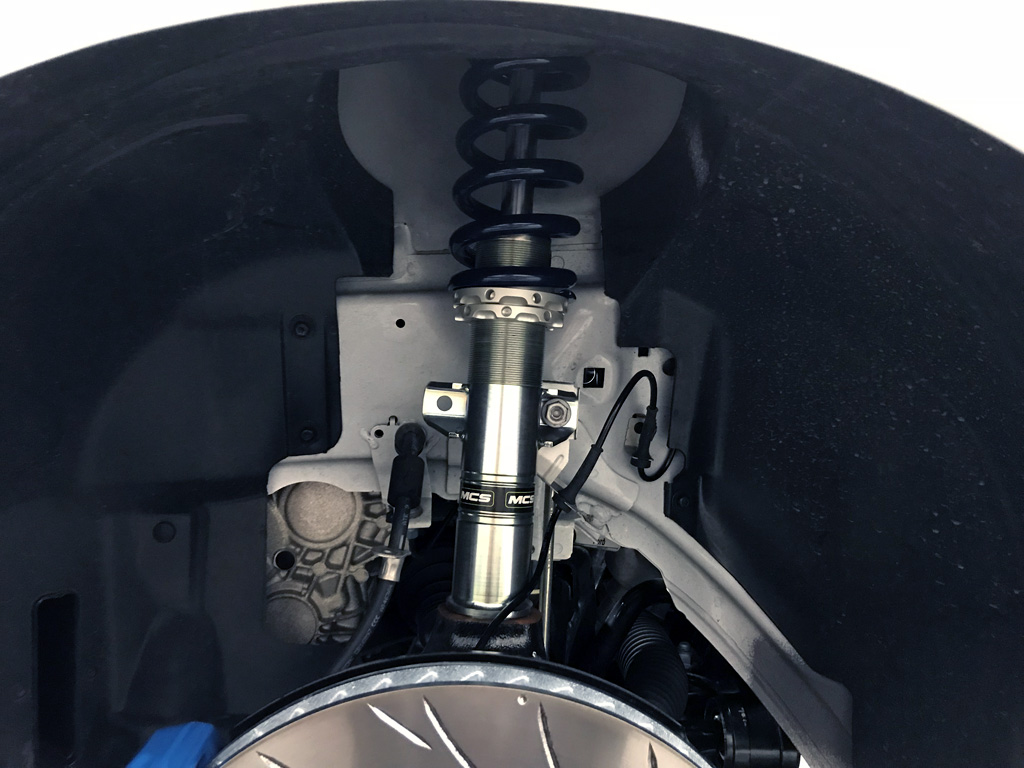
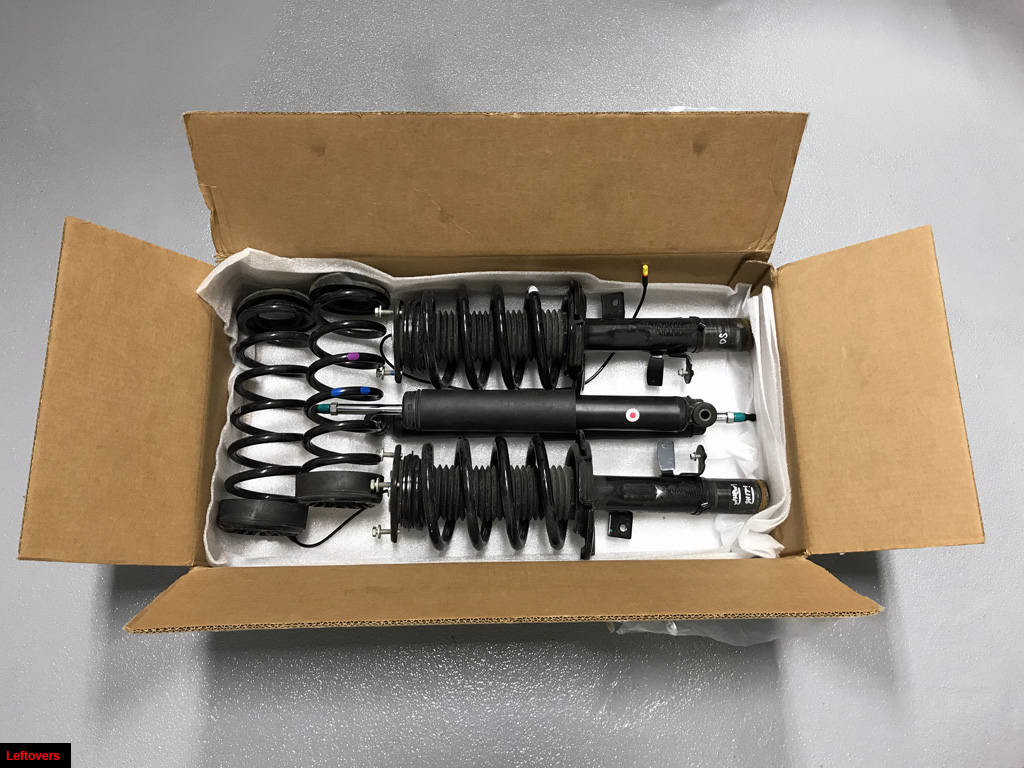
- MCS TT1 Suspension + Caster/Camber Plates + GTS Springs (700 lb/in Front, 670 lb/in Rear) = Vorshlag.com
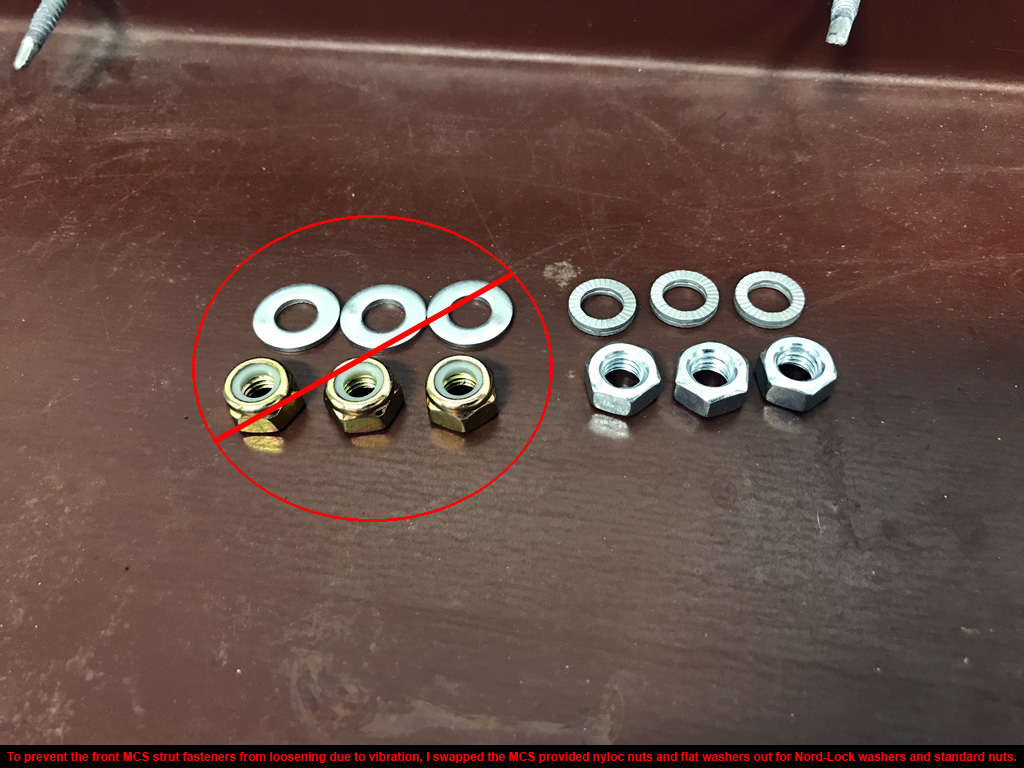
- (6) 8mm Nord-Lock washer sets & standard nuts for MCS struts
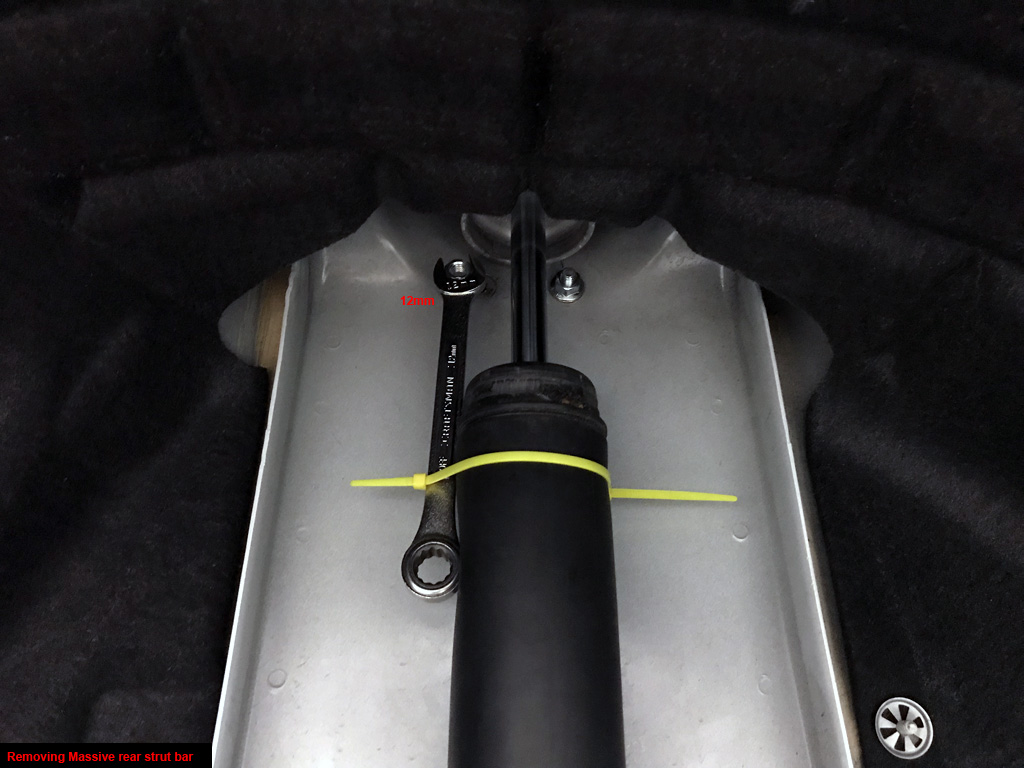
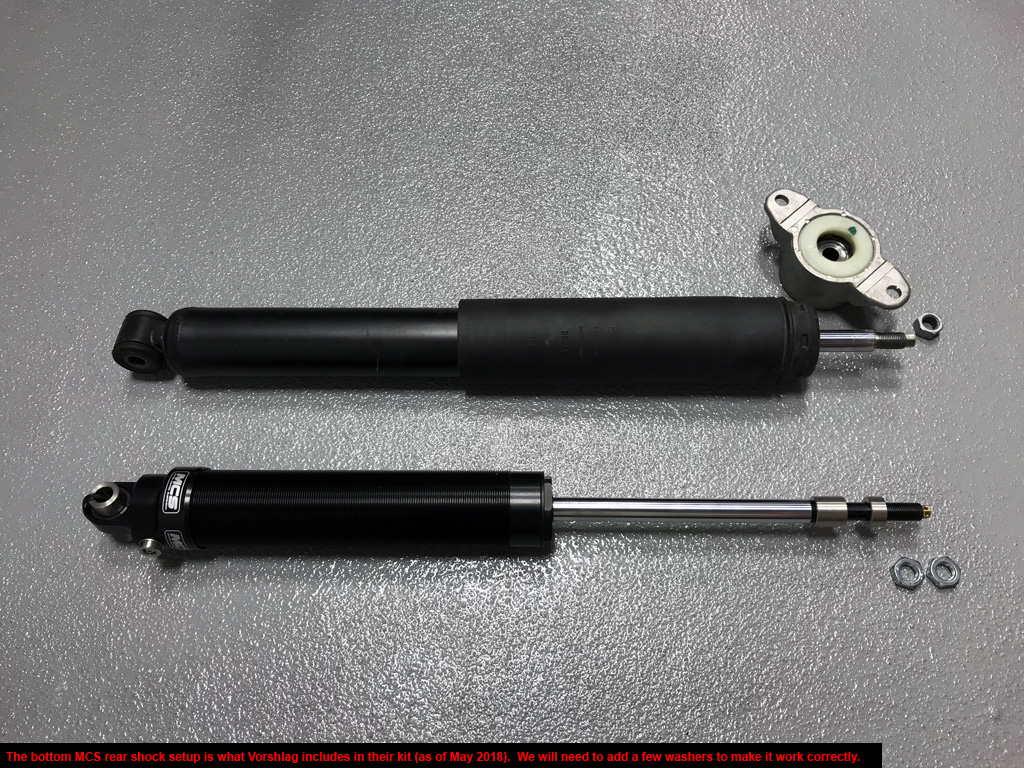
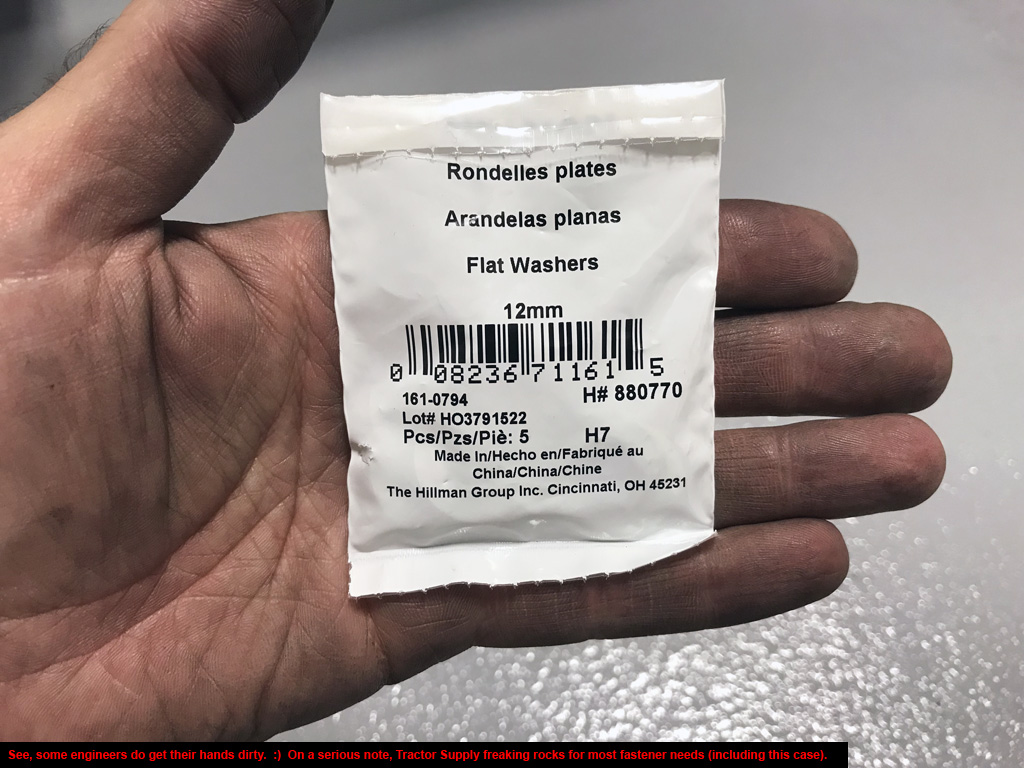
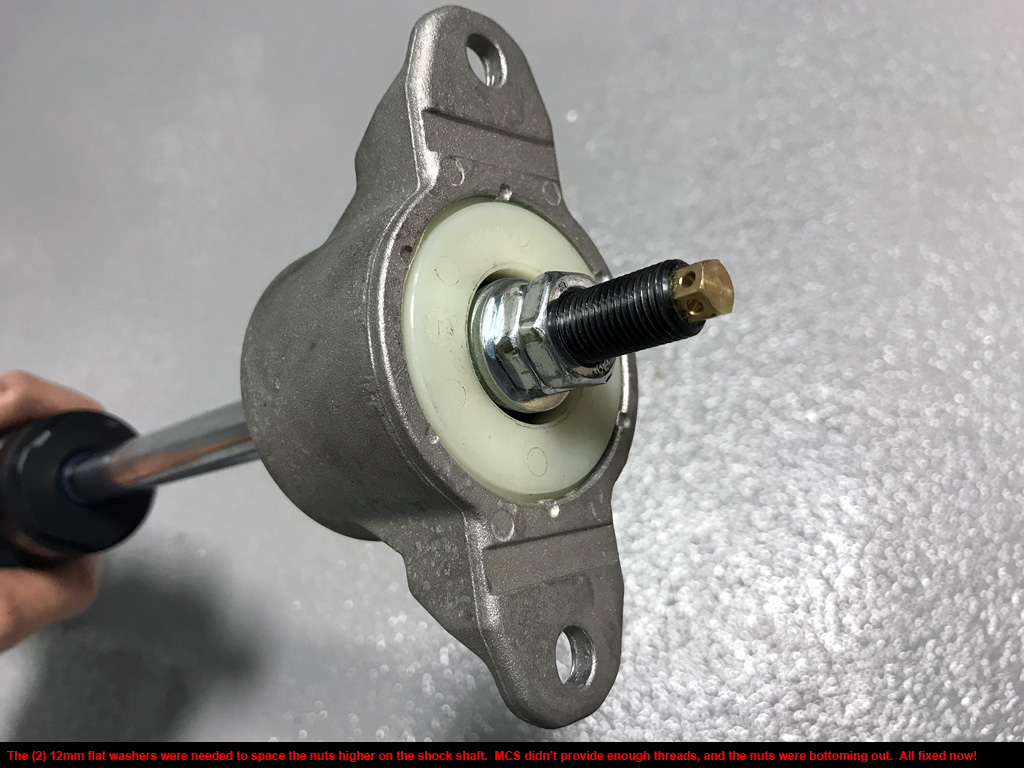
- (4) 12mm flat washers for rear MCS shocks
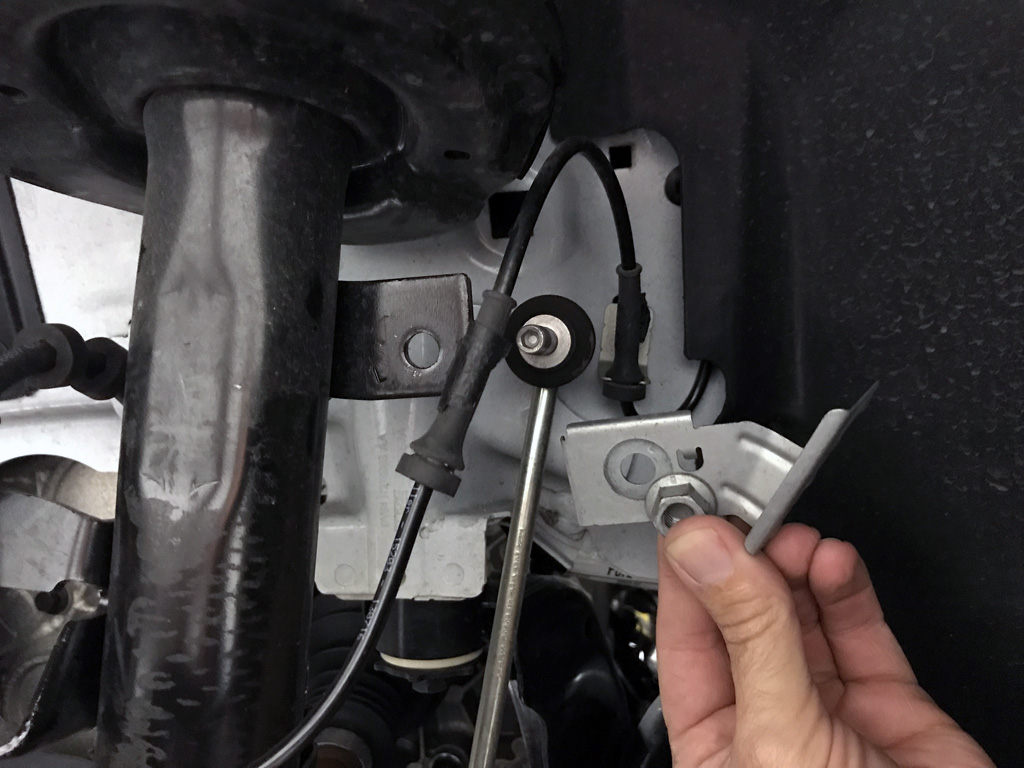
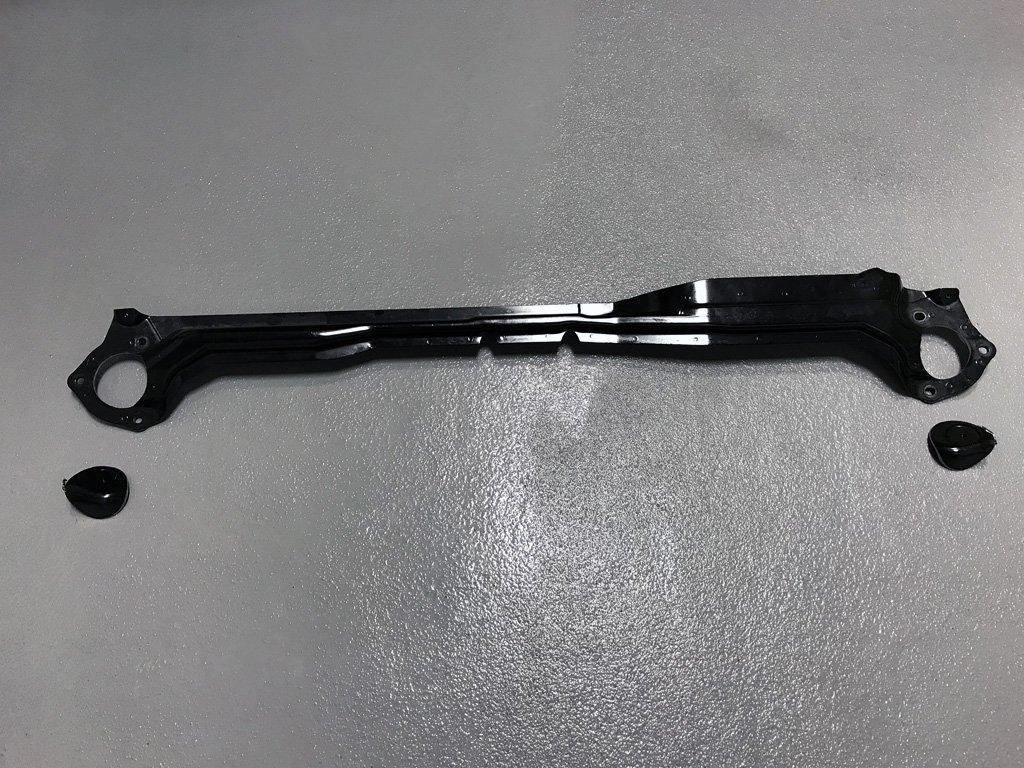
- Flat metal piece to split front struts
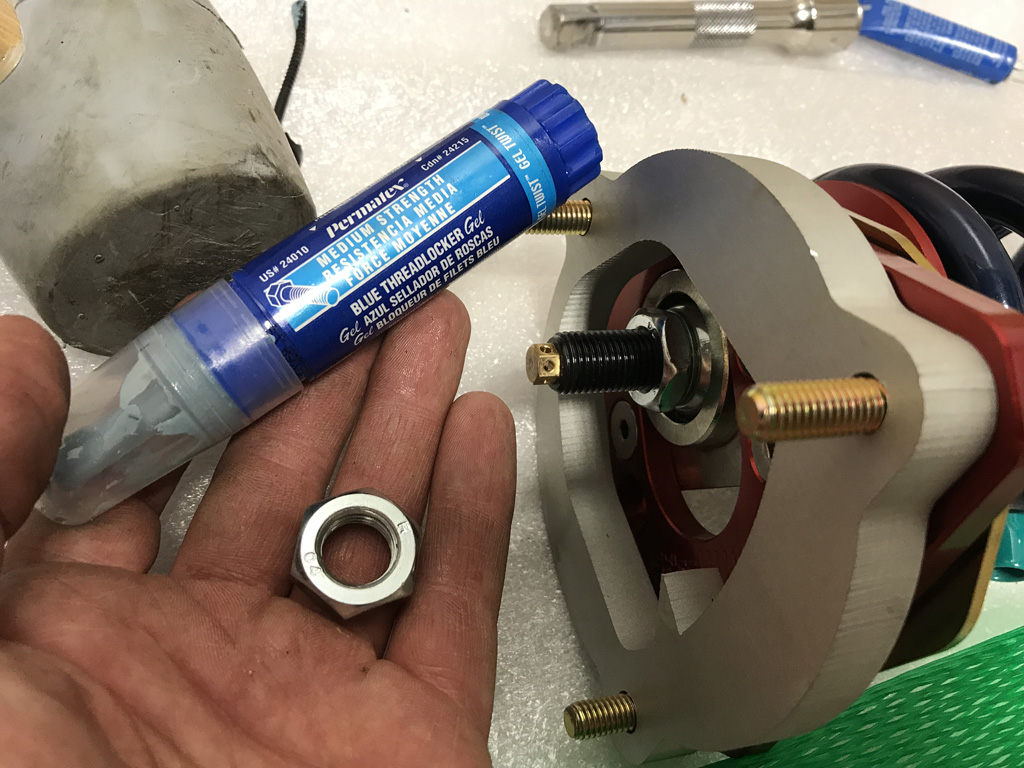
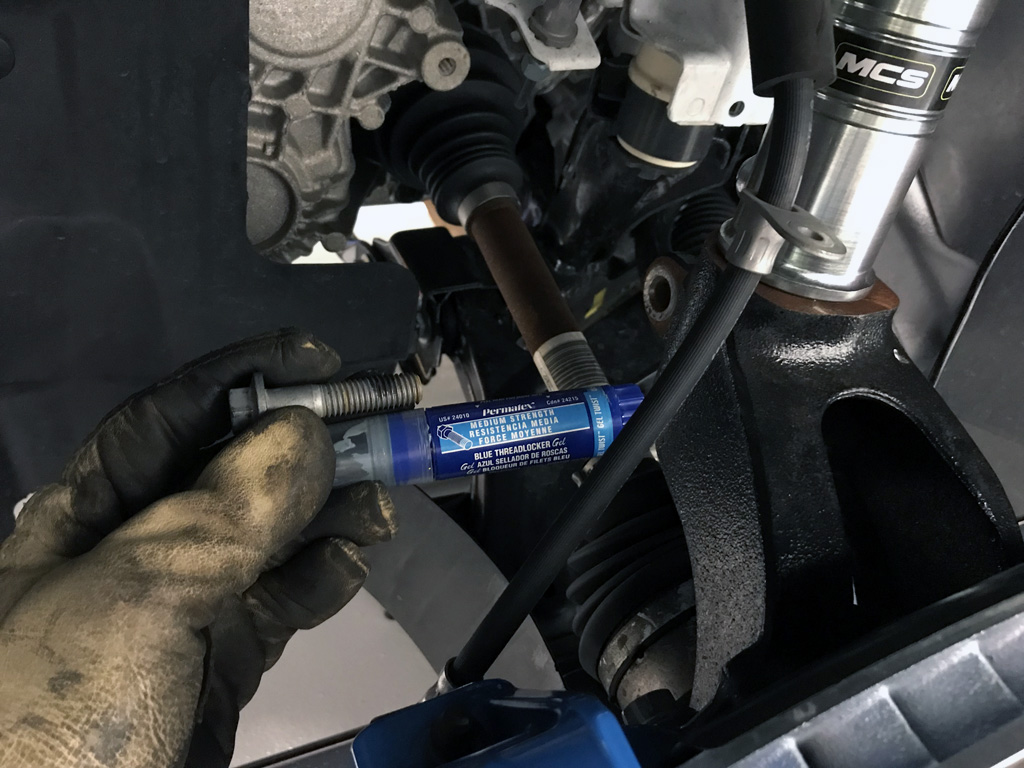
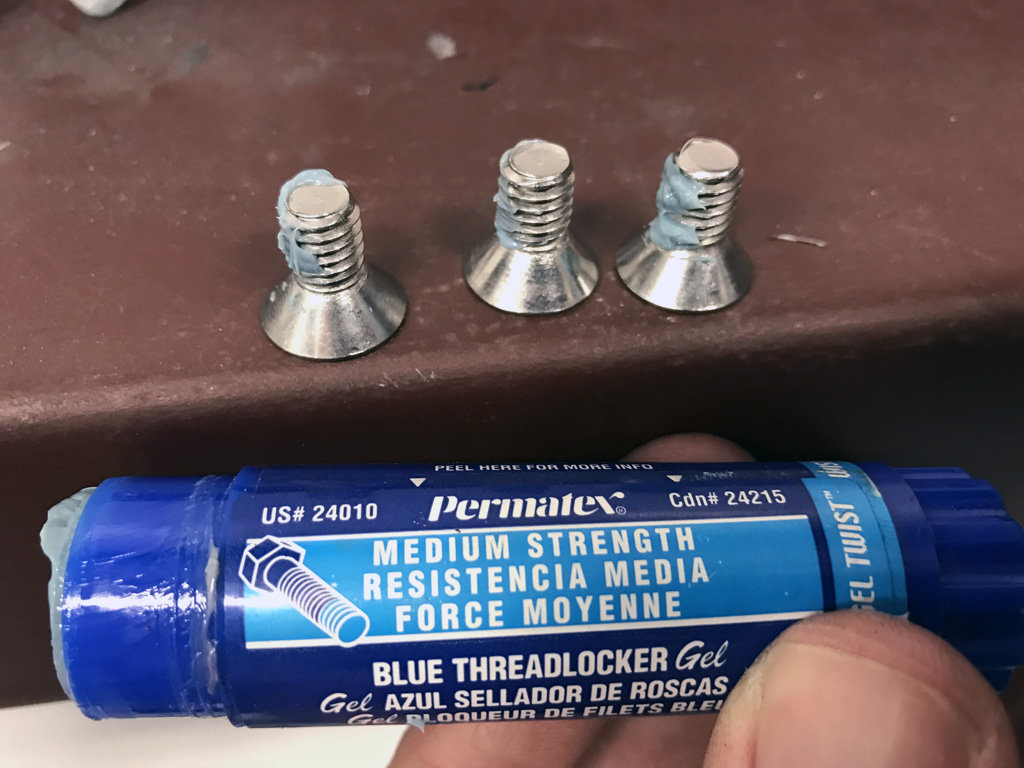
- Permatex/Loctite for fasteners
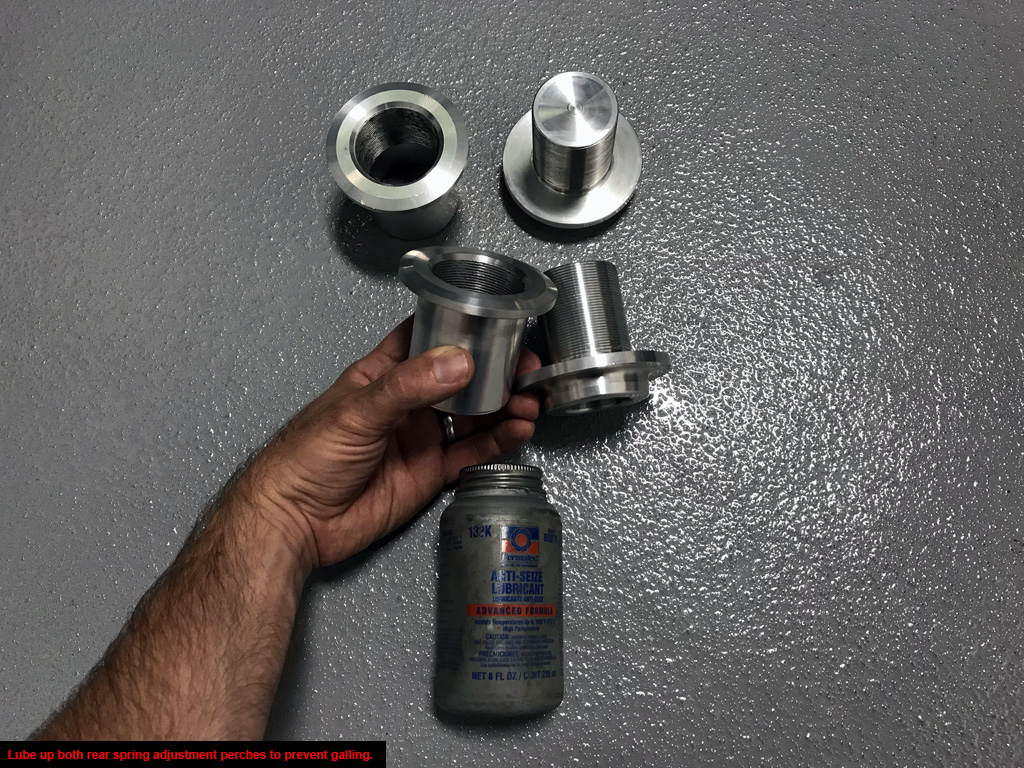
- Permatex Anti-Seize Lubricant for some fasteners
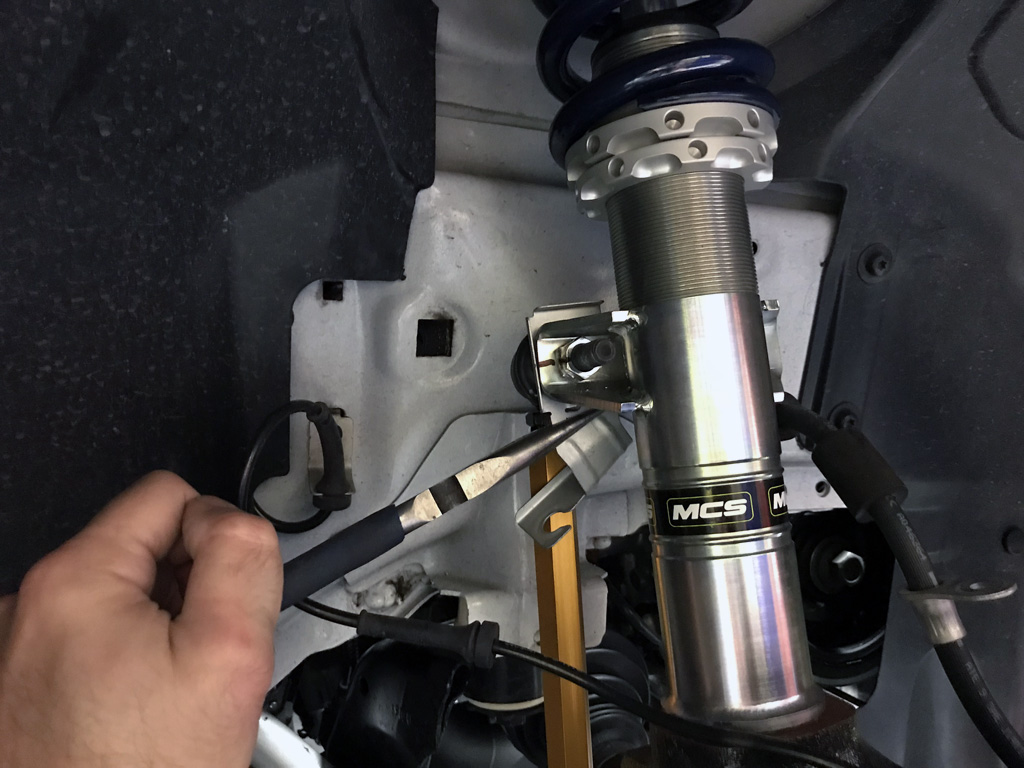
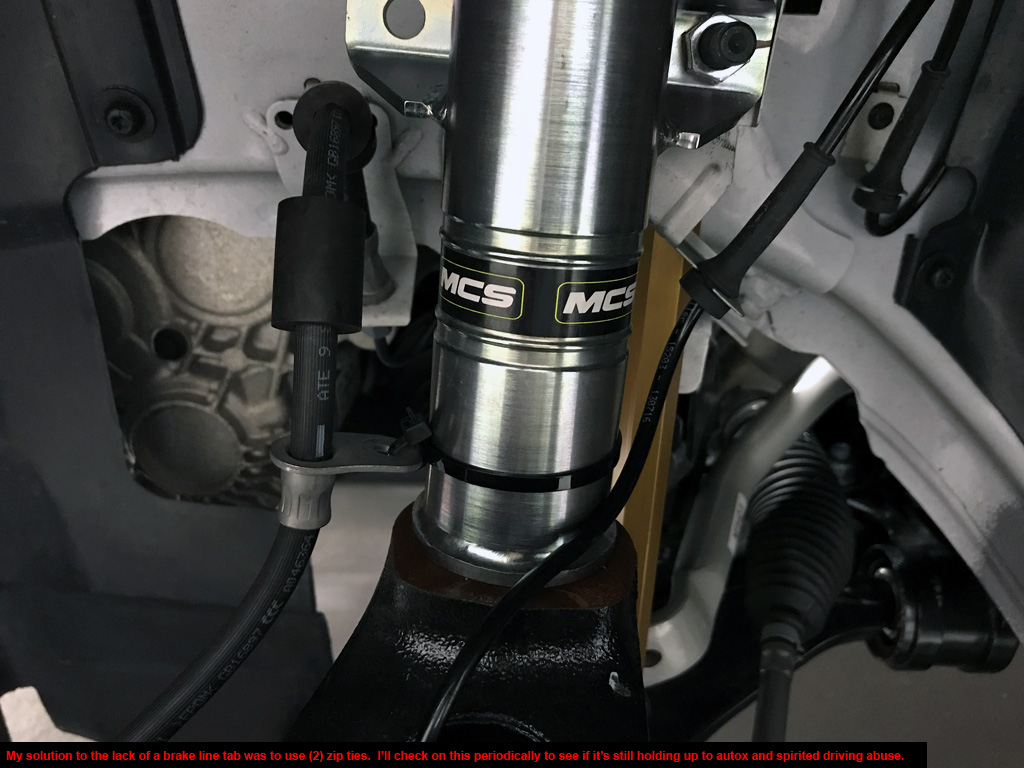
- (4) Zipties for brake lines
- Black/silver sharpies
Tools:
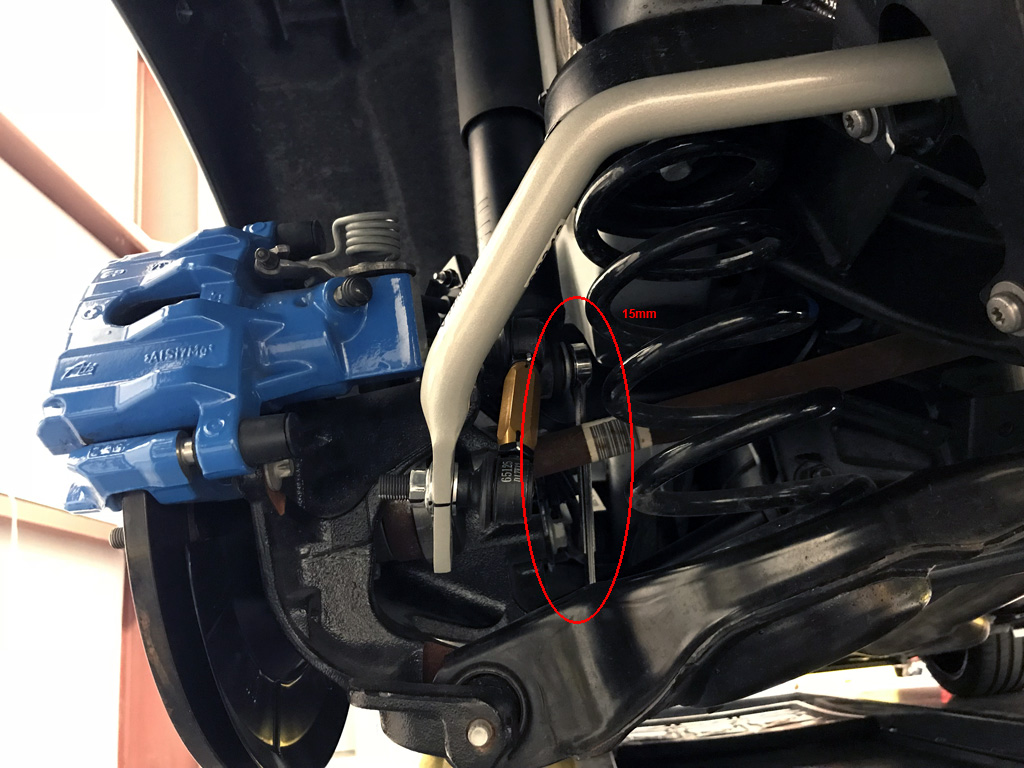
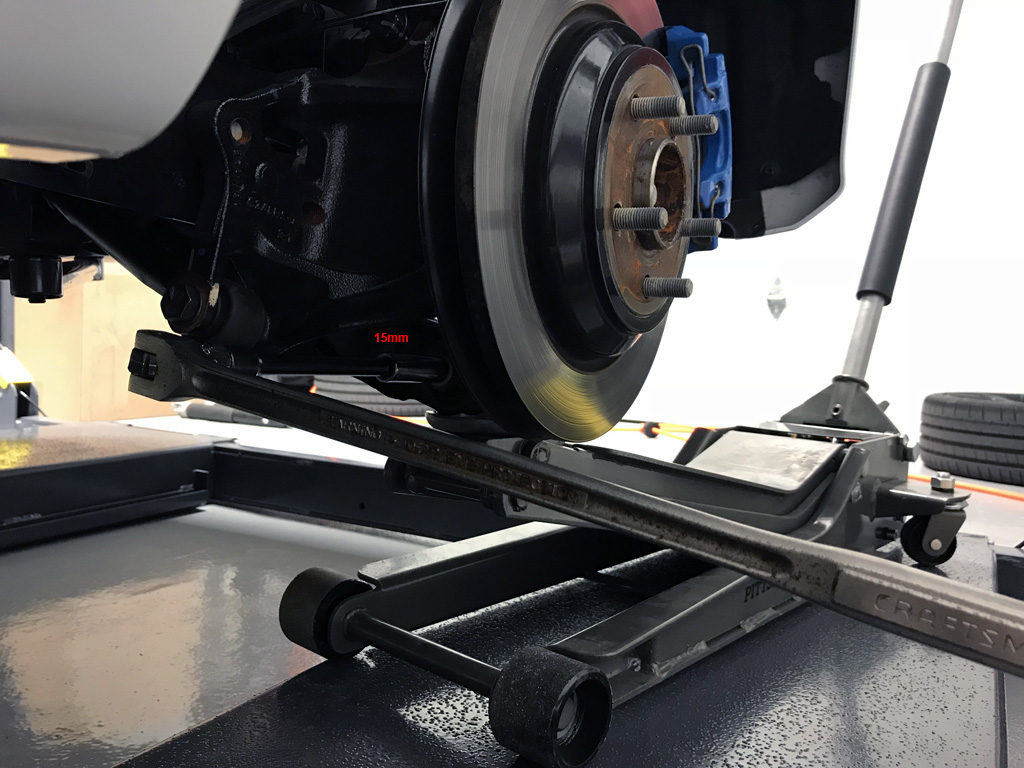
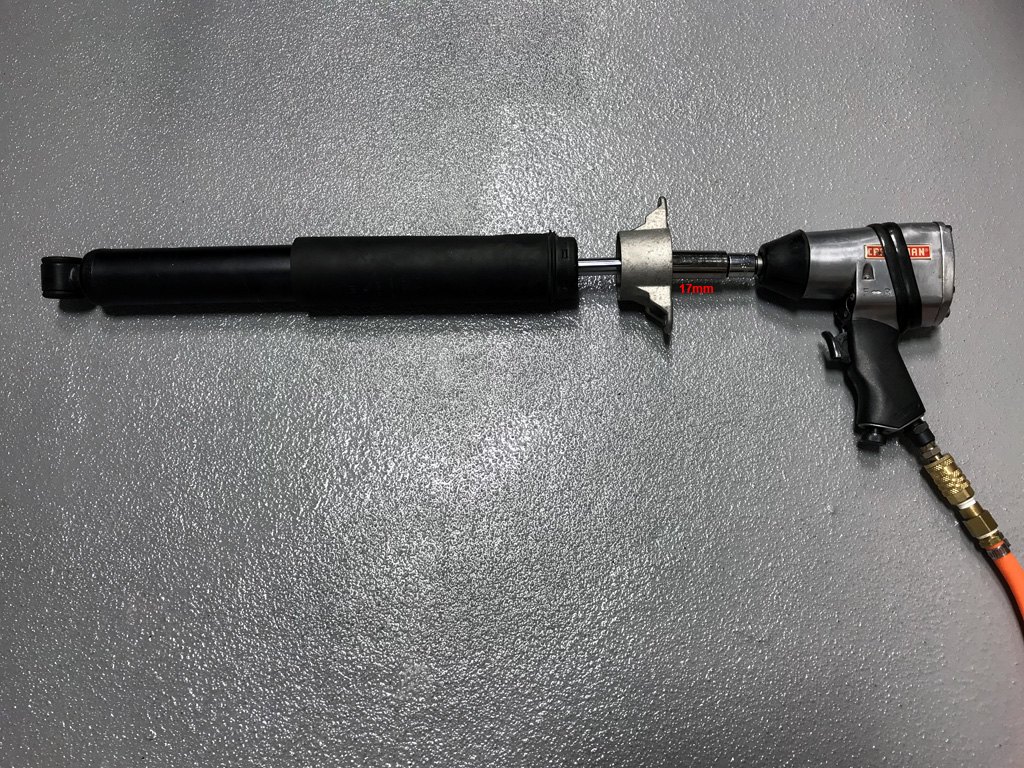
- 1/4" + 3/8" + 1/2" drive ratchets, various sockets (5mm Allen, 10mm, 12mm, 15mm, 17mm, 18mm, 19mm, T30)
- 1/2" breaker bar and 1/2" to 3/8" socket adapter
- Factory RS wheel lock key (in glove box?)
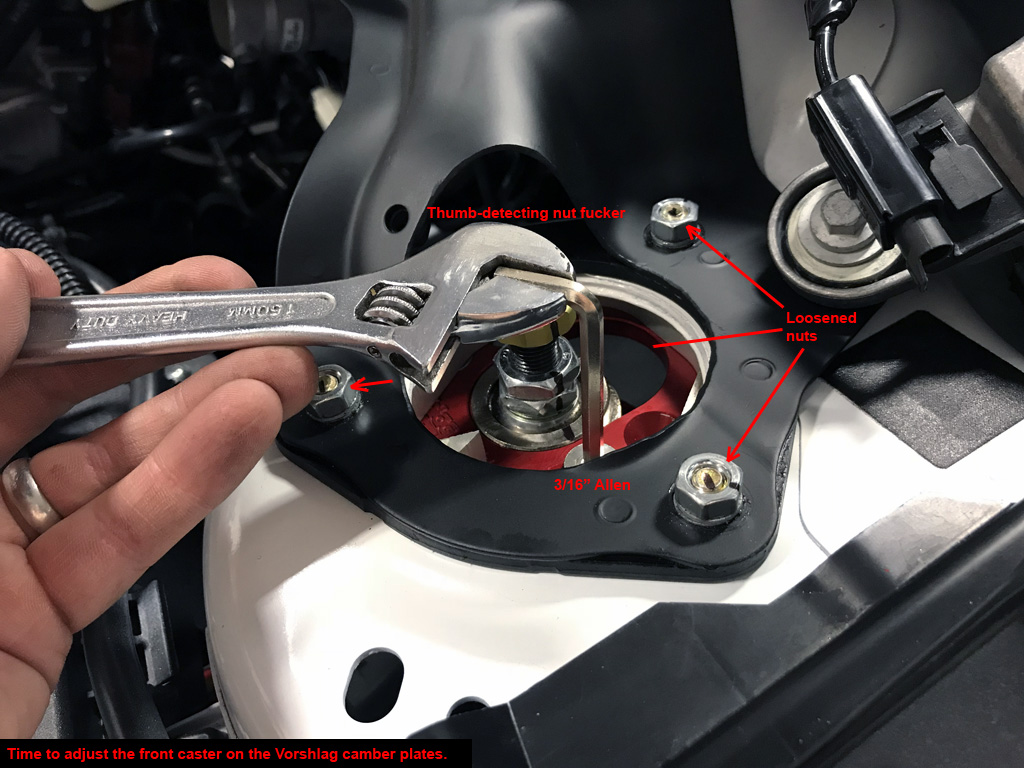
- 3/16" Allen for Vorshlag camber plates
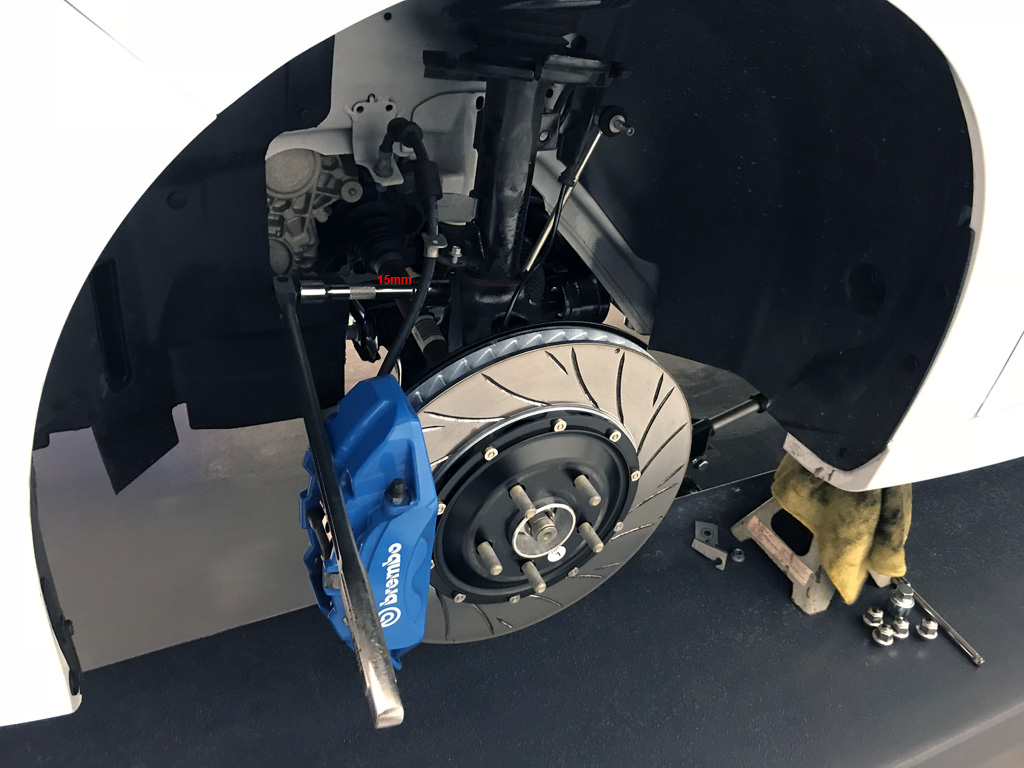
- 15mm combination wrench for front (upper) sway bar end links
- 3/8" Torque wrench (18 lb-ft, 53 lb-ft, 59 lb-ft)
- 1/2" Torque wrench (76 lb-ft, 85 lb-ft)
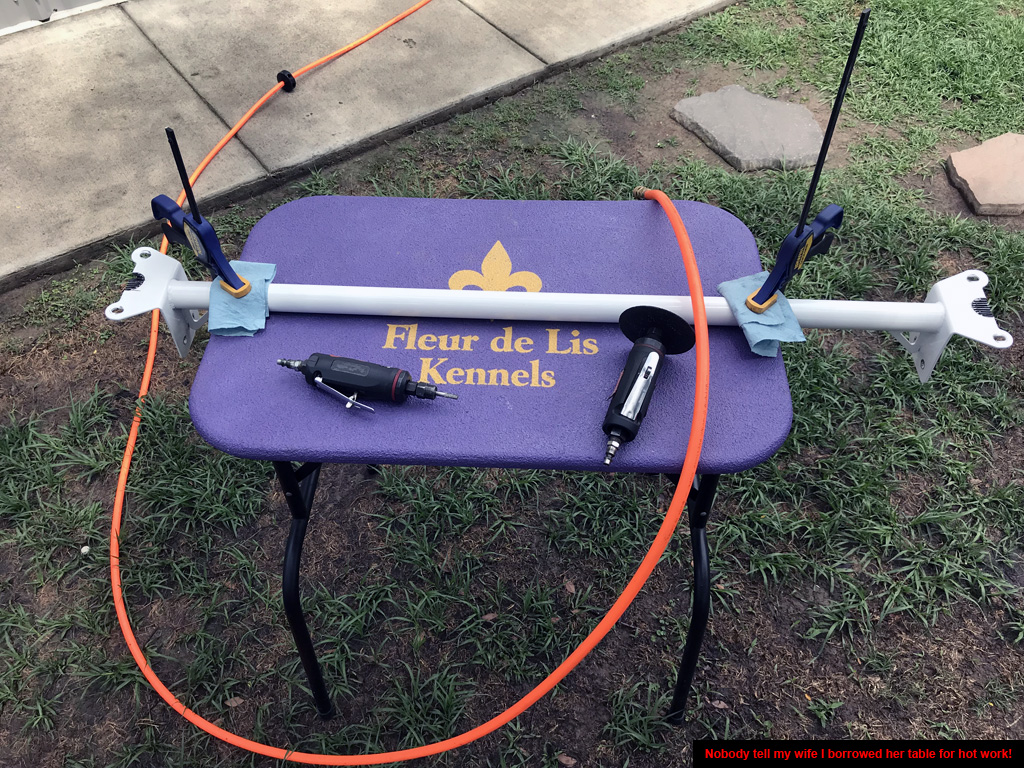
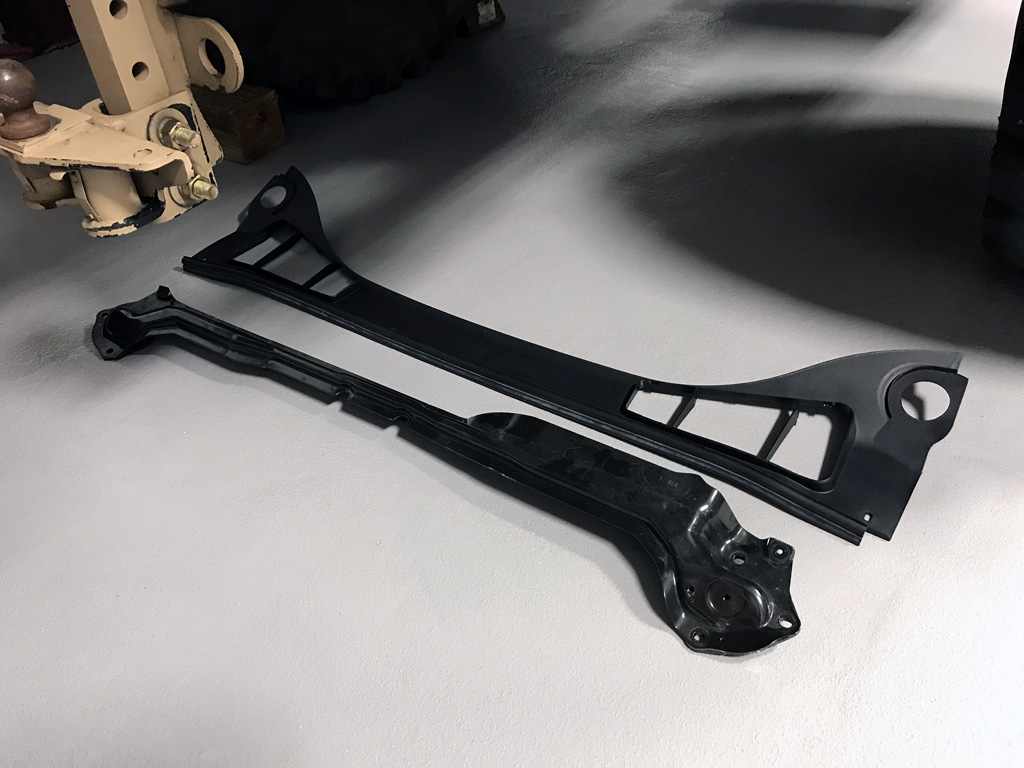
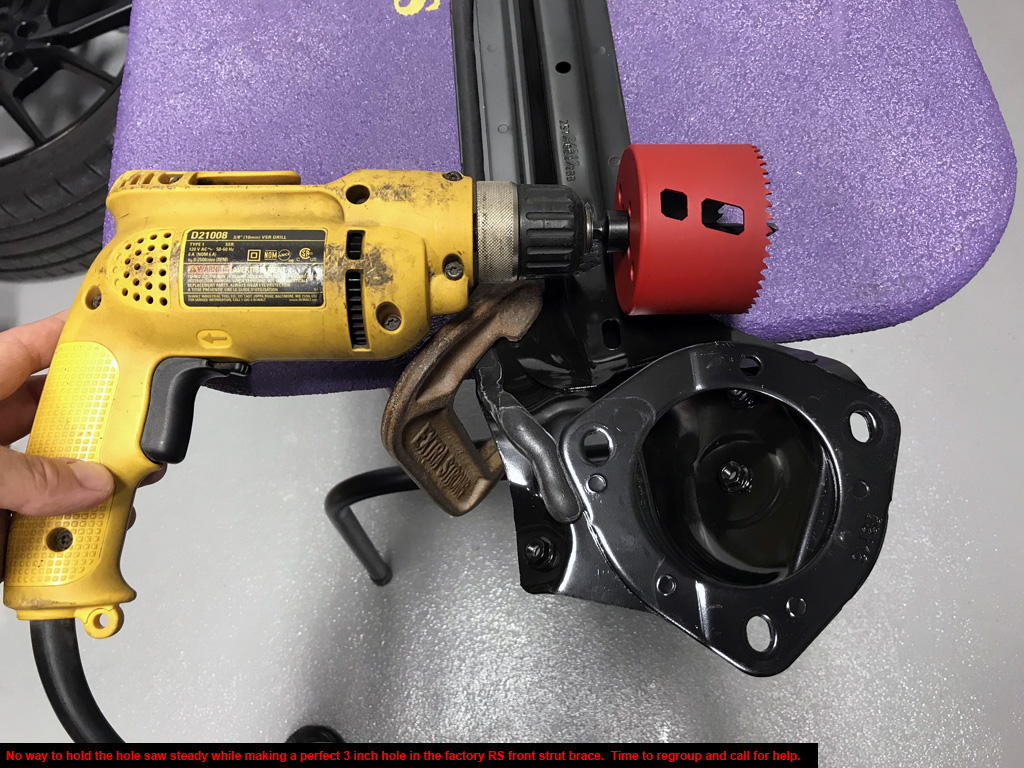
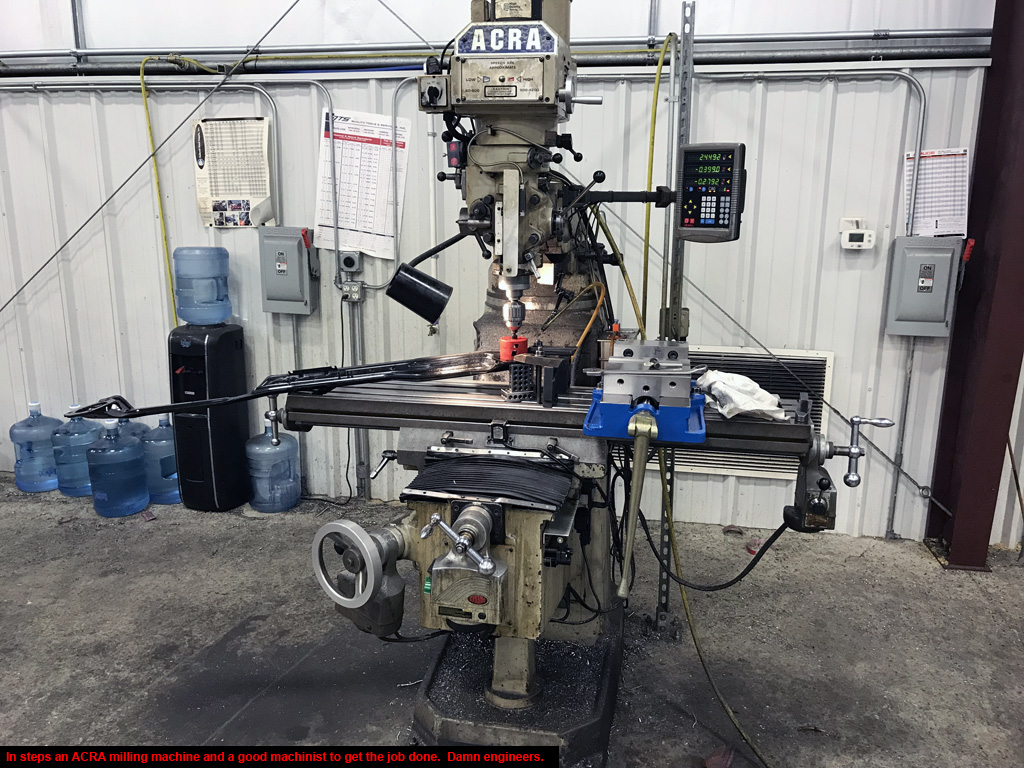
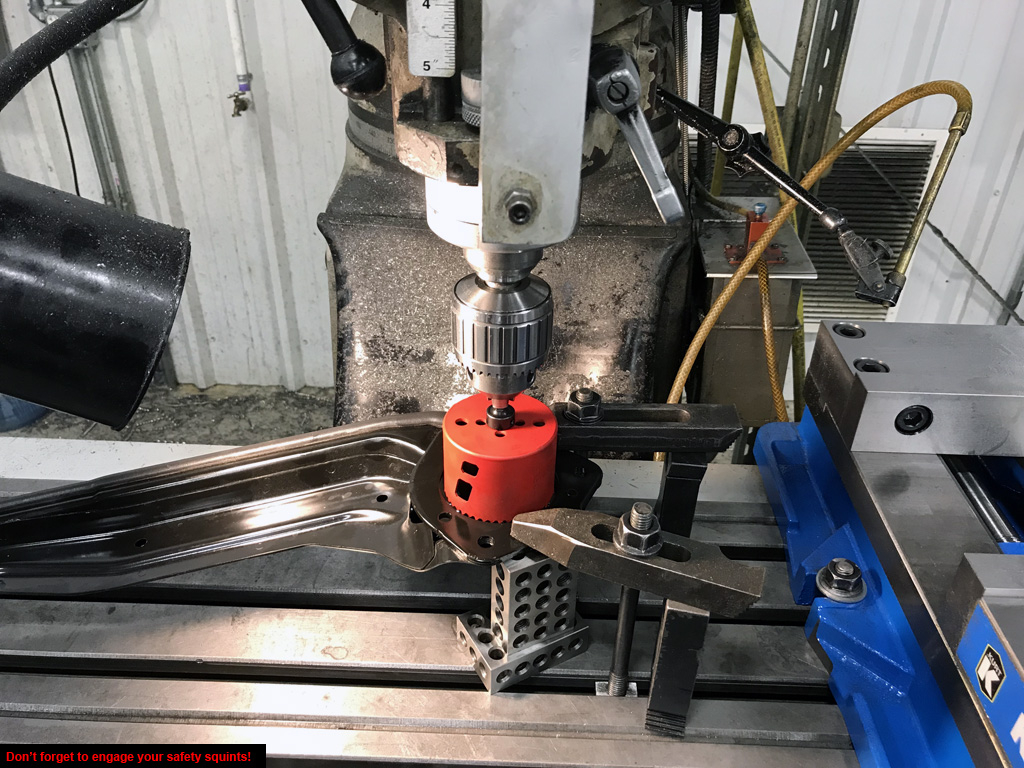
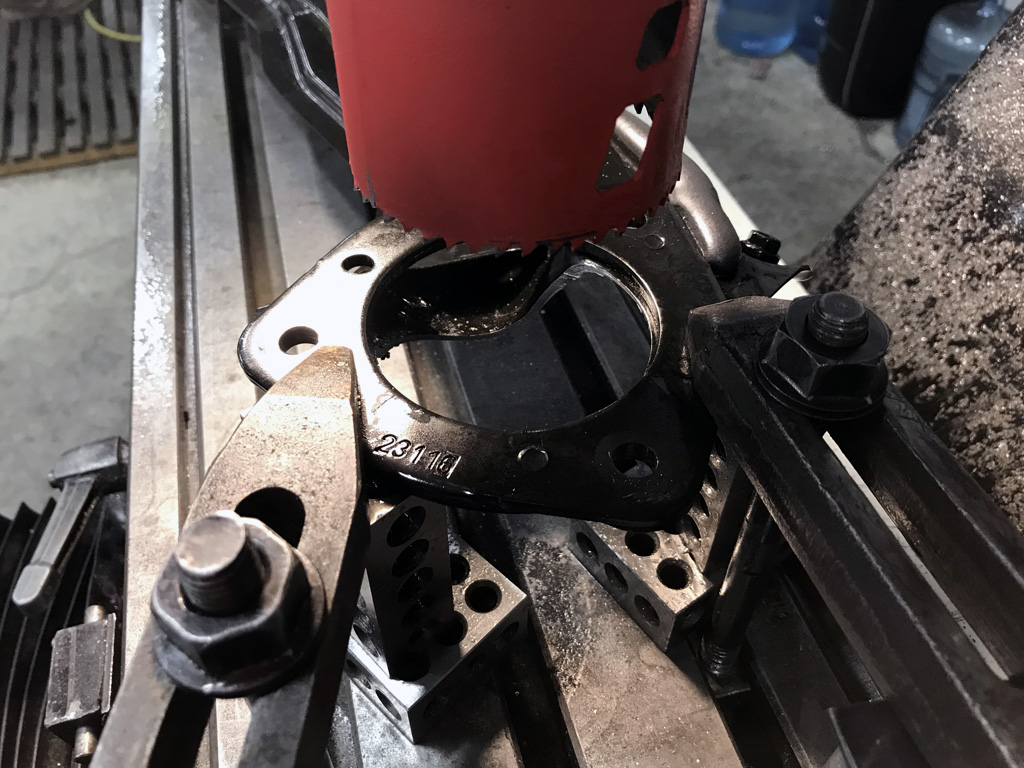
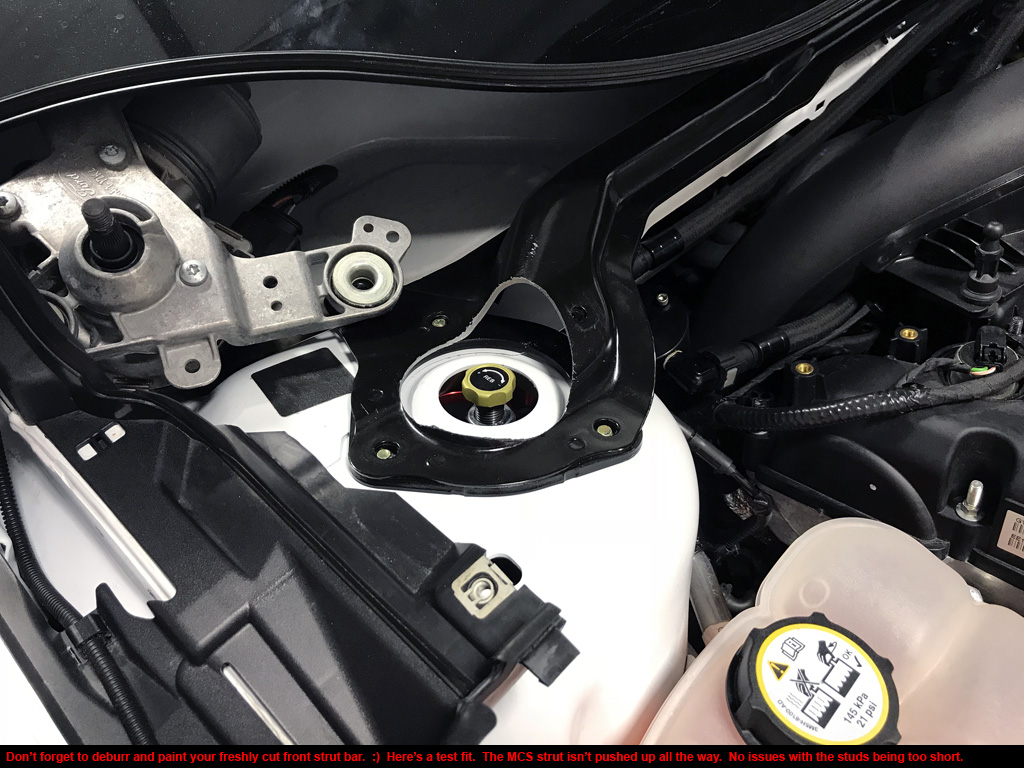
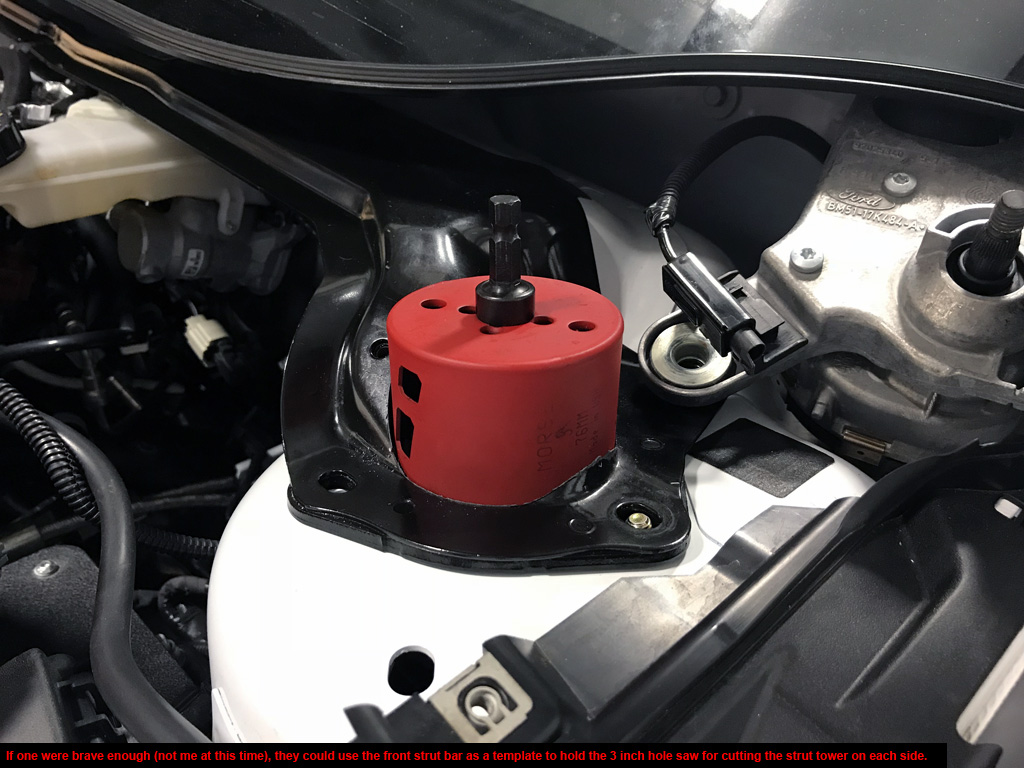
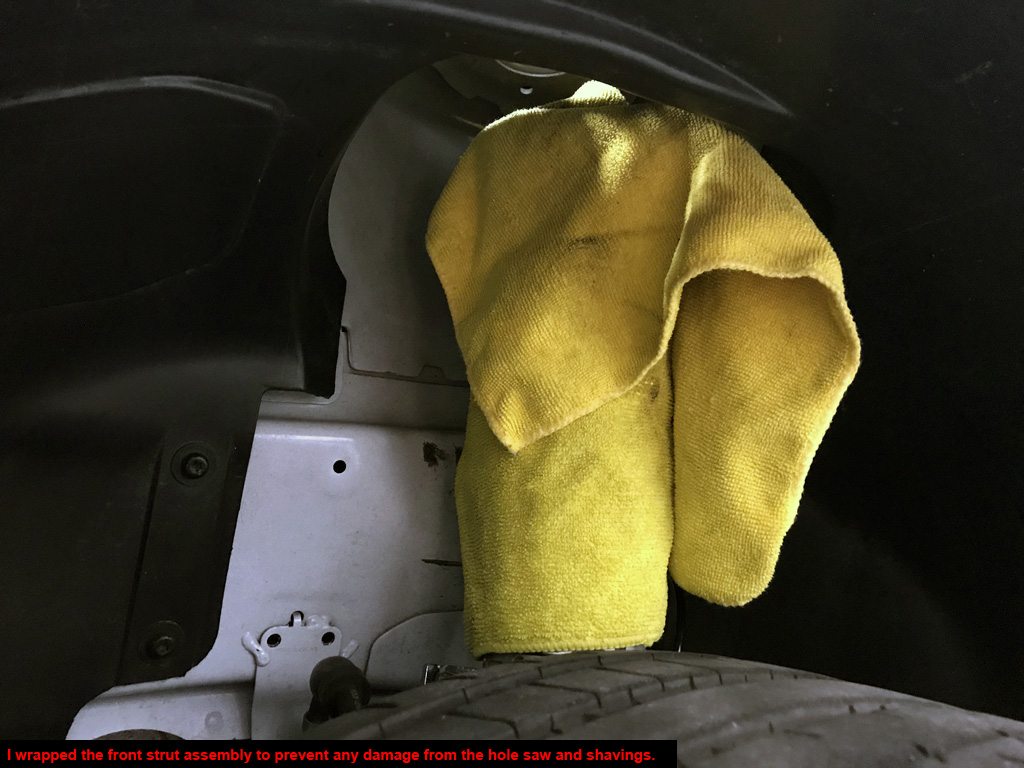
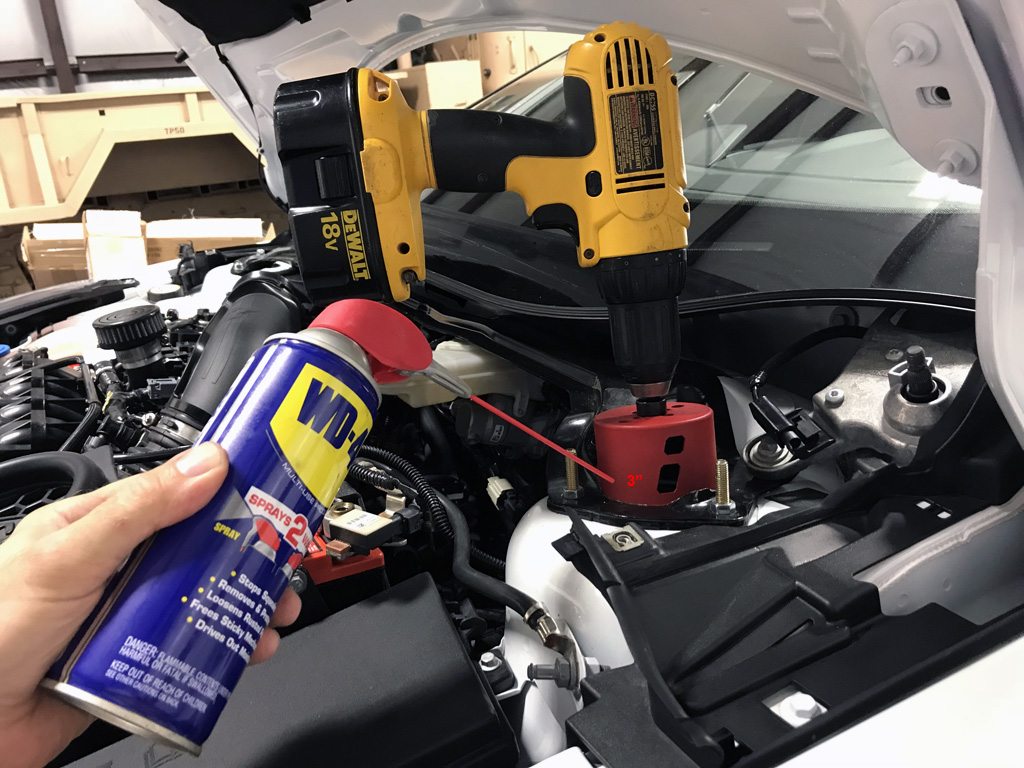
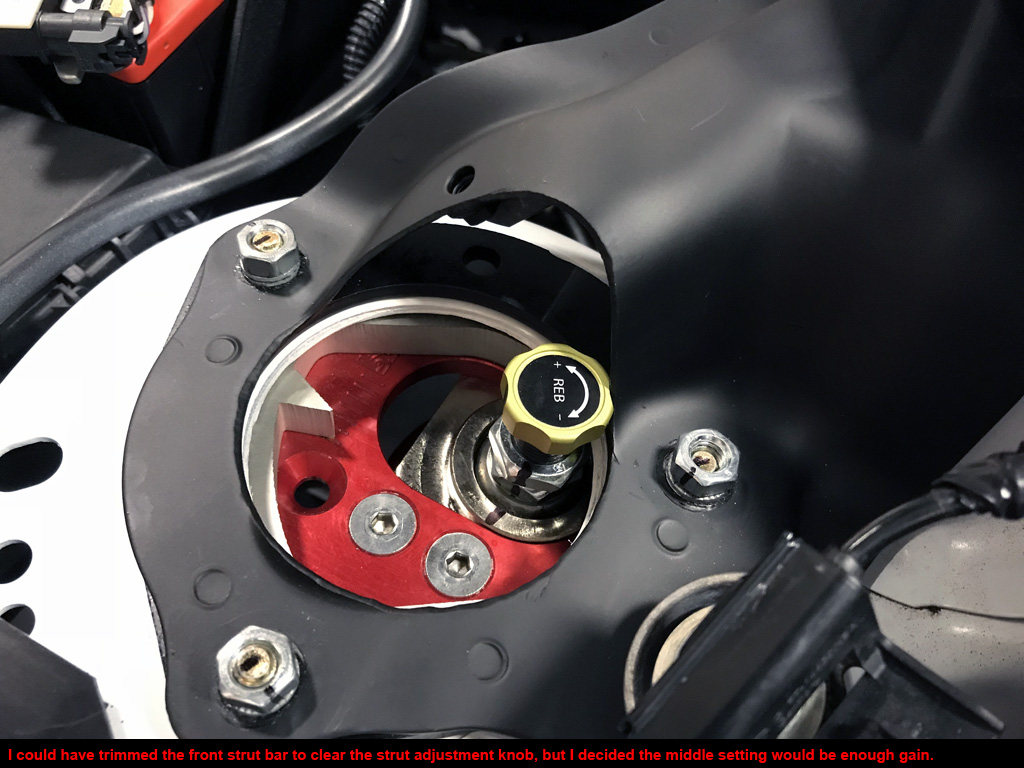
- Die grinder or 3 inch holesaw for front strut bar (Optional = $55K ACRA milling machine)
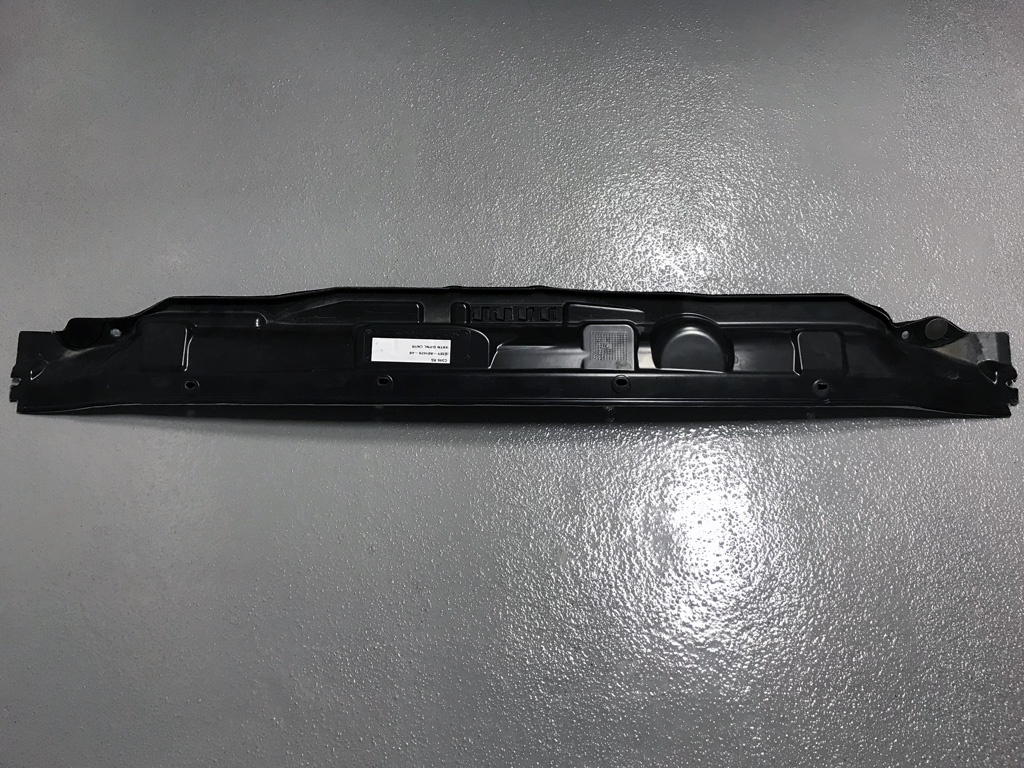
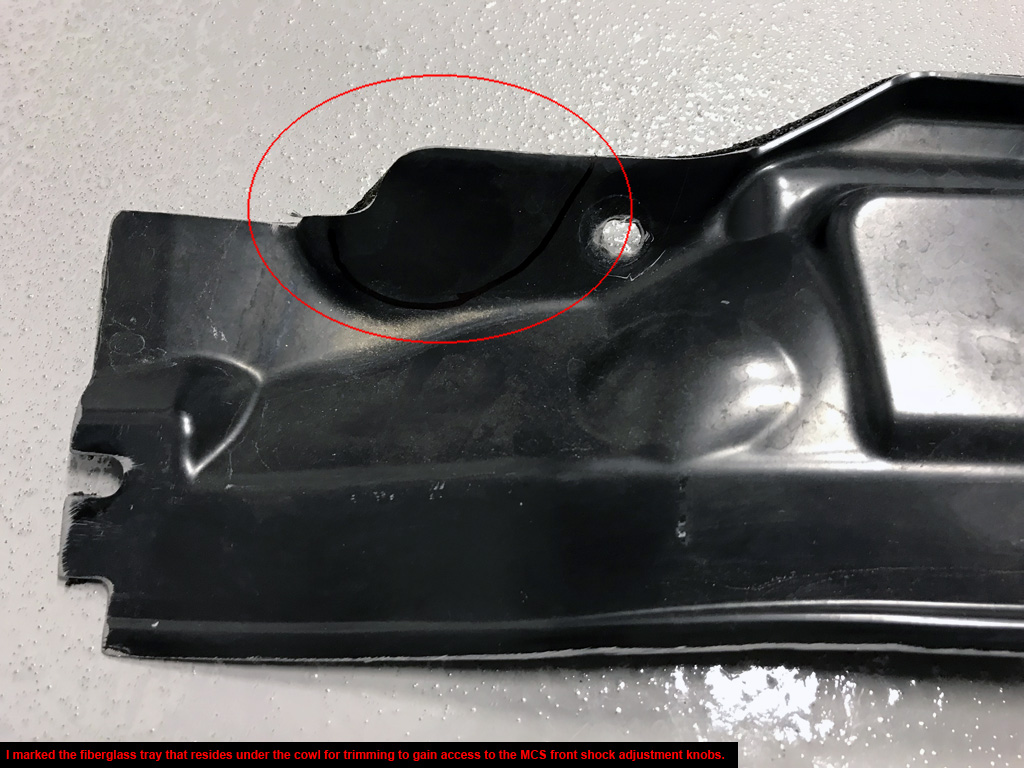
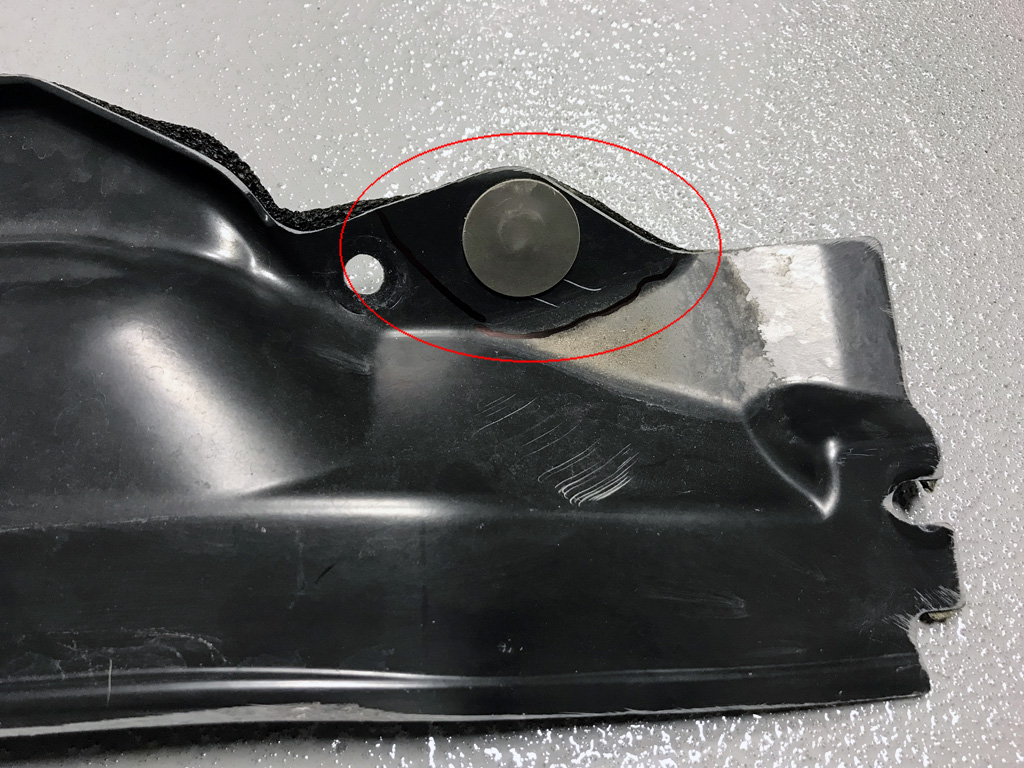
- Tin snips for trimming factory fiberglass cowl undertray
- Pry bar for rear lower control arms
- Needle nose pliers to fix front ABS line brackets
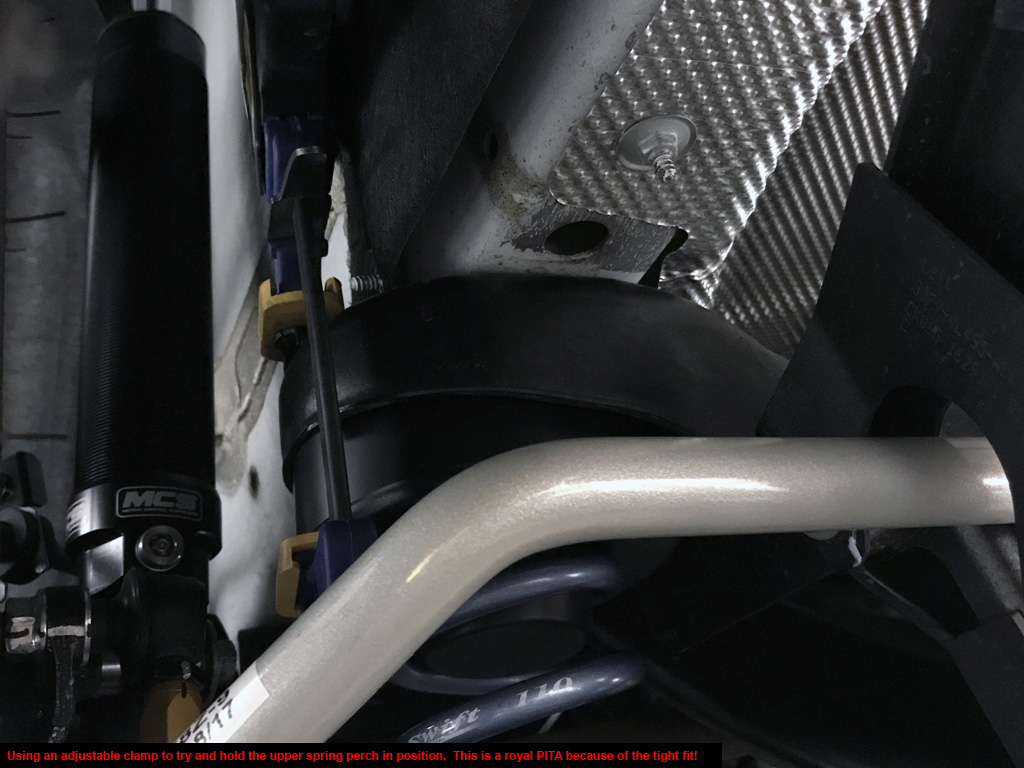
- Irwin Quick-Grip Clamp for rear upper spring perch install
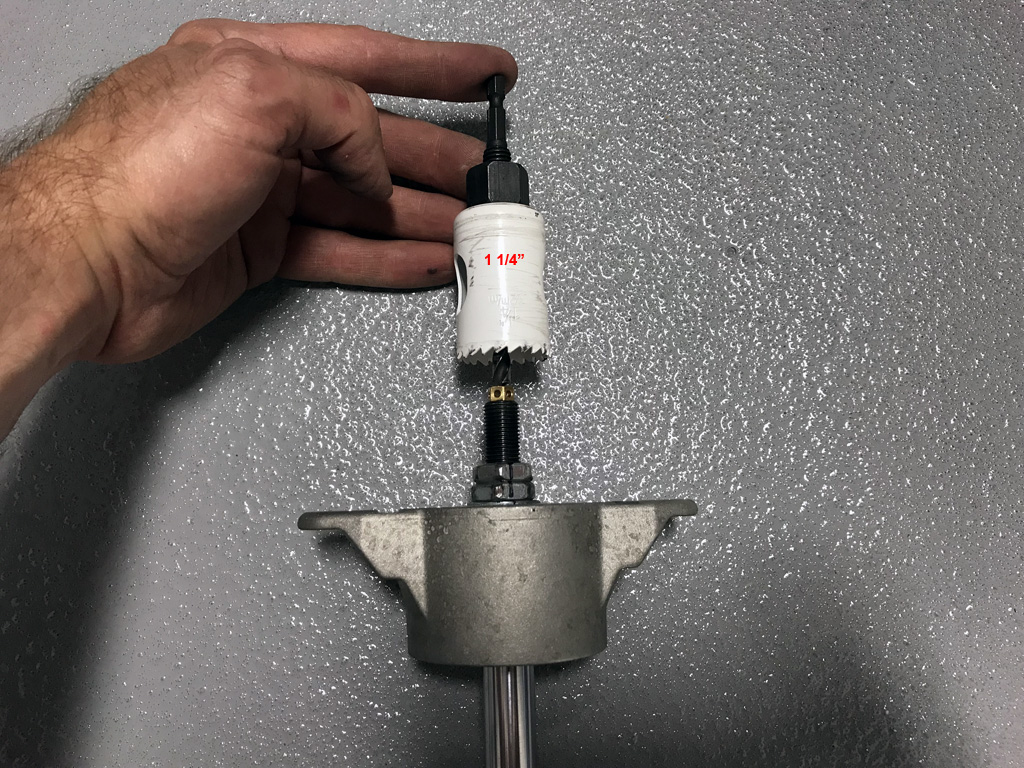
- Drill and hole saws (1 1/4", 3")
- Jack + Jack Stands
- Measuring tape
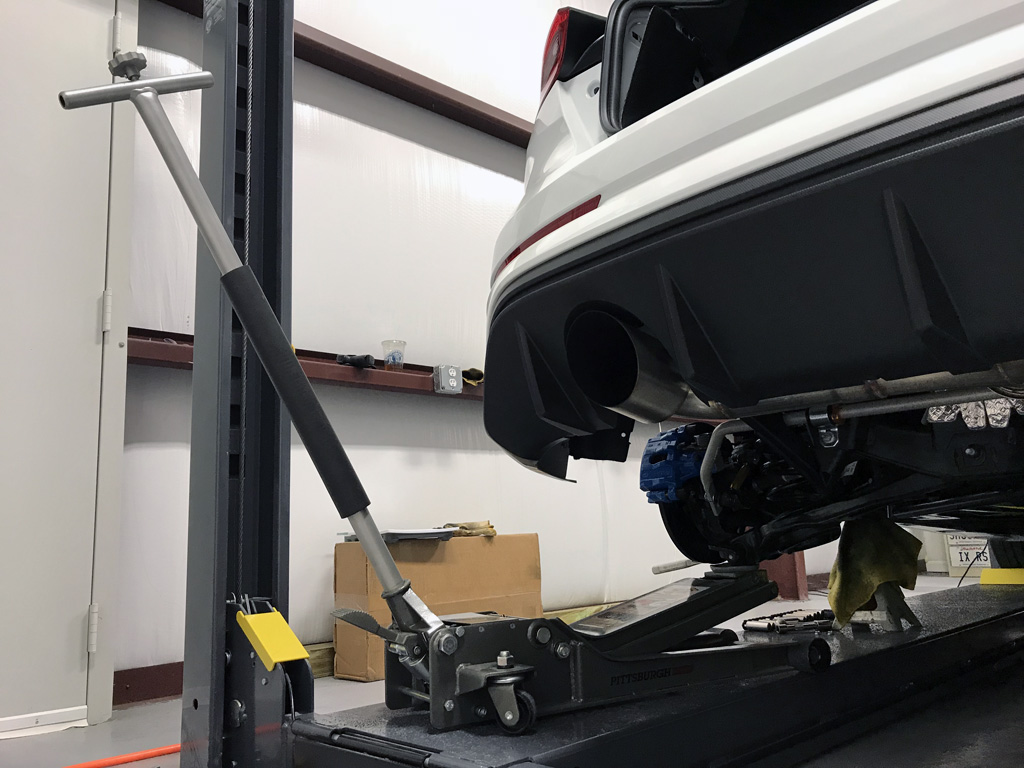
- 9,000 lb 4-post lift (optional, but highly recommended!)
*A friend for moral support is always optional. If friend isn't available Pandora will suffice.
Notes:
1. Install takes a few days if you are on vacation with nothing else to do. I took my time because of taking pictures for this website.
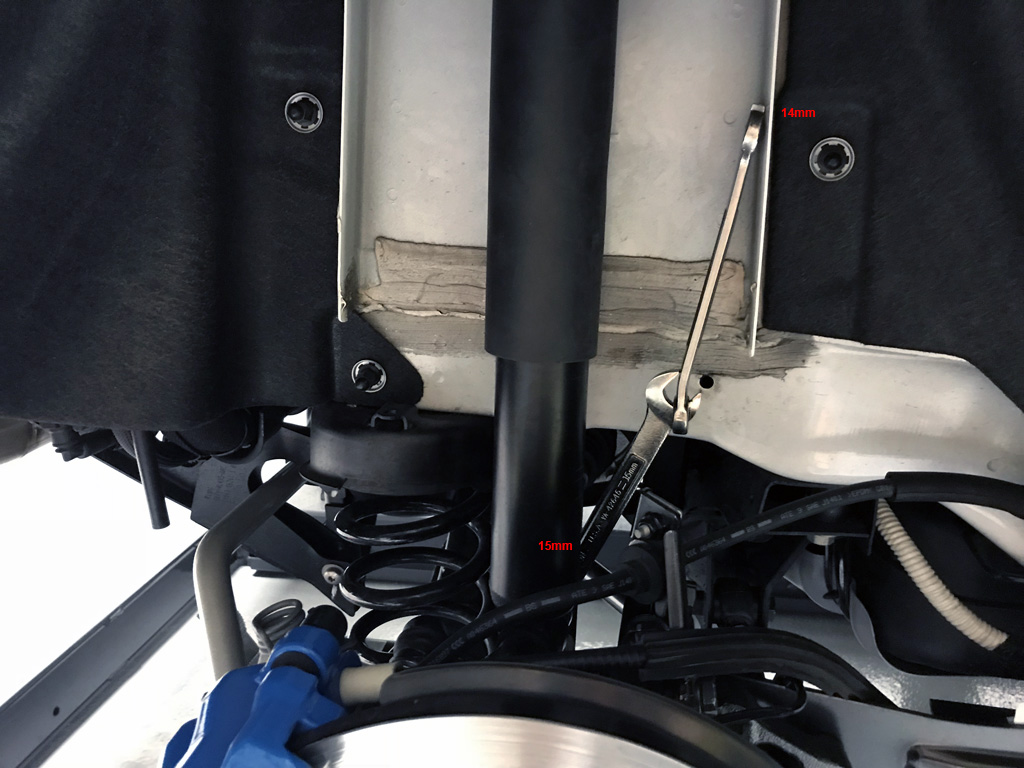
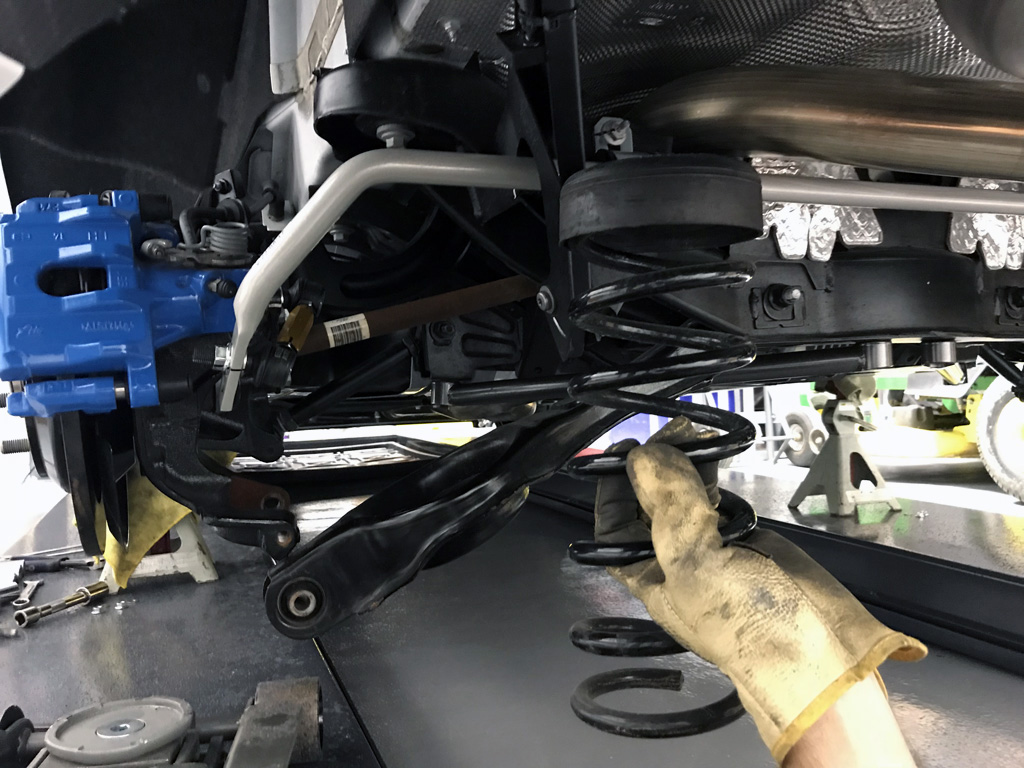
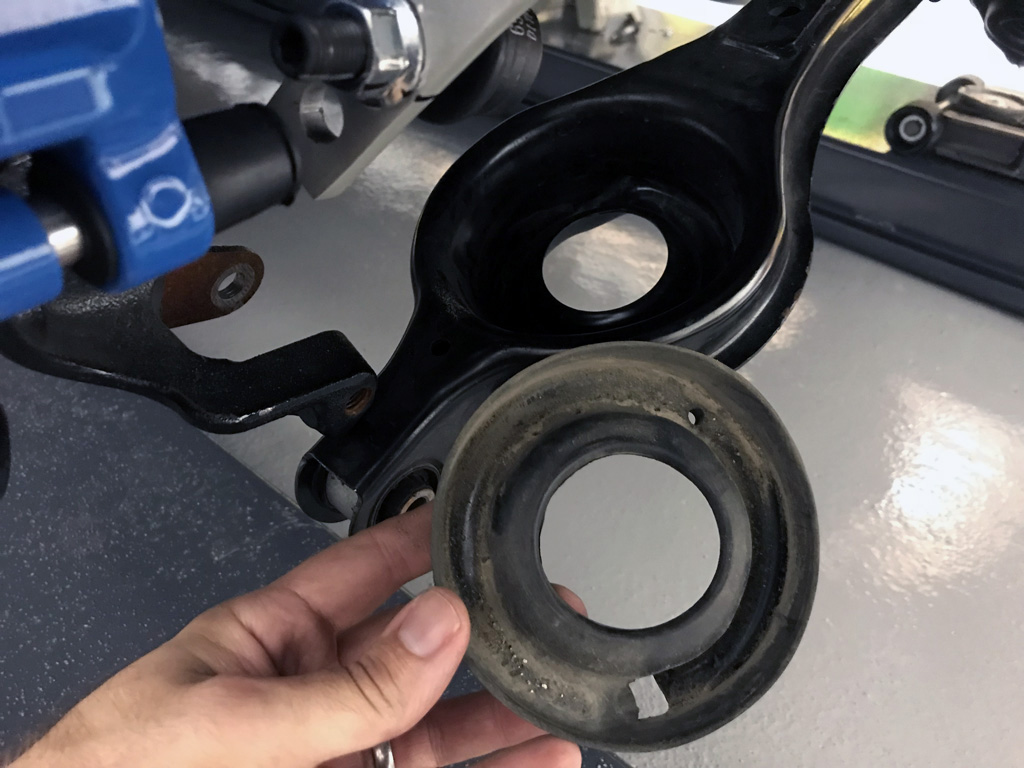
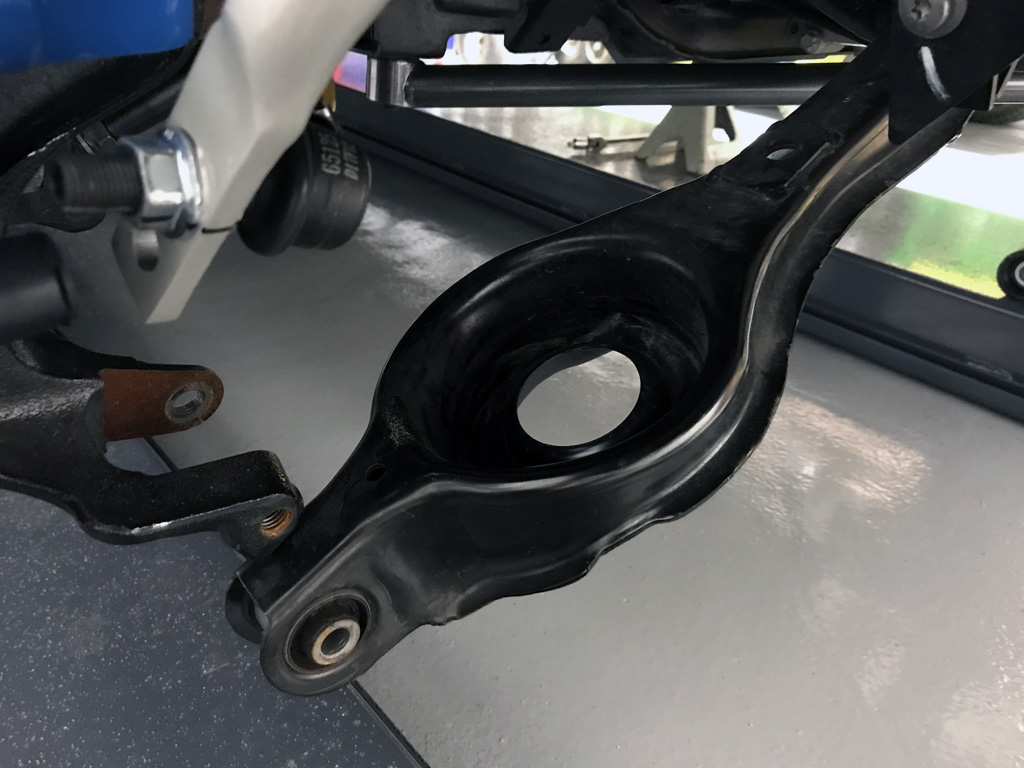
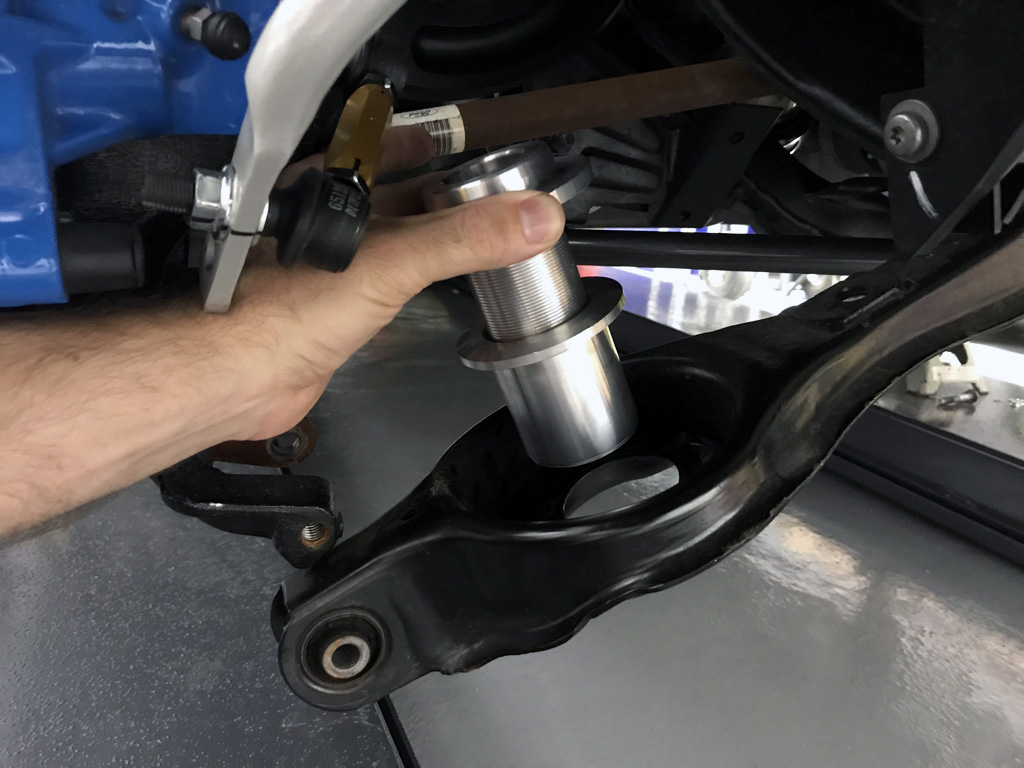
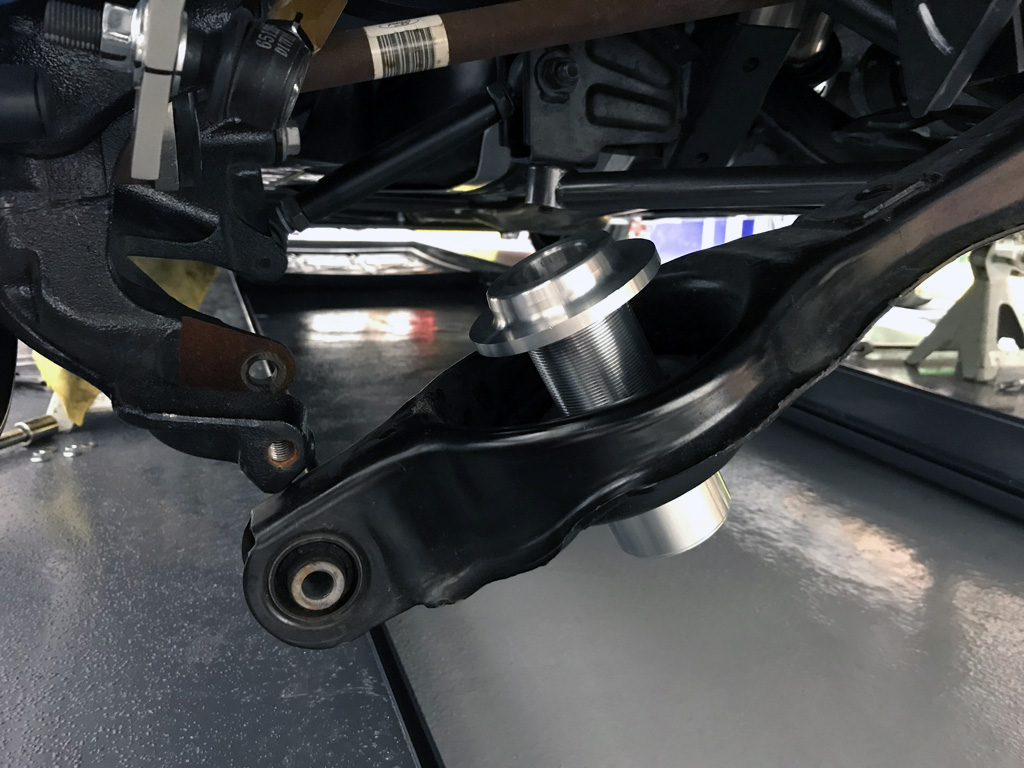
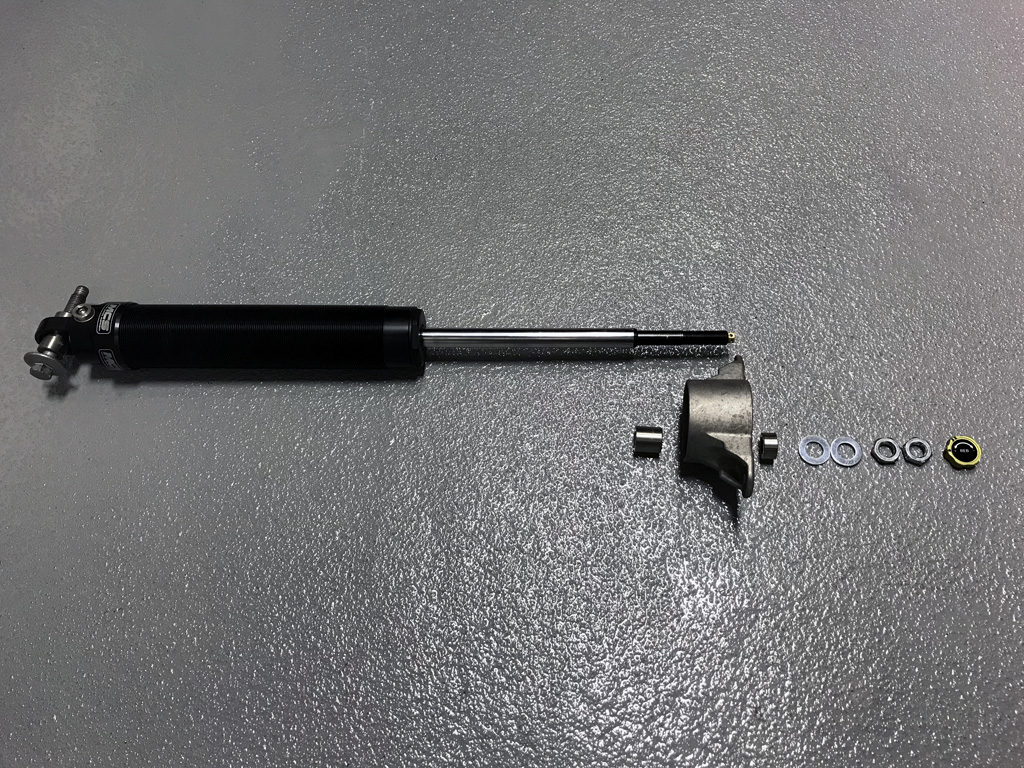
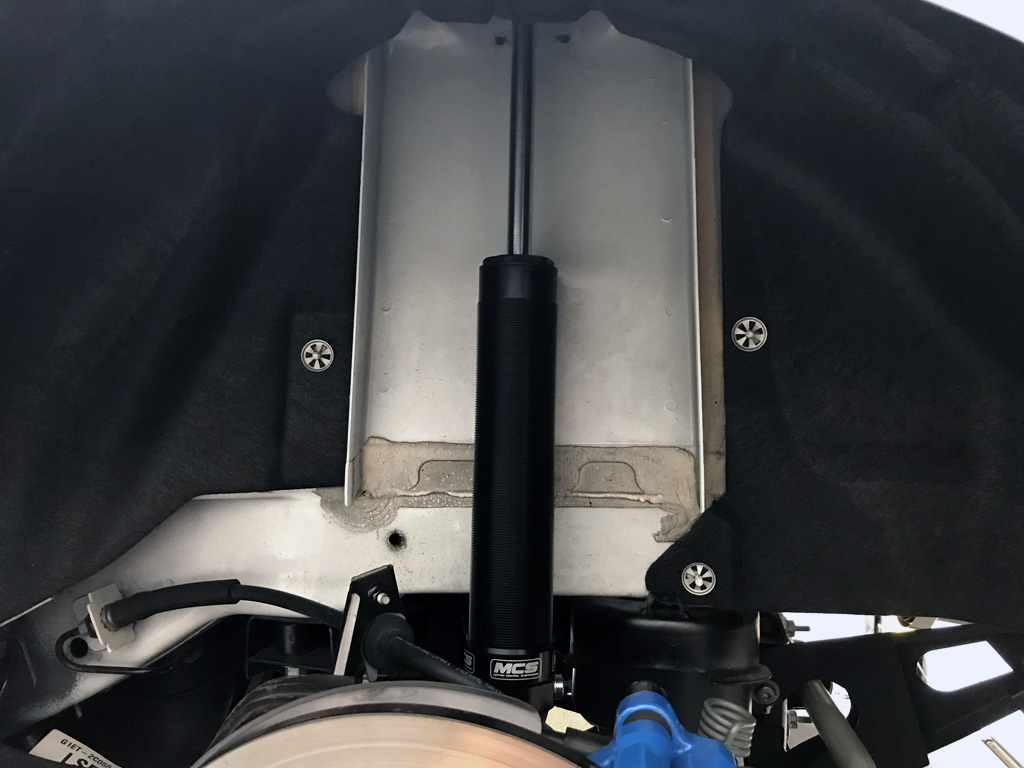
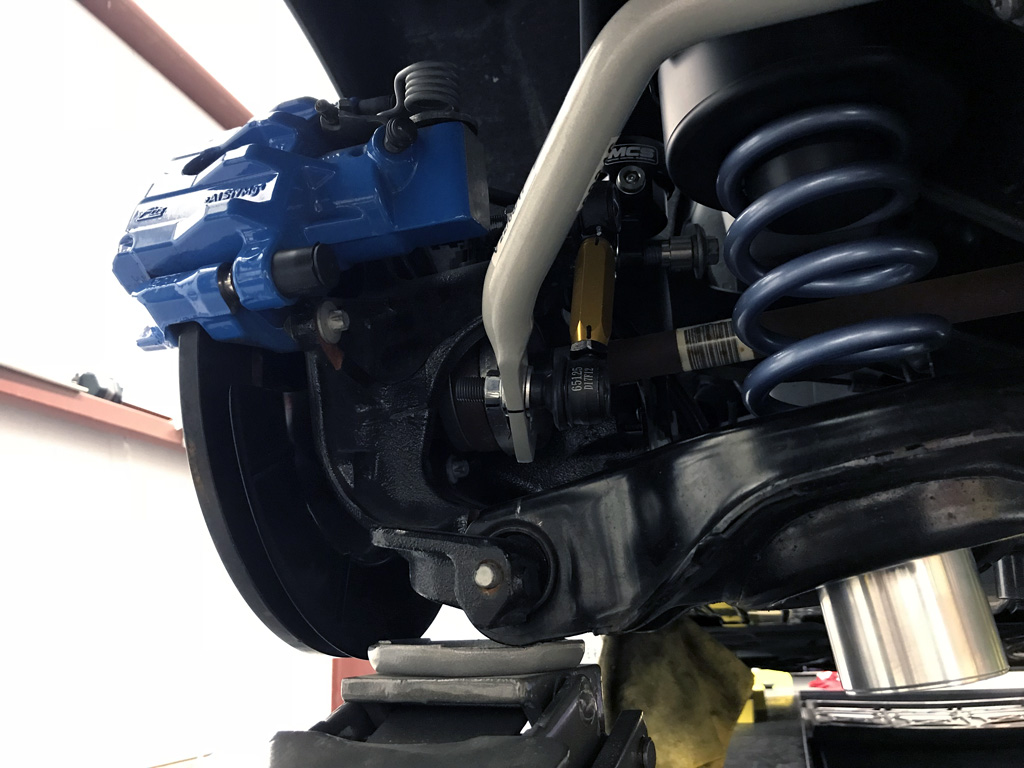
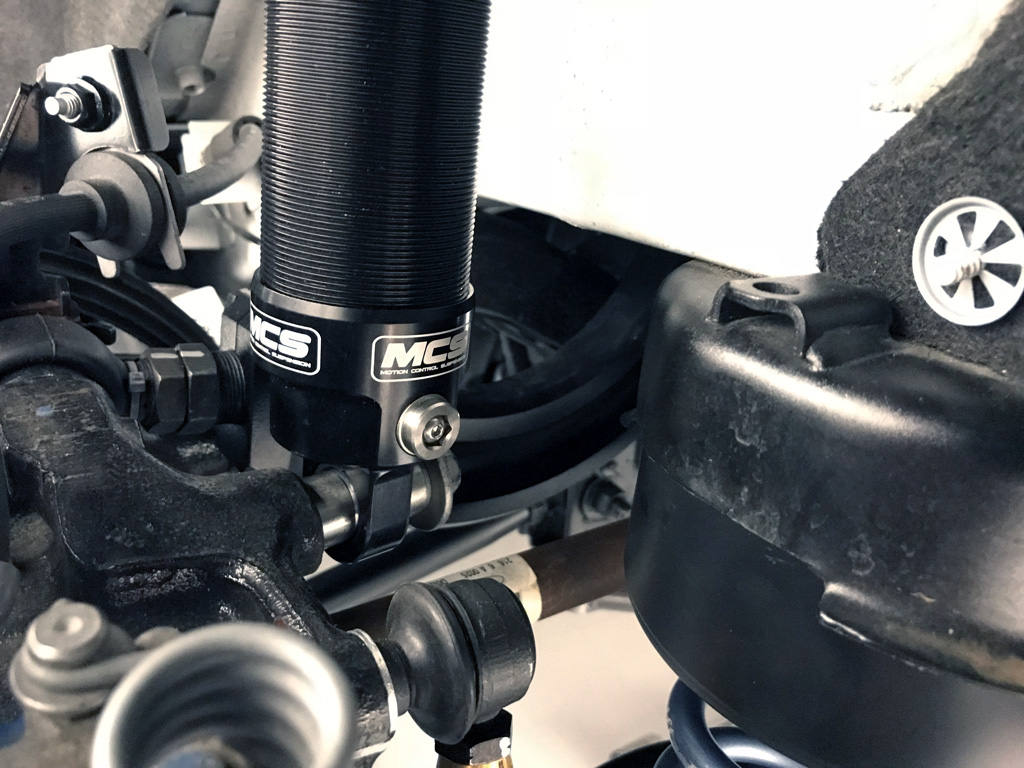
2. The front coilover install is fairly time consuming. The rear is easy un-bolt, swap old for new shocks & springs (divorced setup).
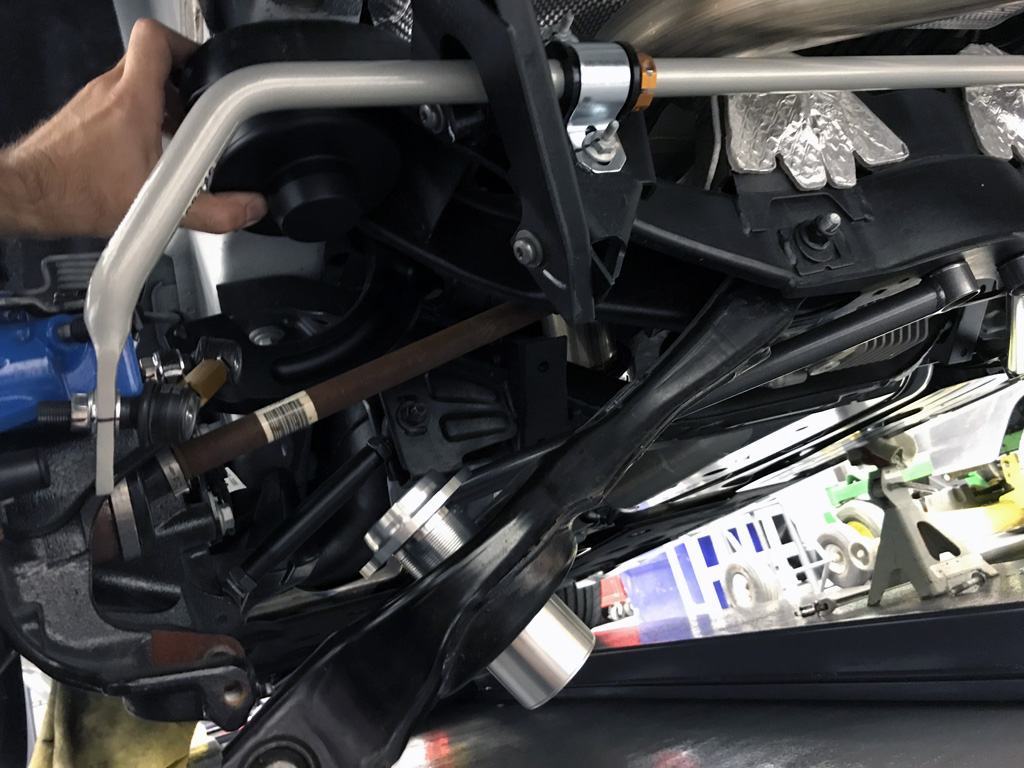
3. I don't necessarily recommend doing the rear install with the sway bar connected. I was careful about it.
4. No undertray removal. That's a win in my book any day.
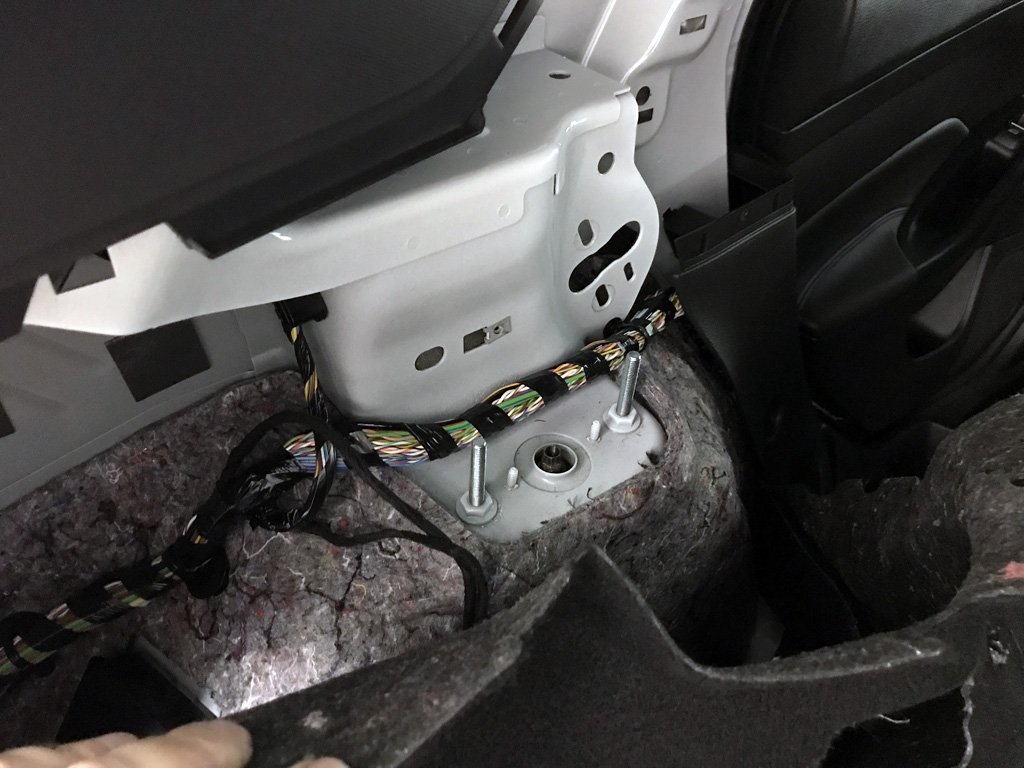
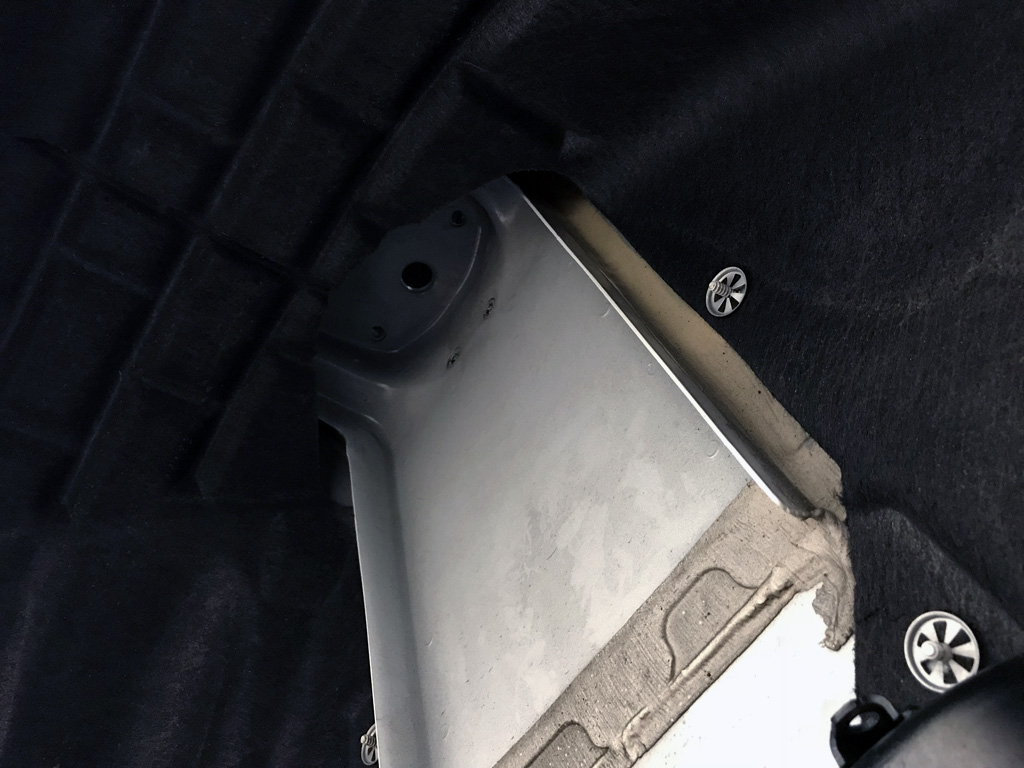
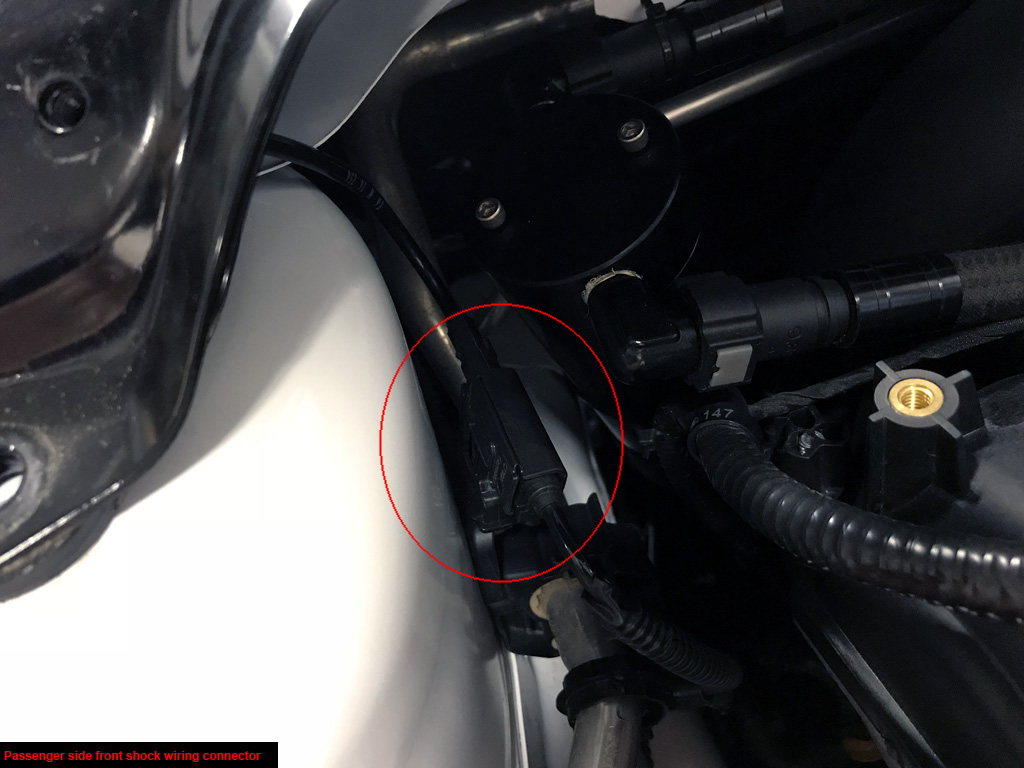
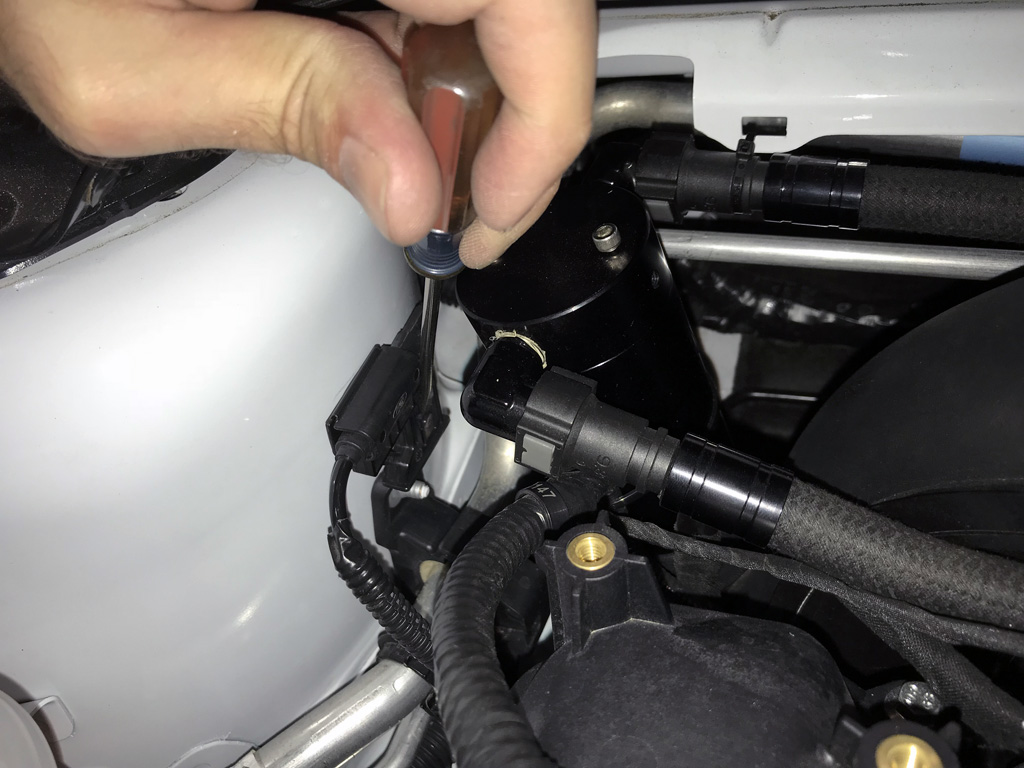
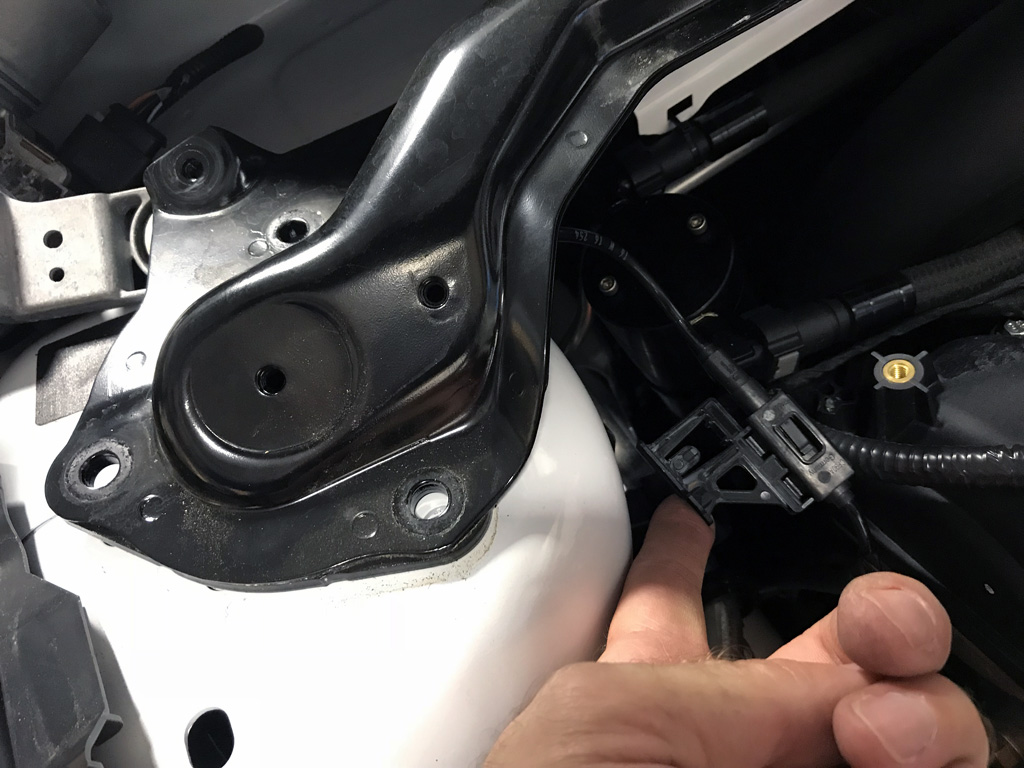
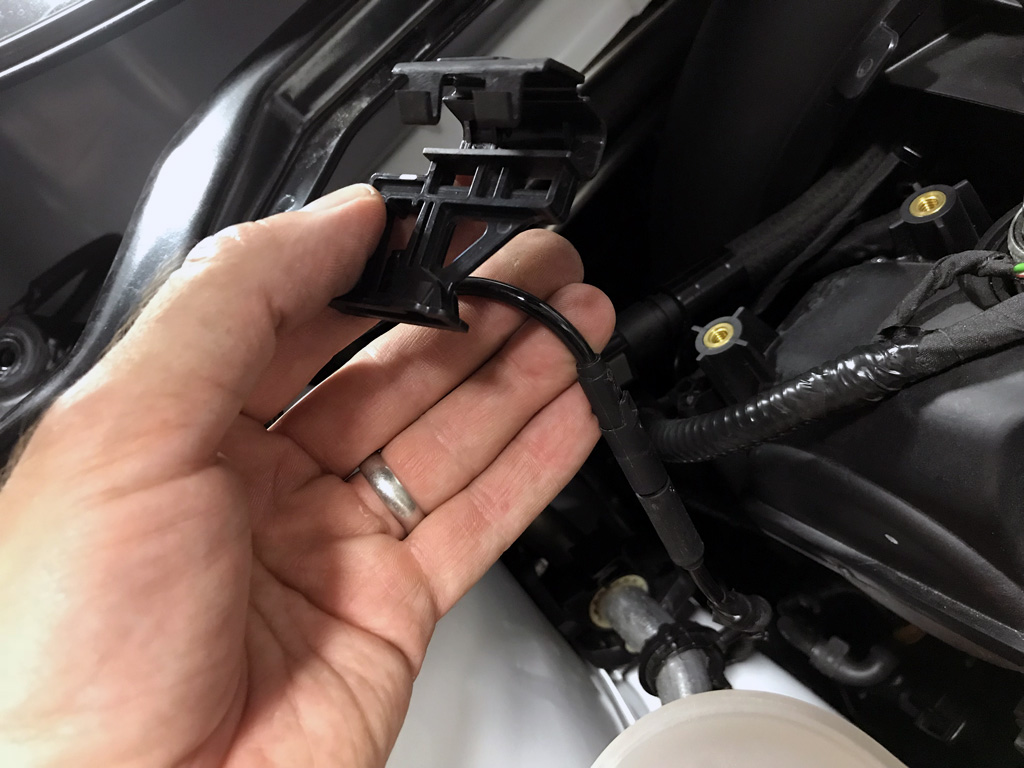
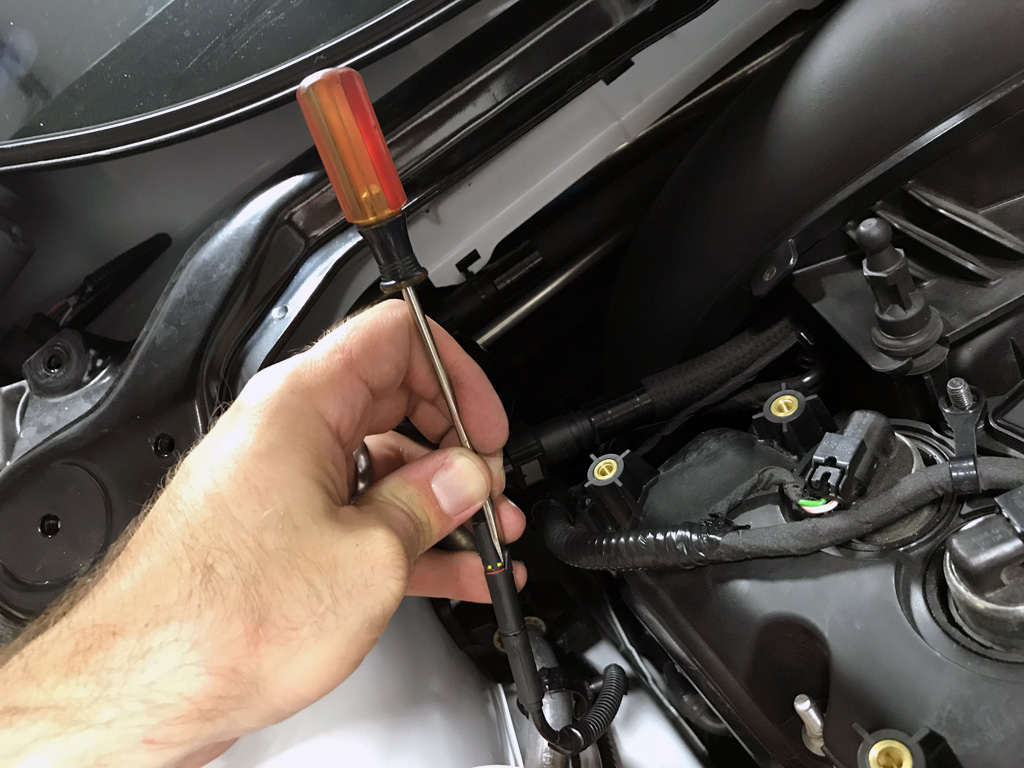
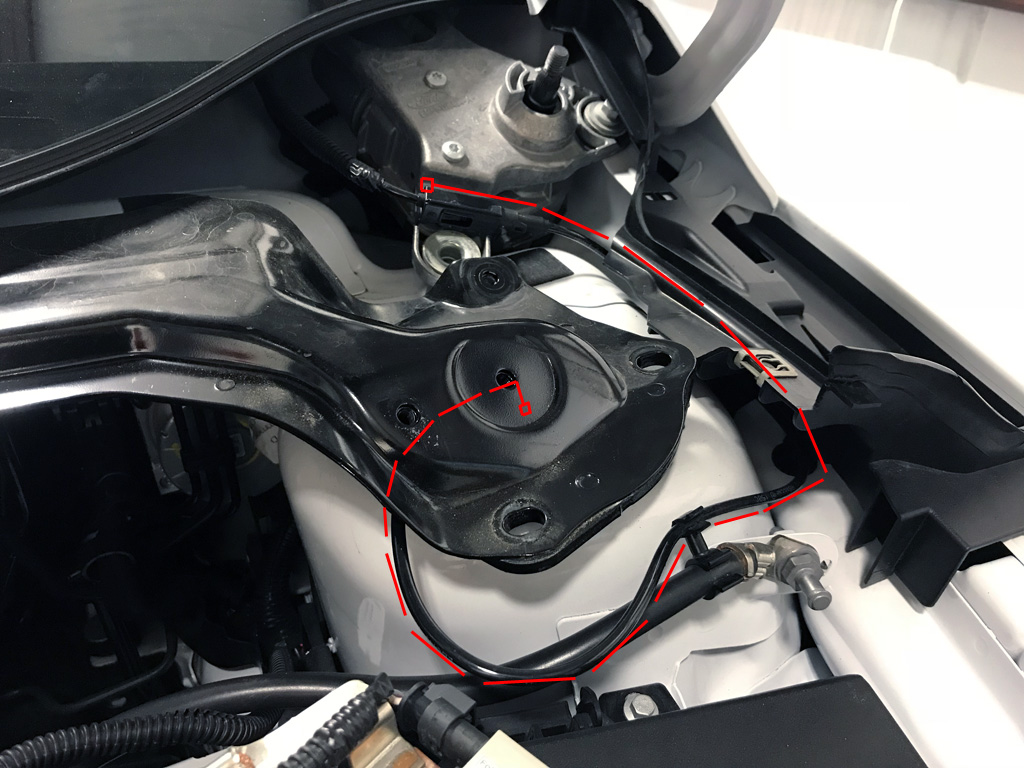
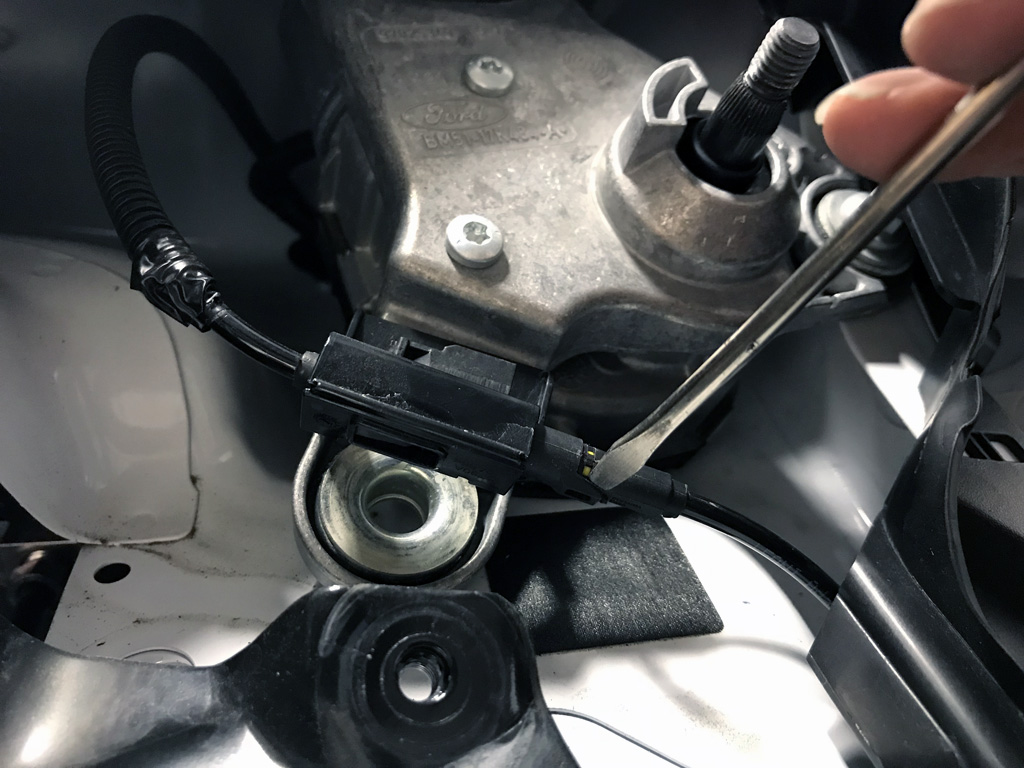
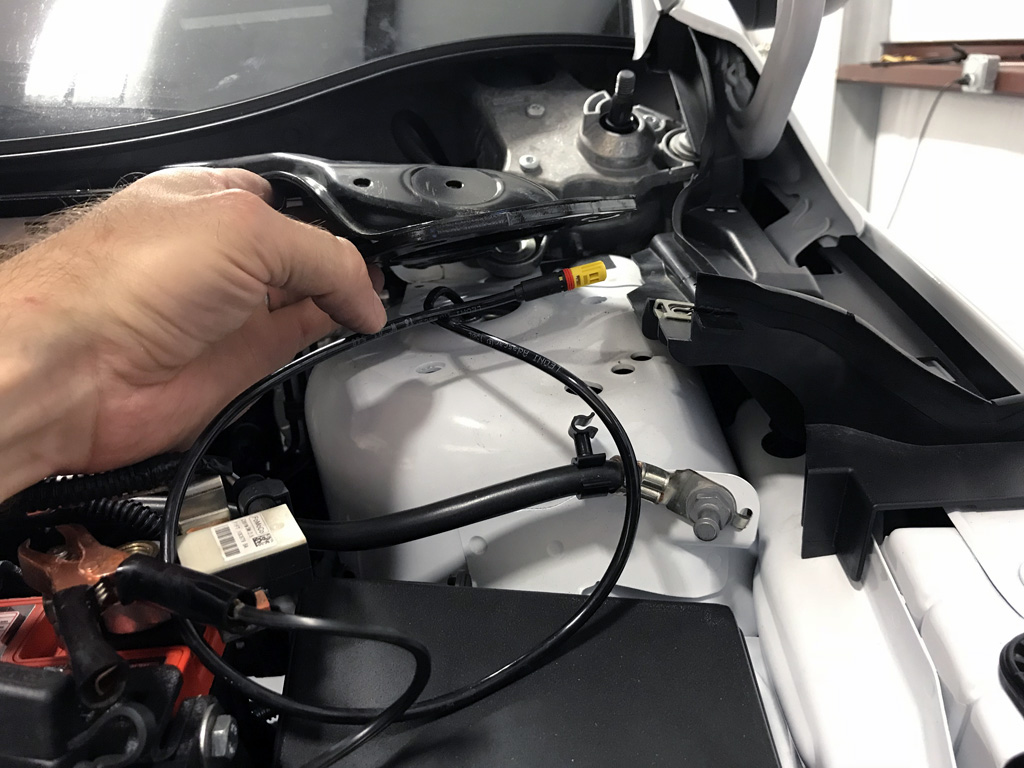
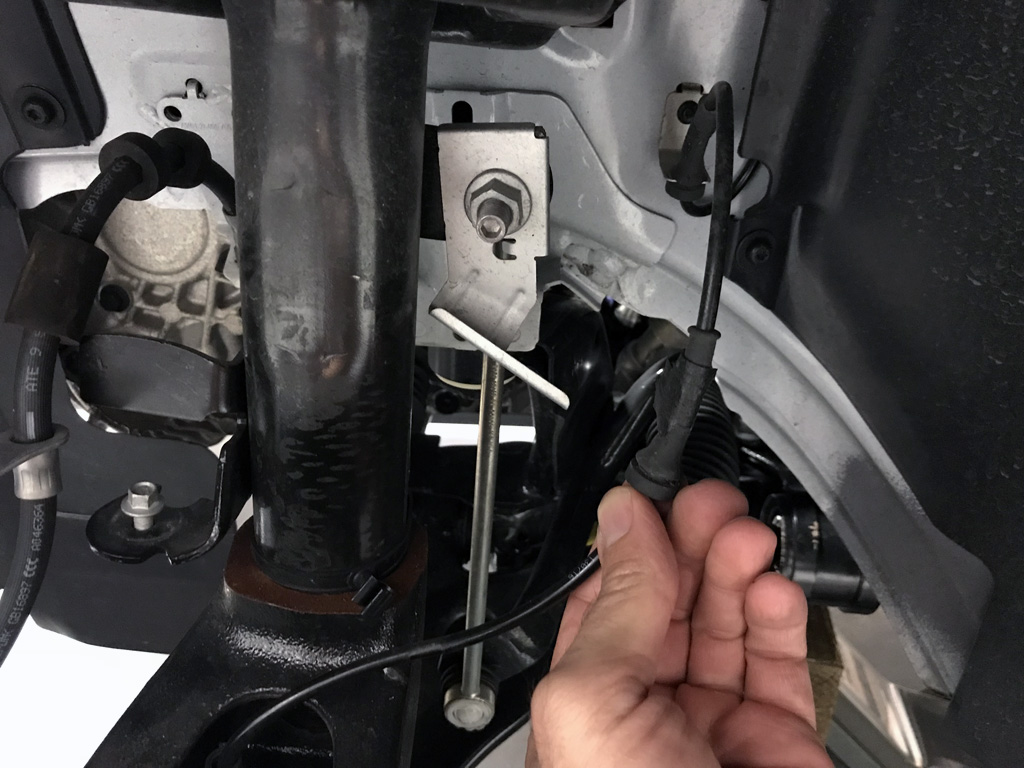
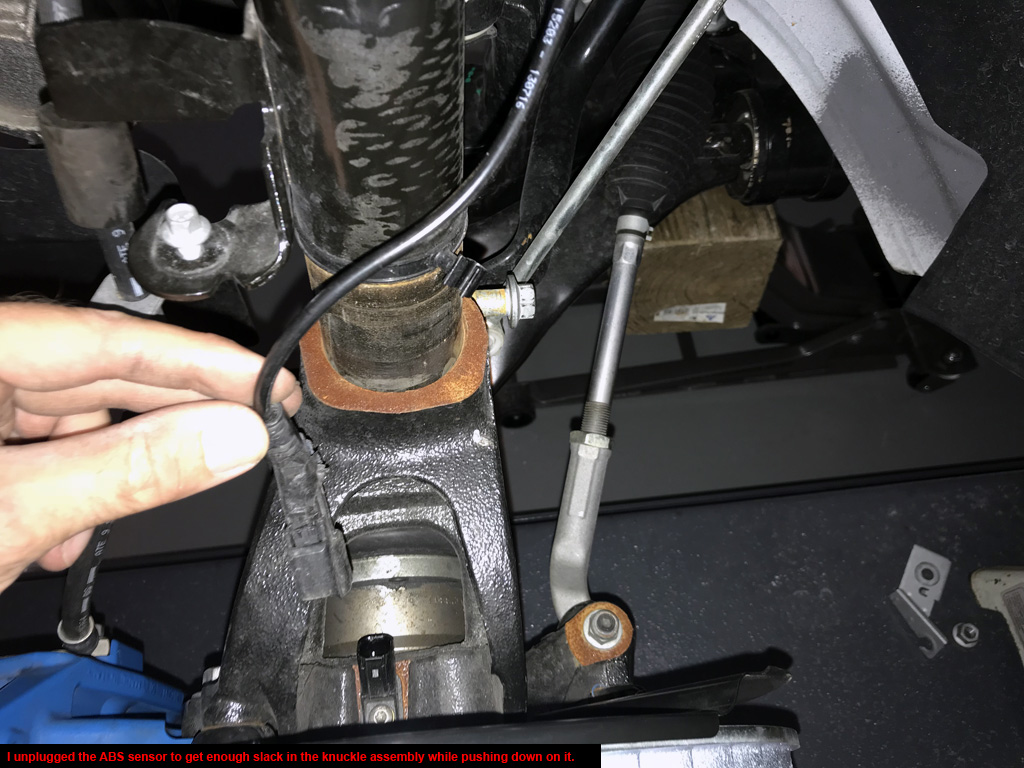
5. (4) wiring plugs need to be disconnected/reconnected for this swap (2 front ABS sensors + 2 rear hatch interior lights).
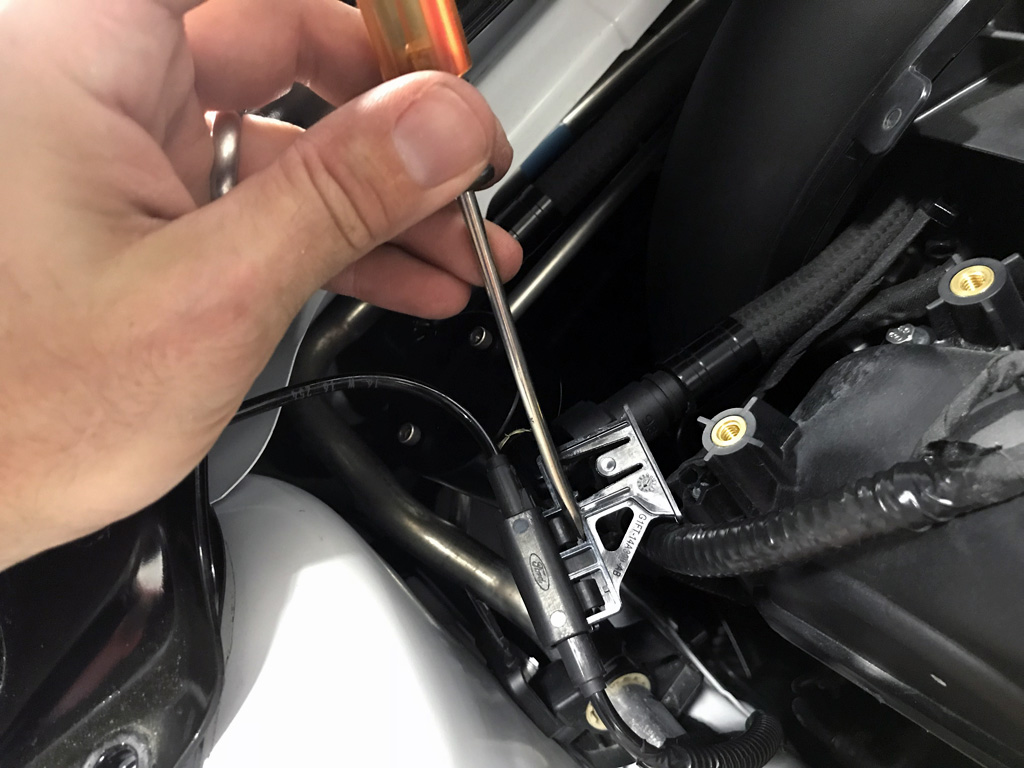
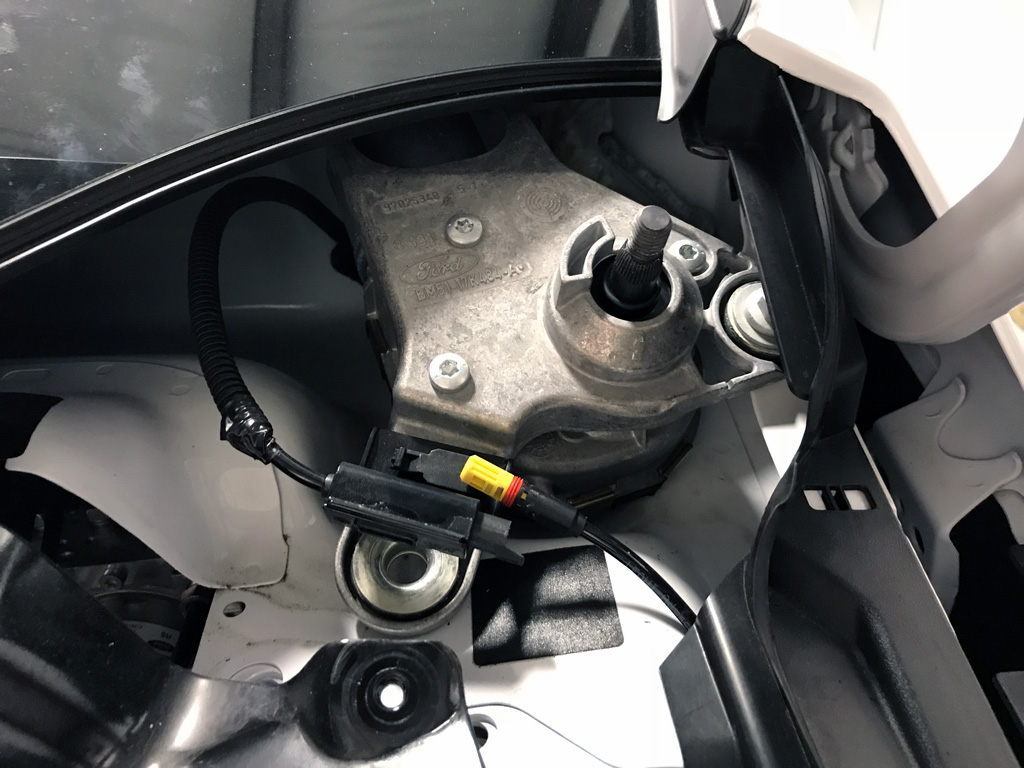
6. (4) wiring plugs need to be disconnected and abandoned (OE shock plugs).
You must quickly push the button on the end of the turn signal stalk to turn off sport dampers when selecting "Track" mode or an error will occur.
This is due to the factory electronic shocks being deleted with the MCS TT1 system.
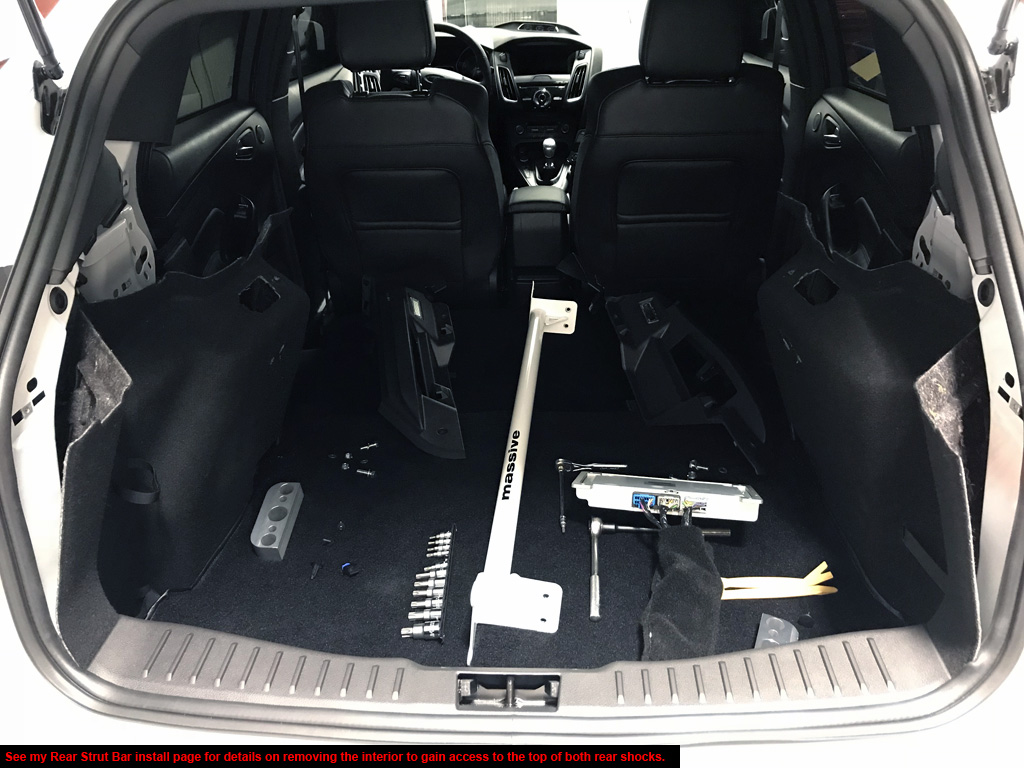
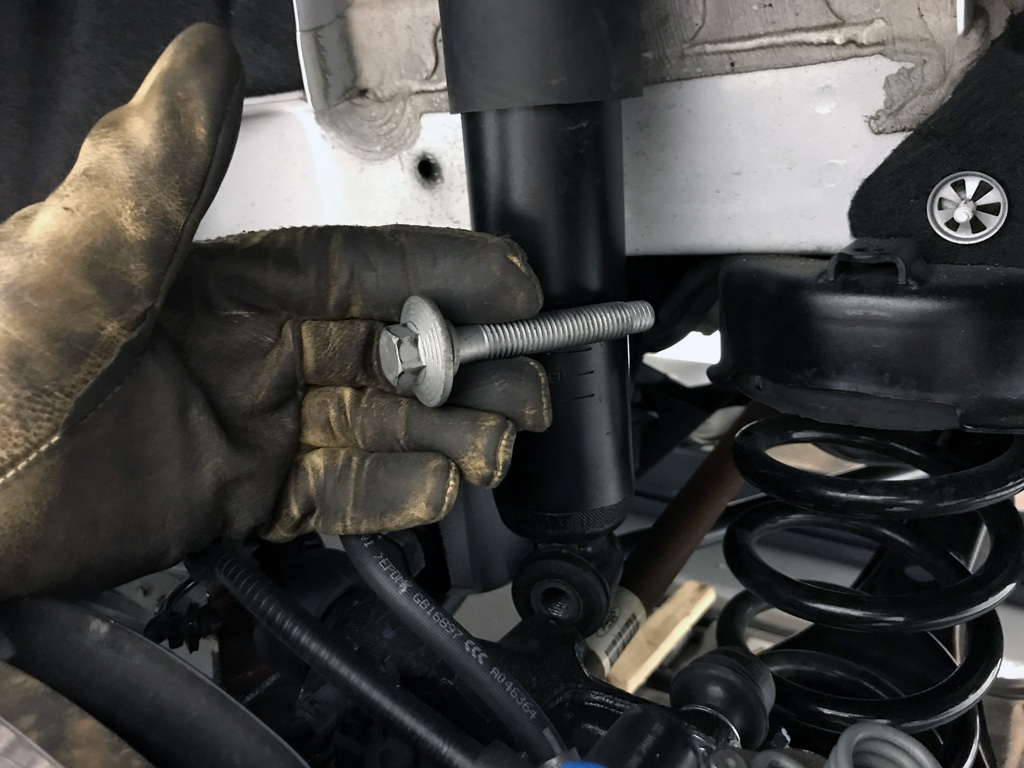
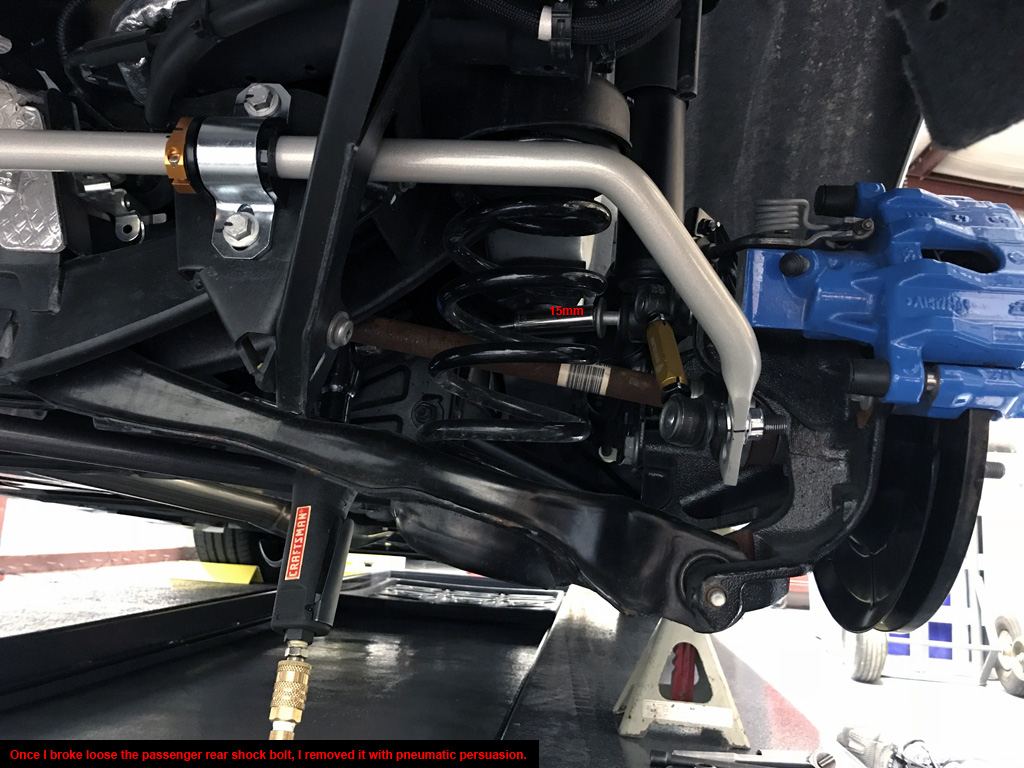
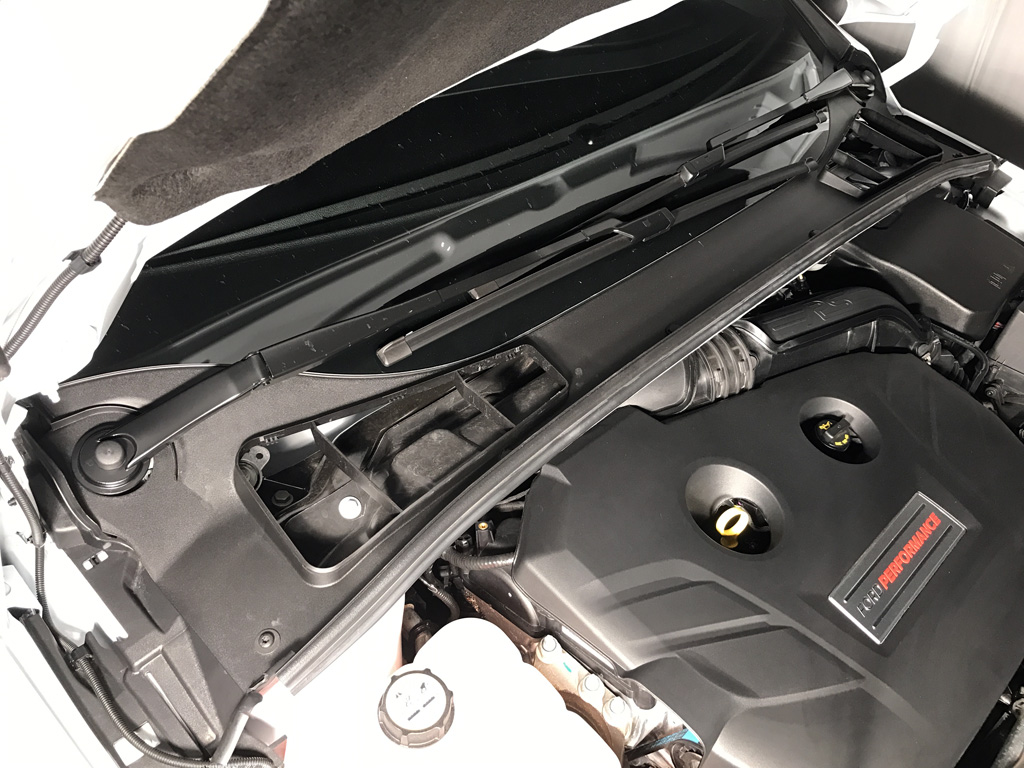
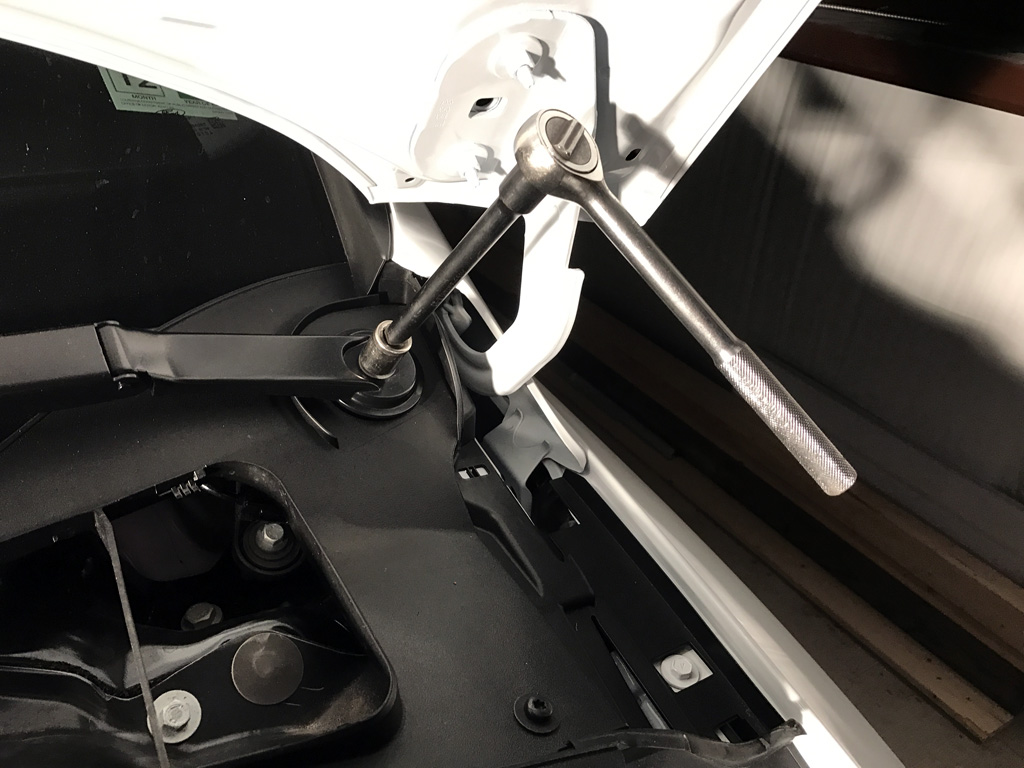
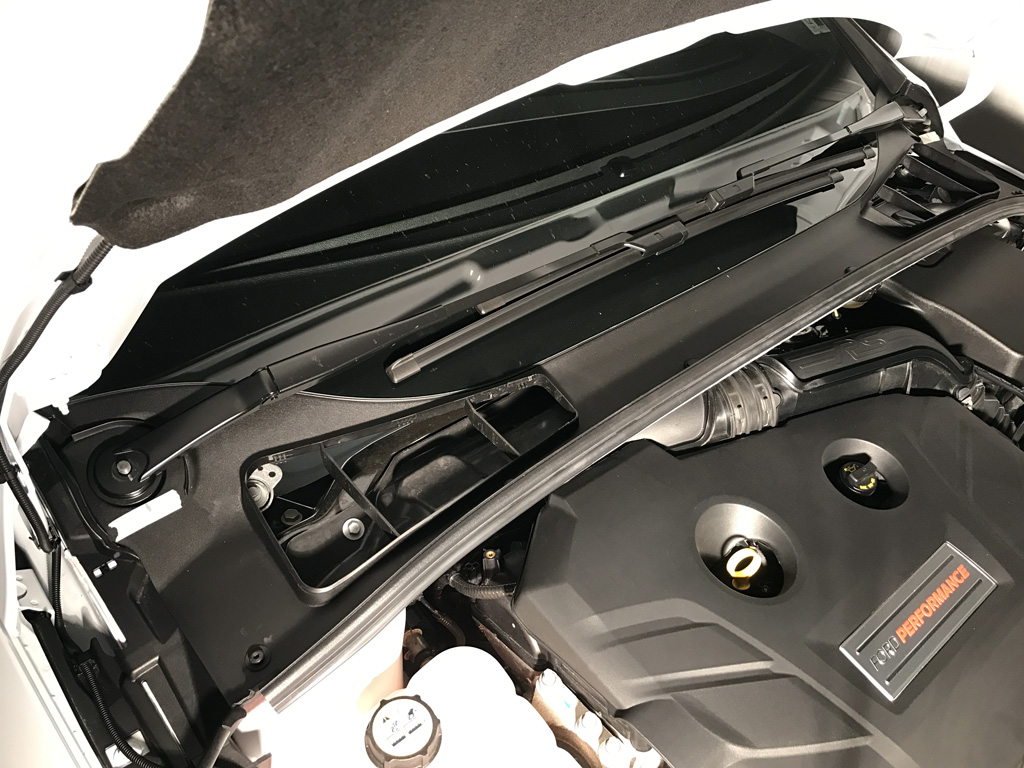
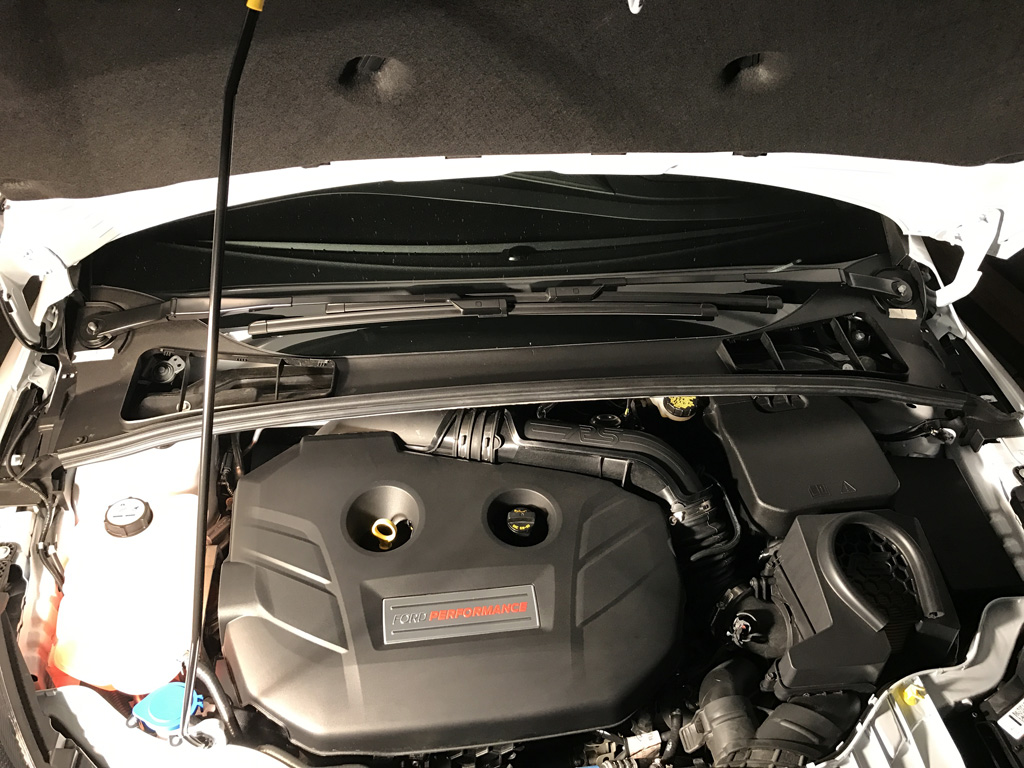
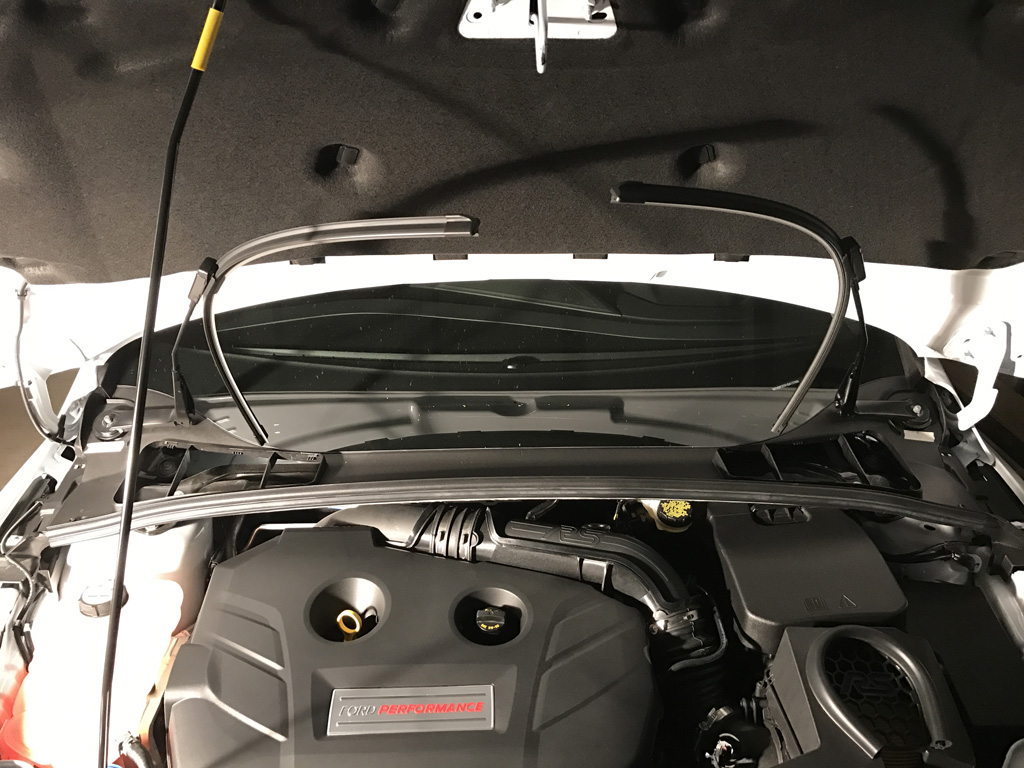
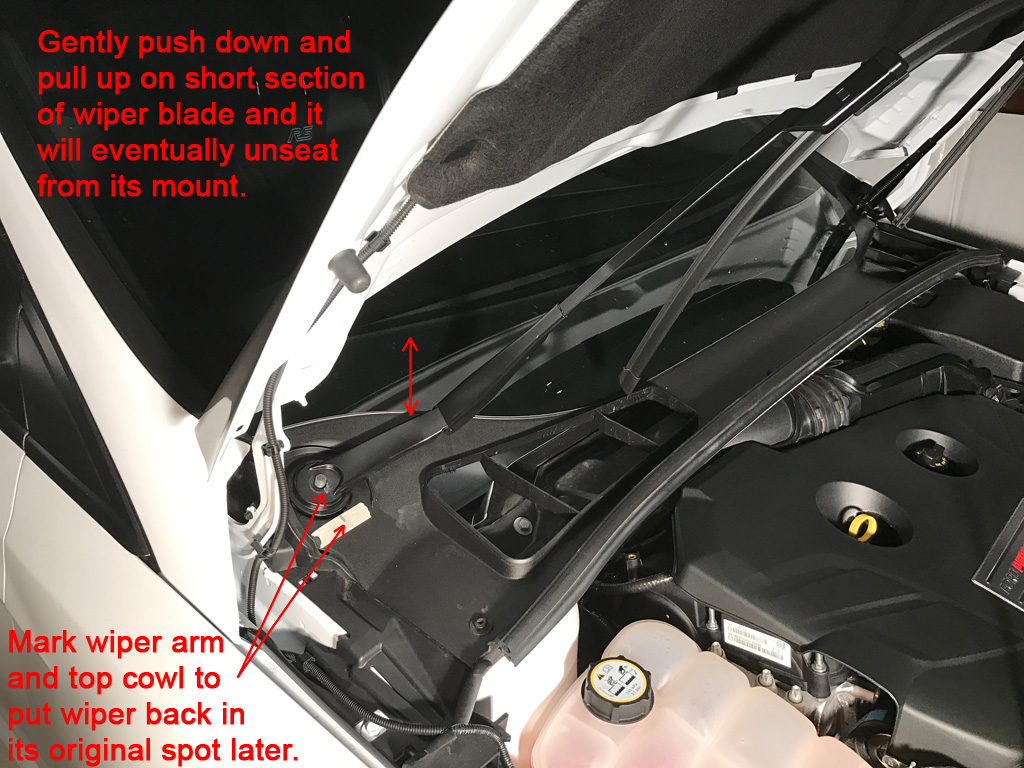
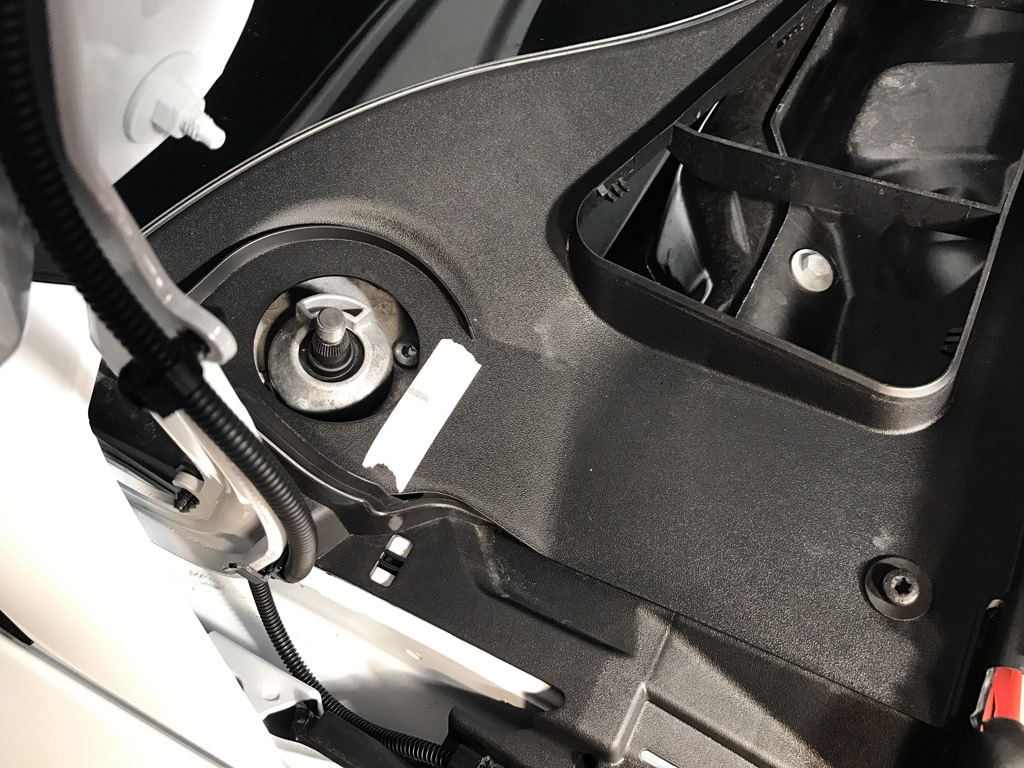
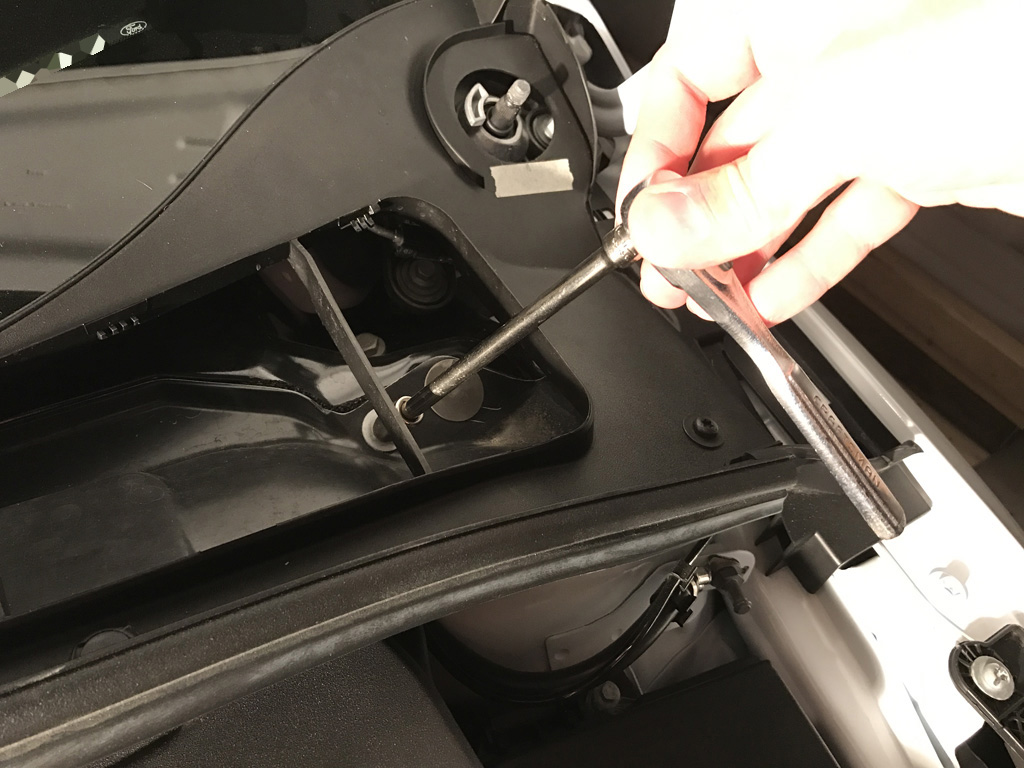
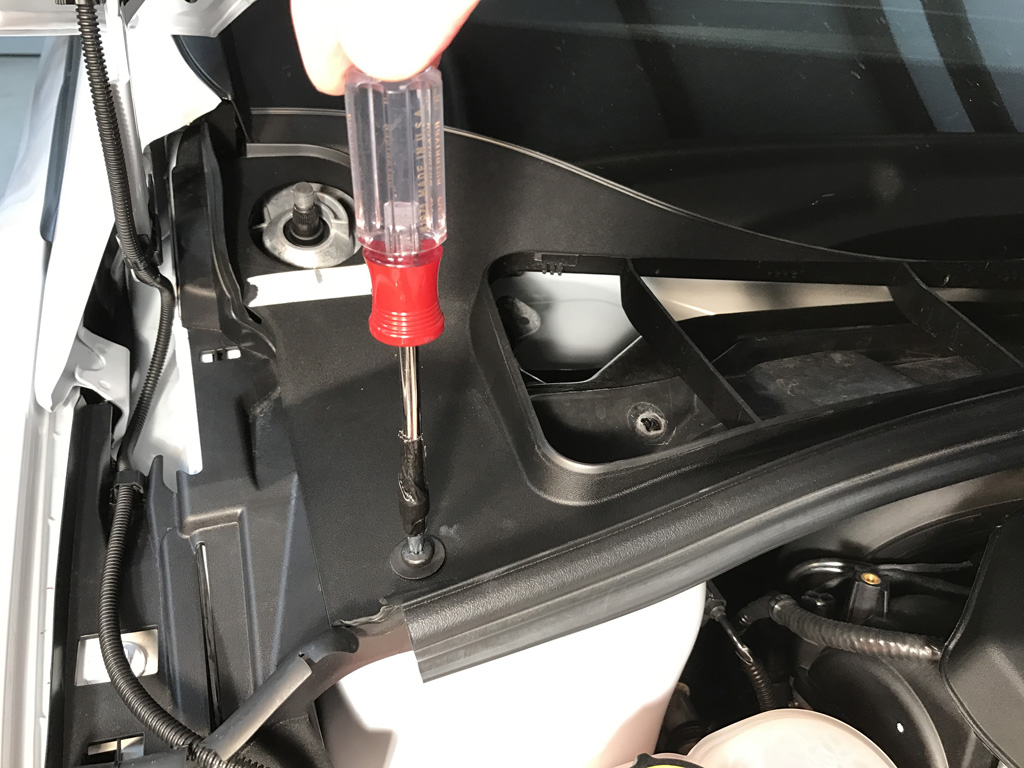
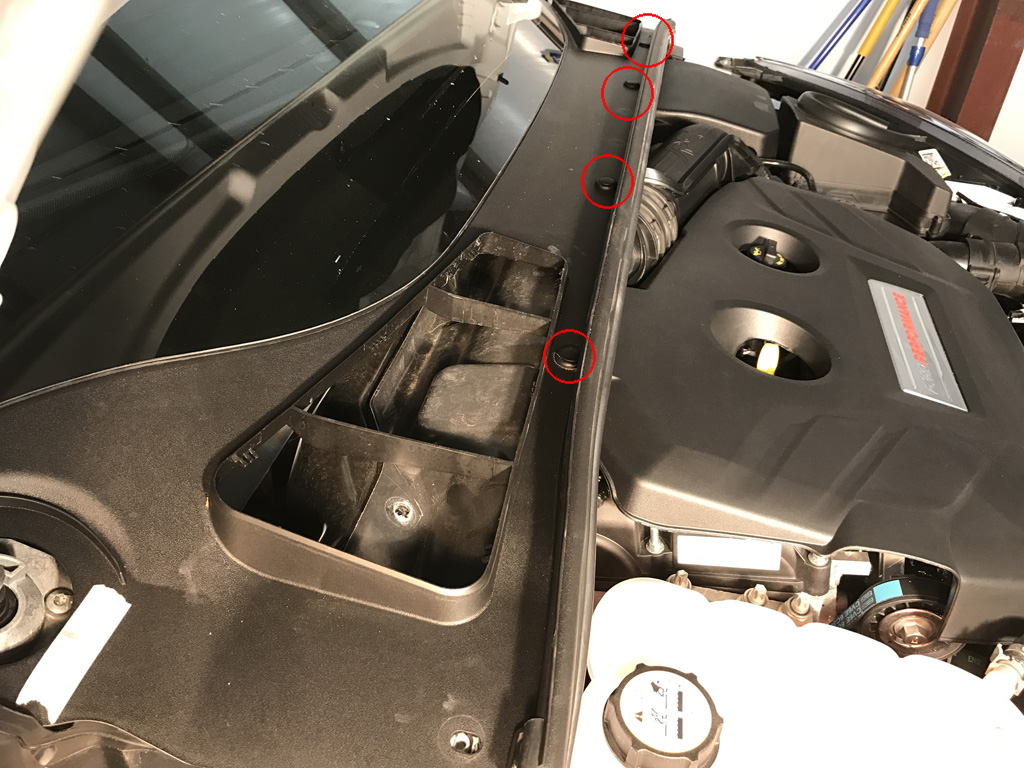
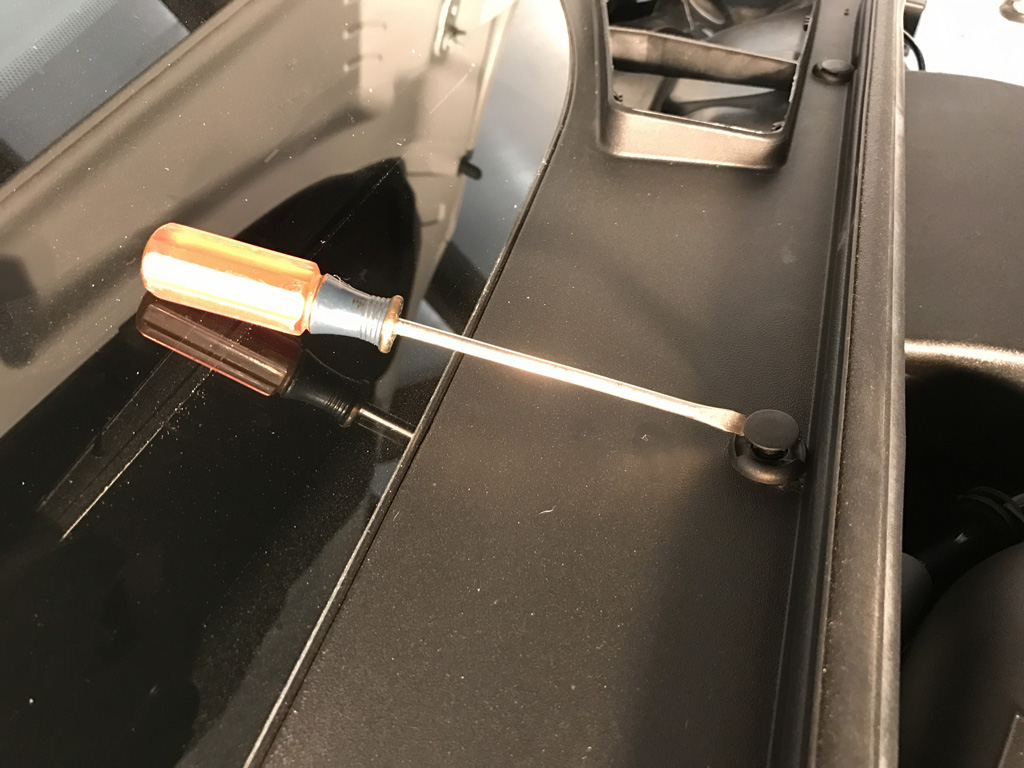
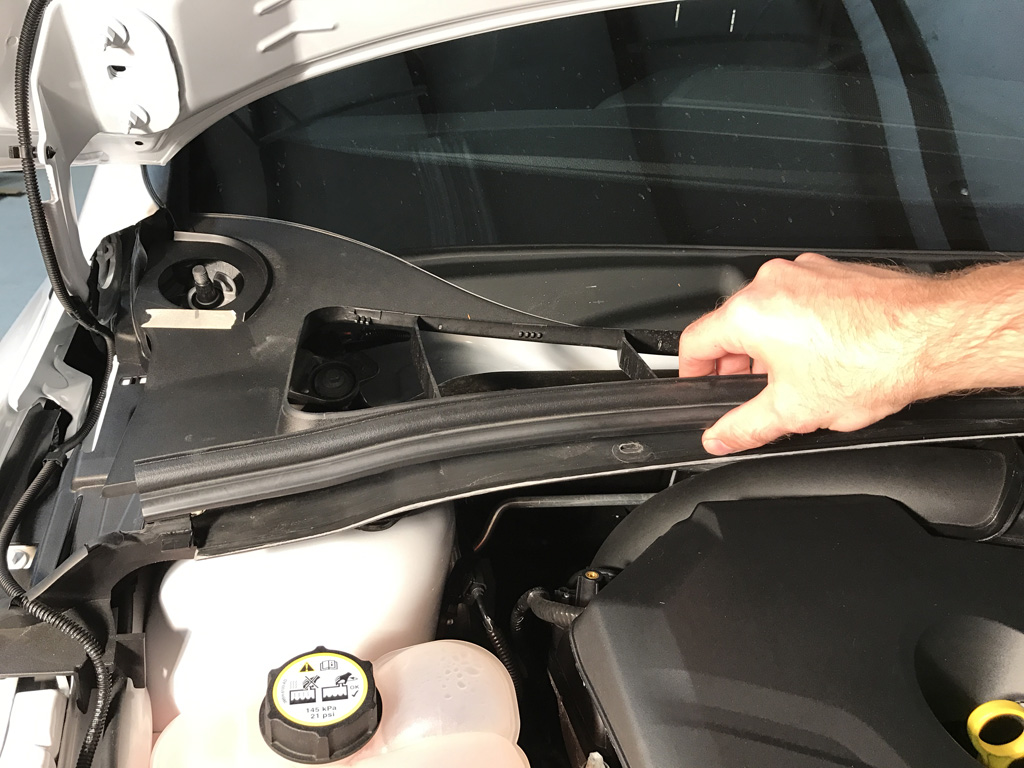
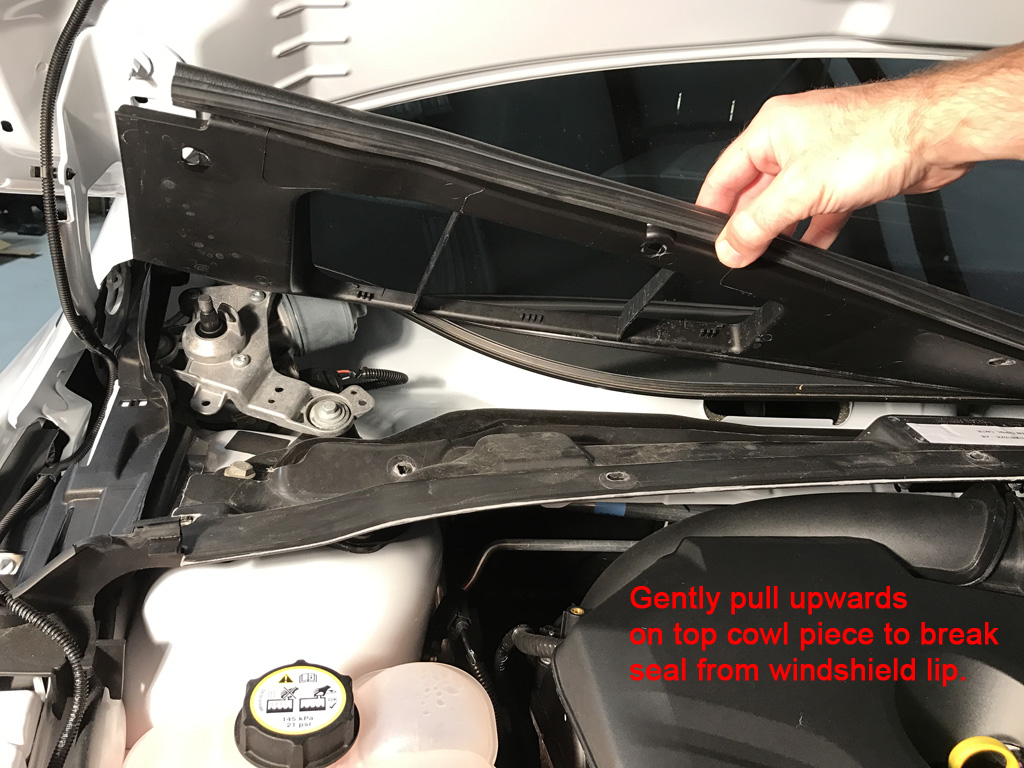
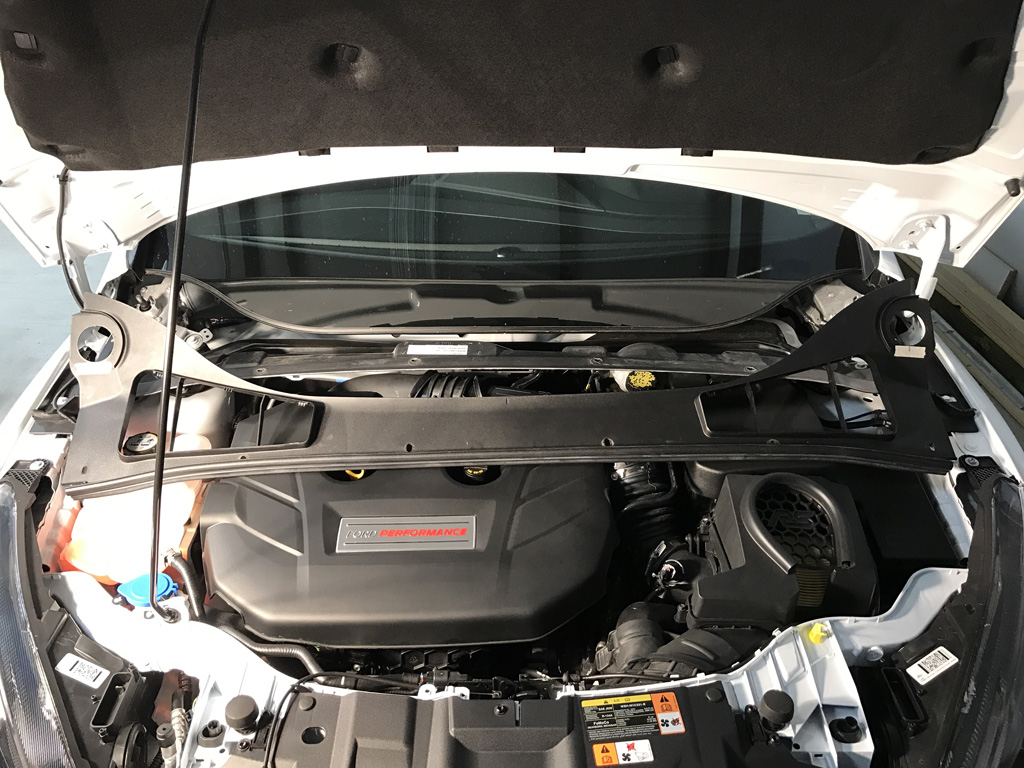
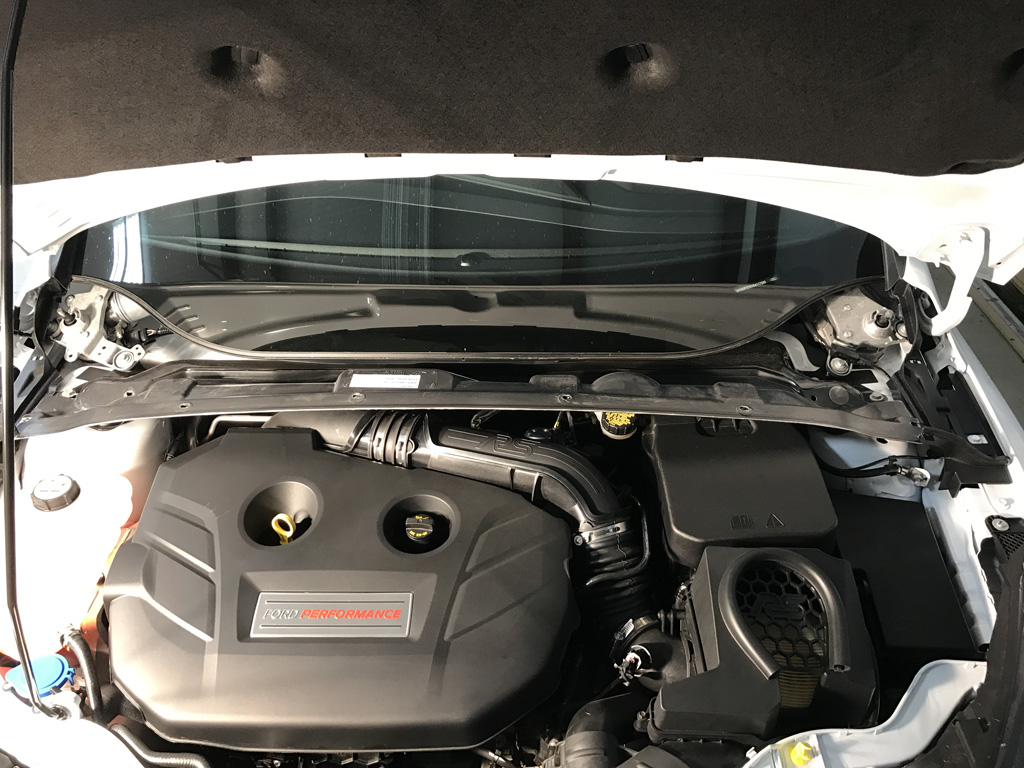
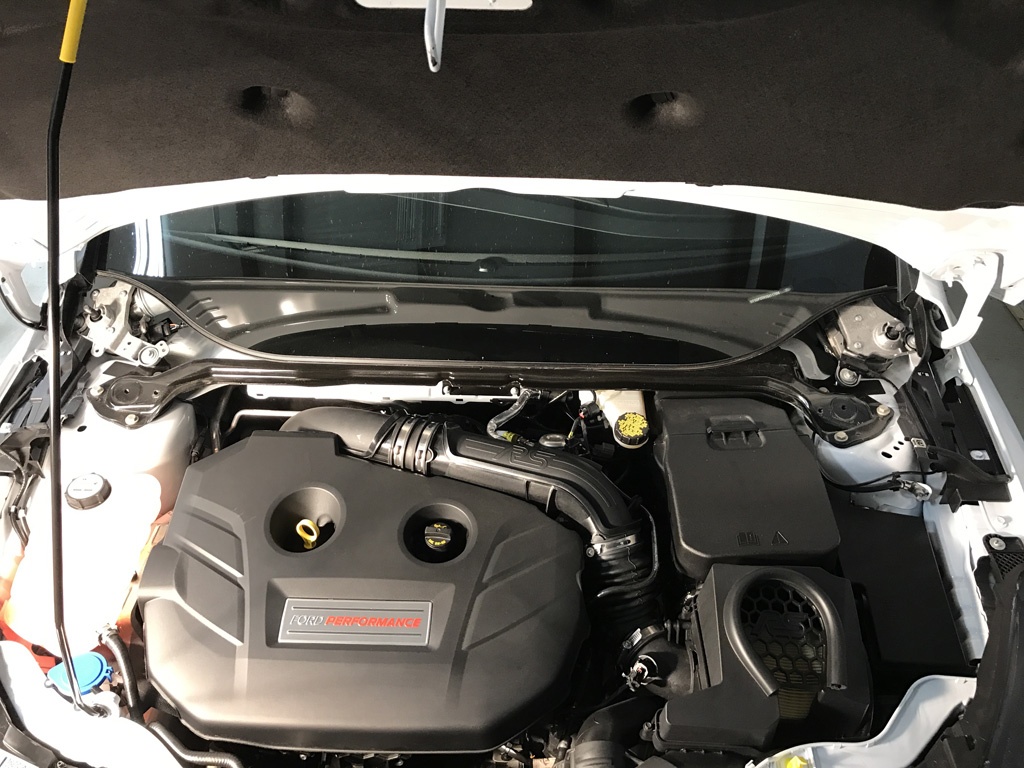
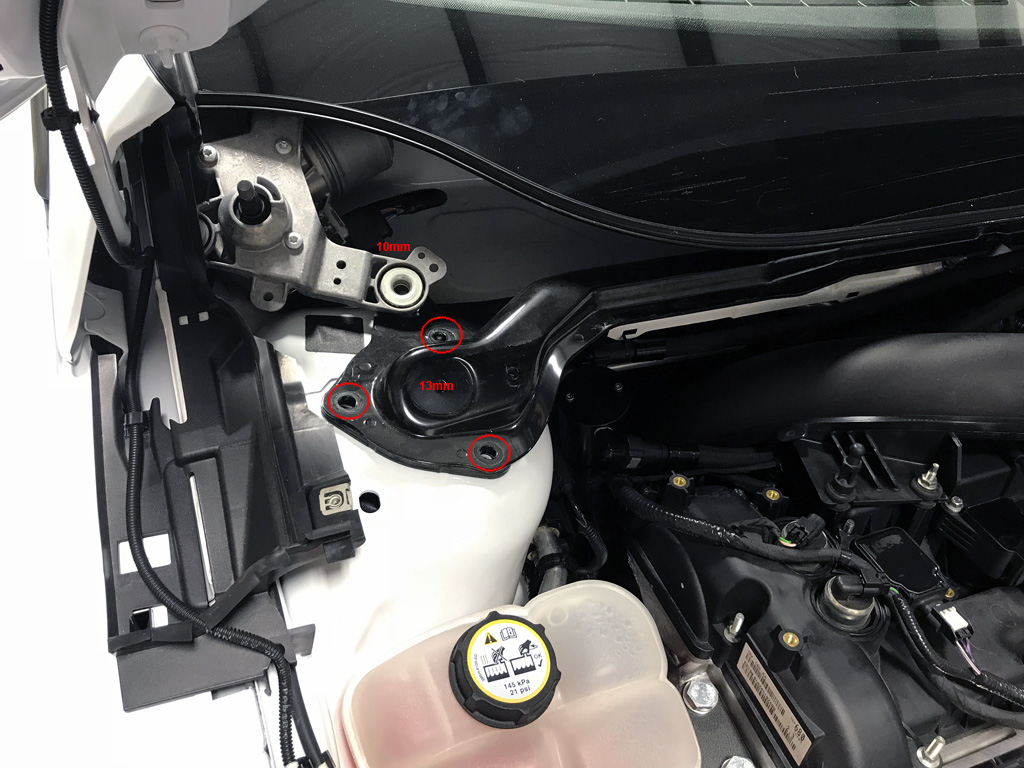
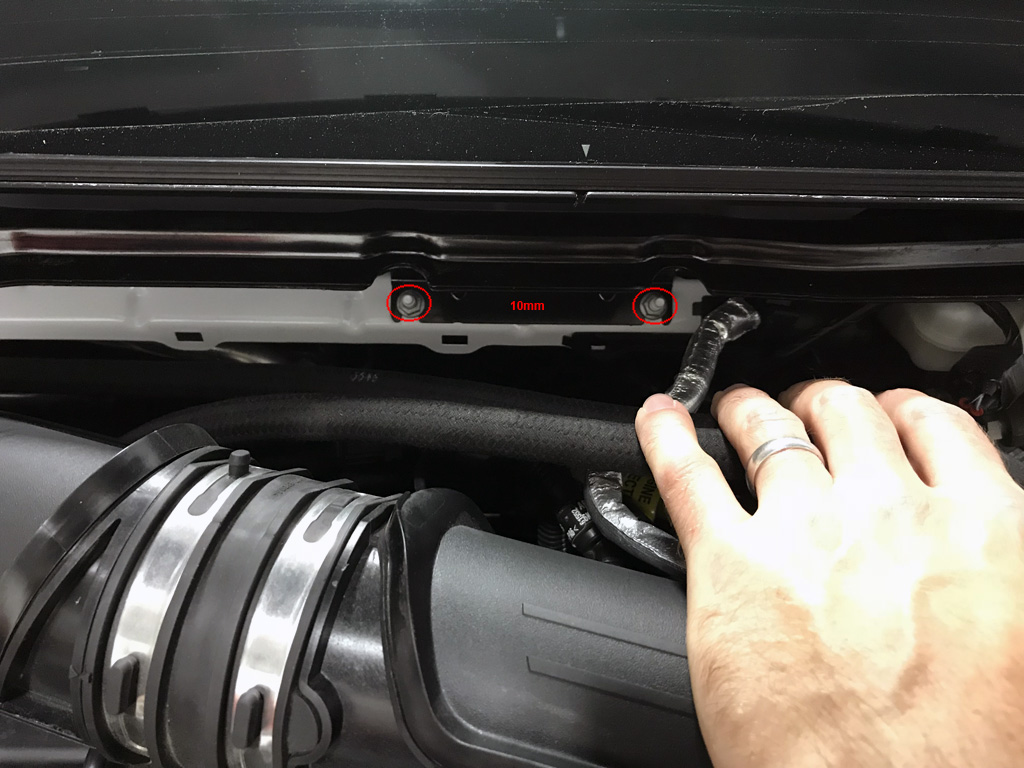
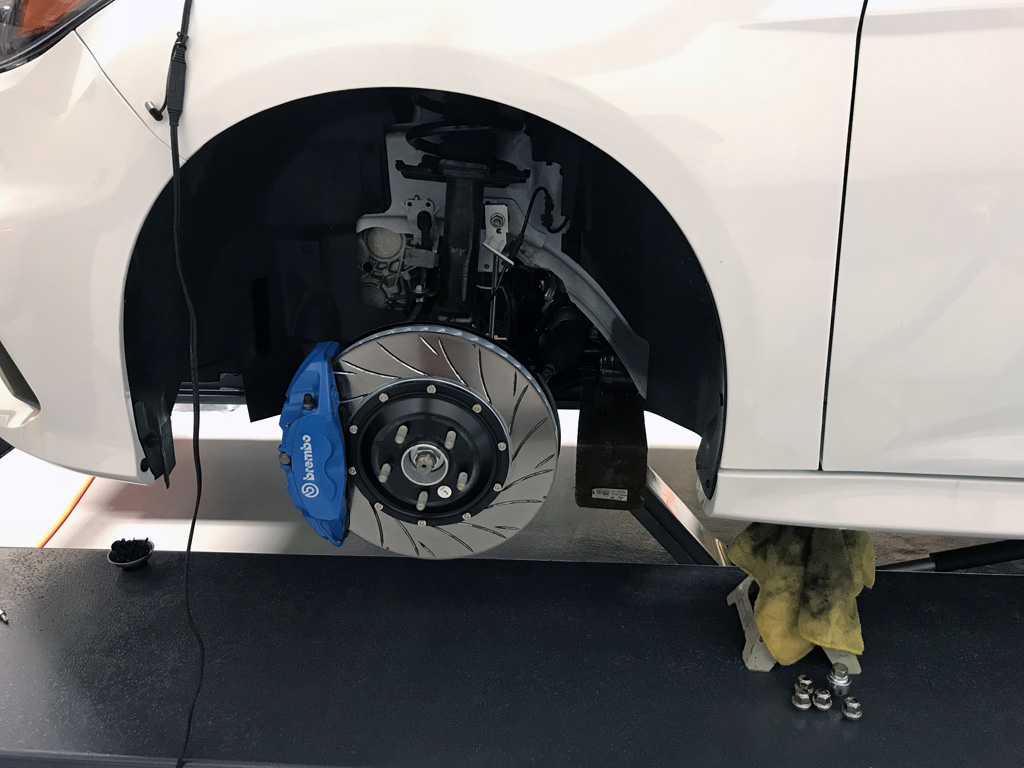
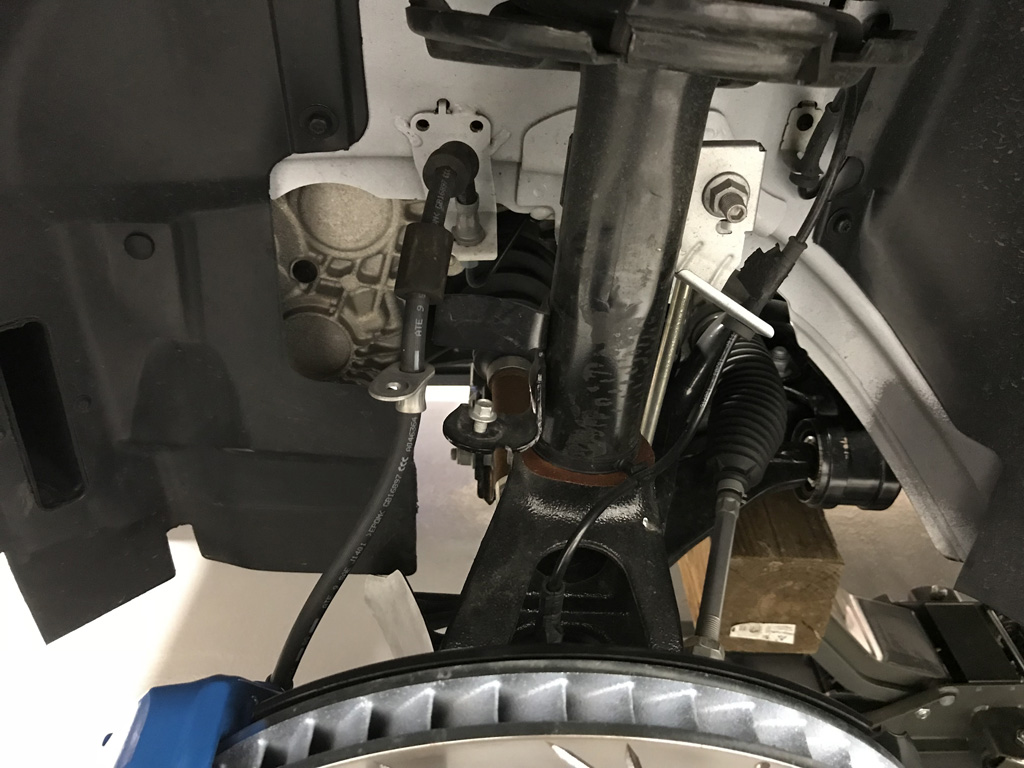
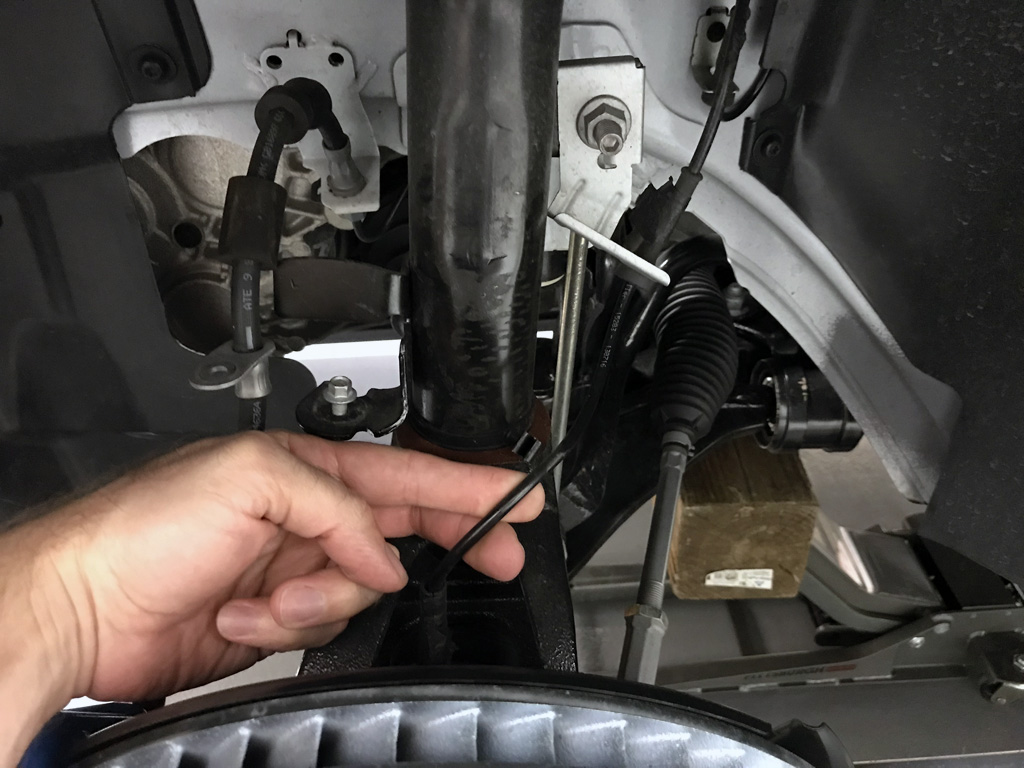
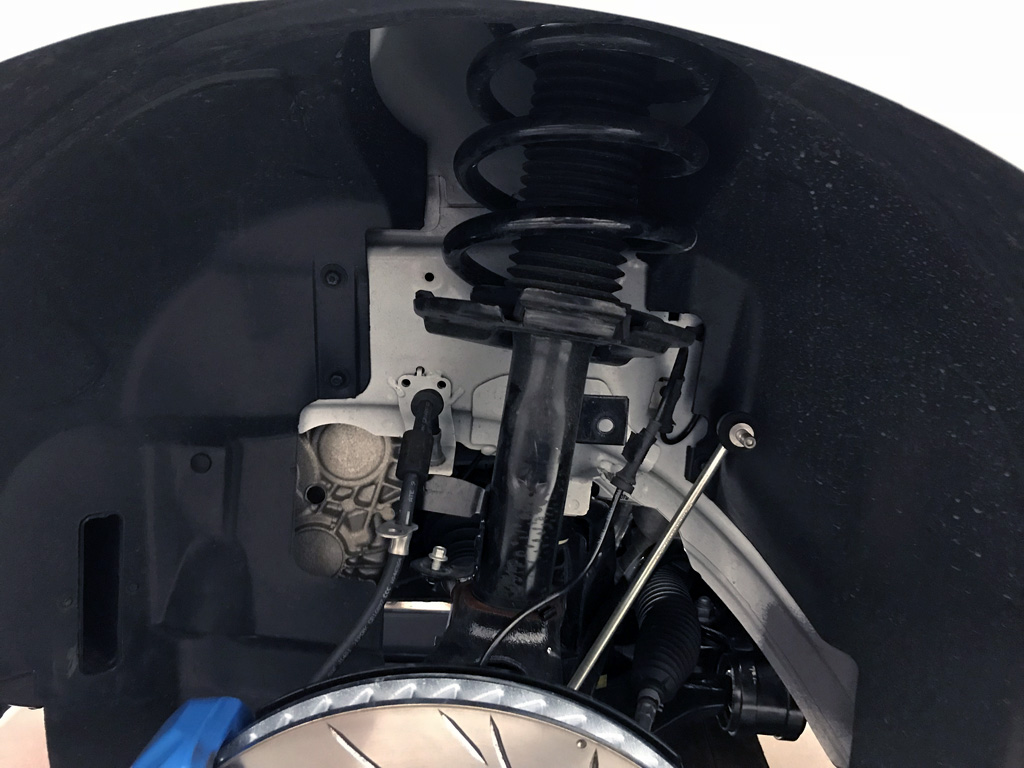
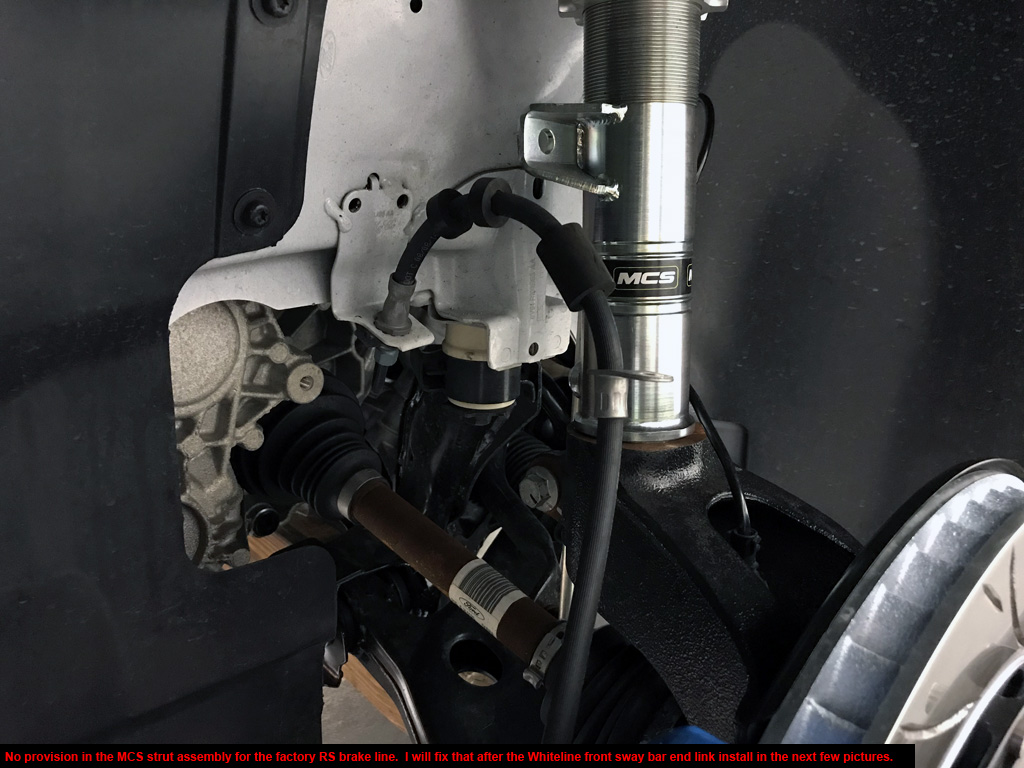
7. Follow along in the pictures for removal/replacement process.
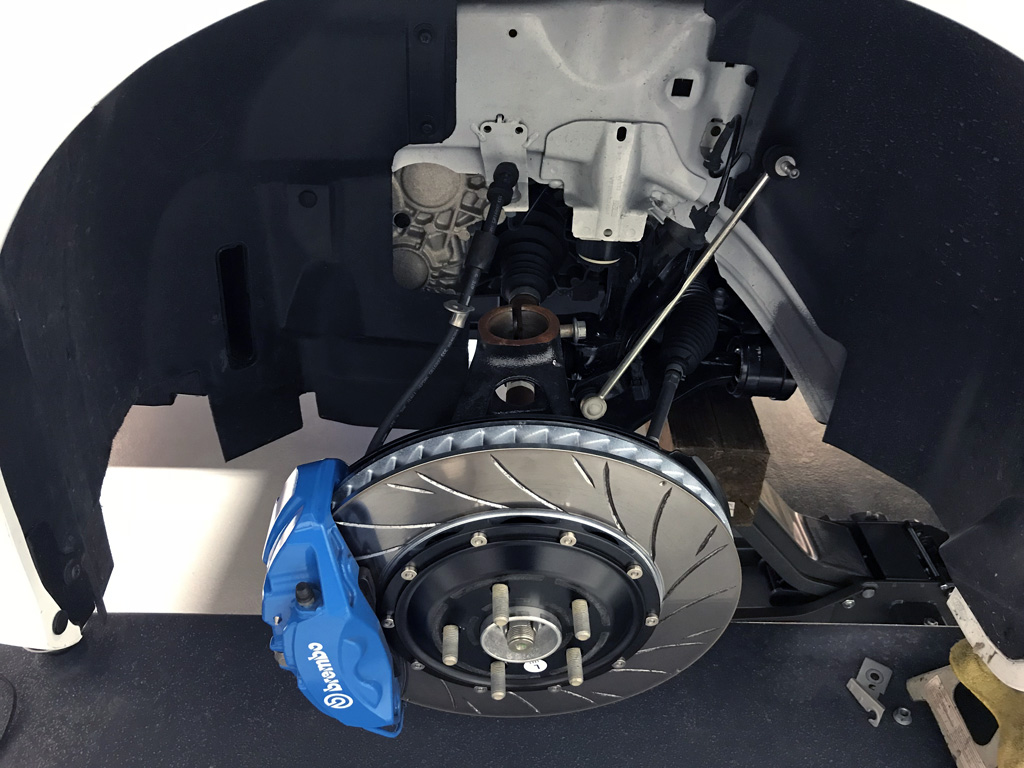
8. Loosen lug nuts before jacking up your RS. Jack up your RS. Remove the wheels/tires.
9. I re-used pics 60-77 from the Wastegate install for removing the cowl. They are outdated and don't show some newer modifications.
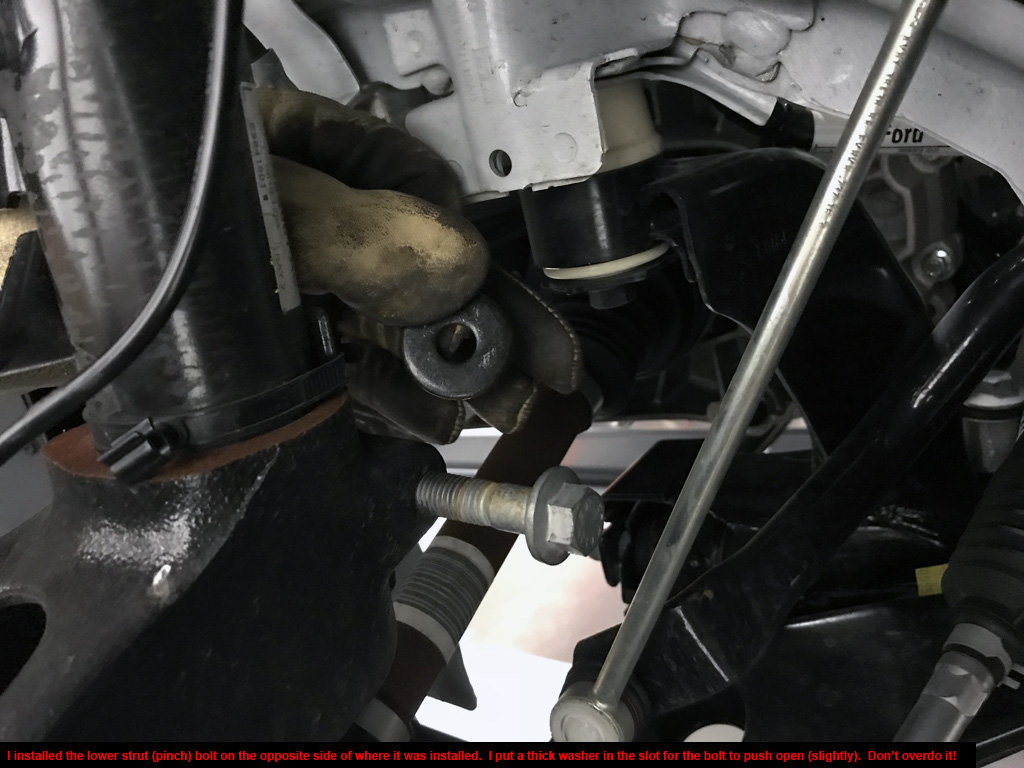
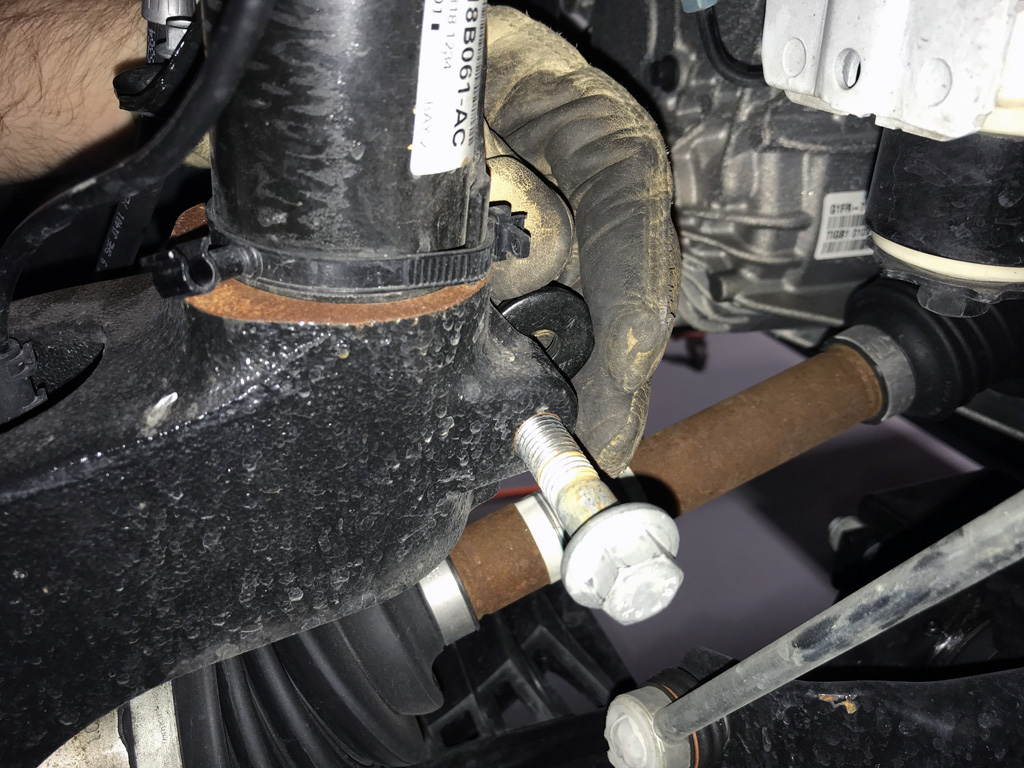
10. Torque specs = 85 lb-ft for (2) rear lower shock bolts + (2) rear lower control arm bolts, 100 lb-ft for lug nuts, 59 lb-ft for the front strut pinch bolts, 18 lb-ft for front upper strut bolts.
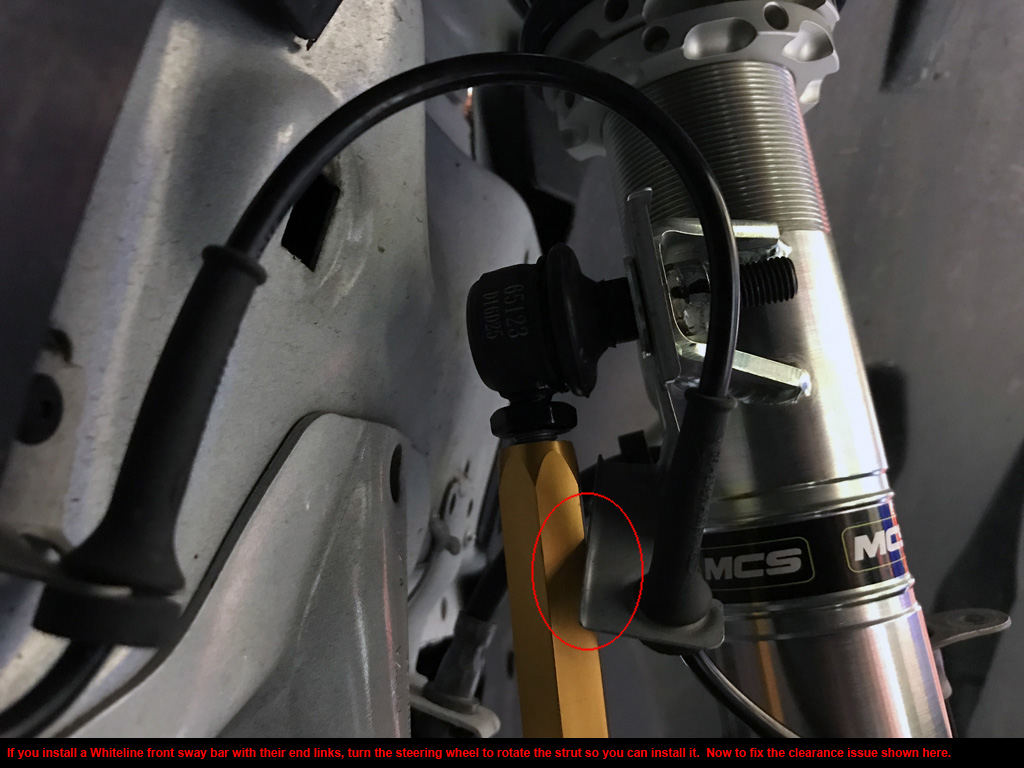
53 lb-ft for my aftermarket Whiteline front sway bar end links.
*Note: I put anti-seize on my front lugs. Reduced my torque to 75 lb-ft (25% reduction due to lubricated threads).
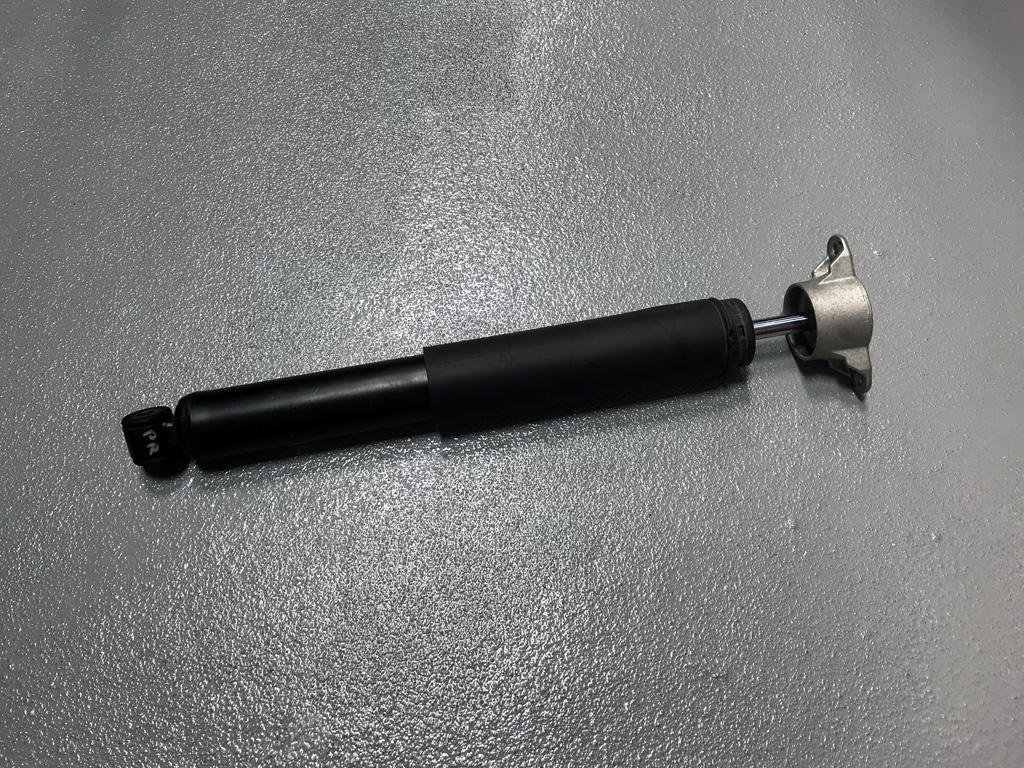
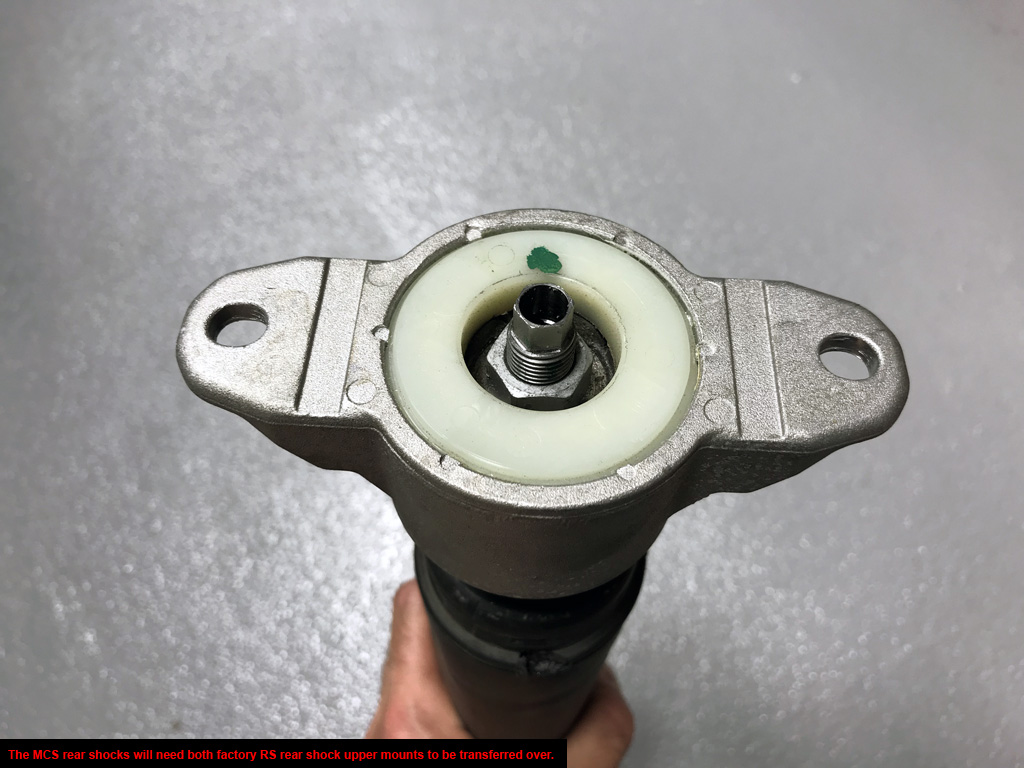
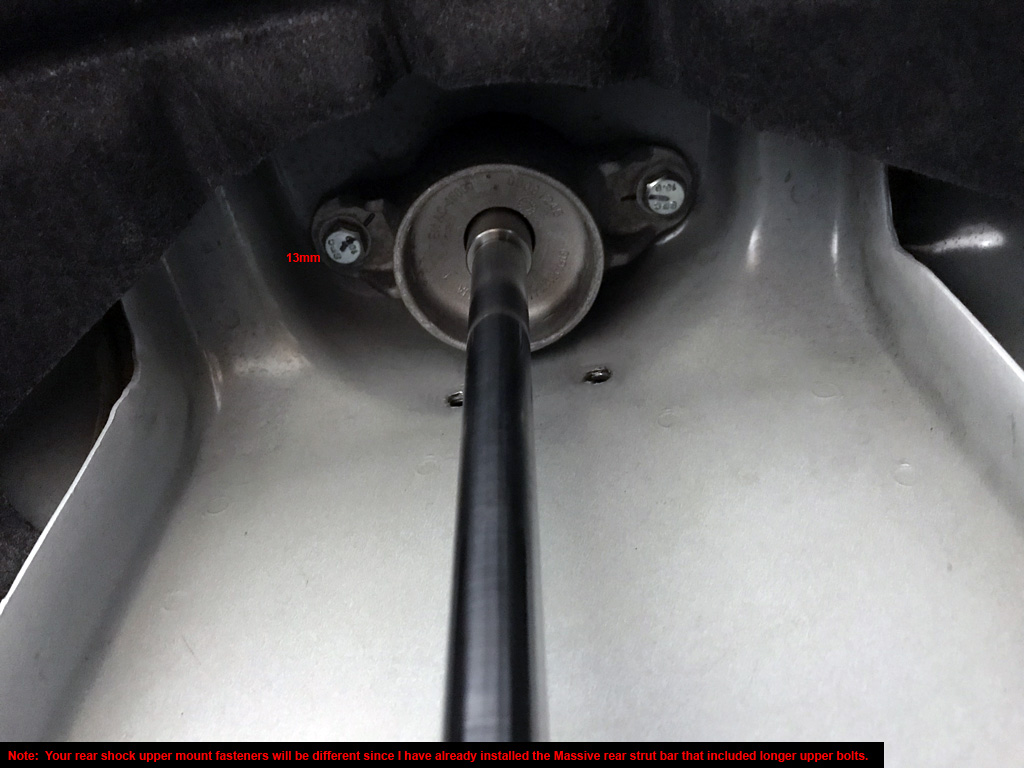
11. Leftover parts = Passenger front shock wiring bracket, factory front strut assemblies, rear shocks & springs (re-use the rear shock upper mounts on the MCS shocks).
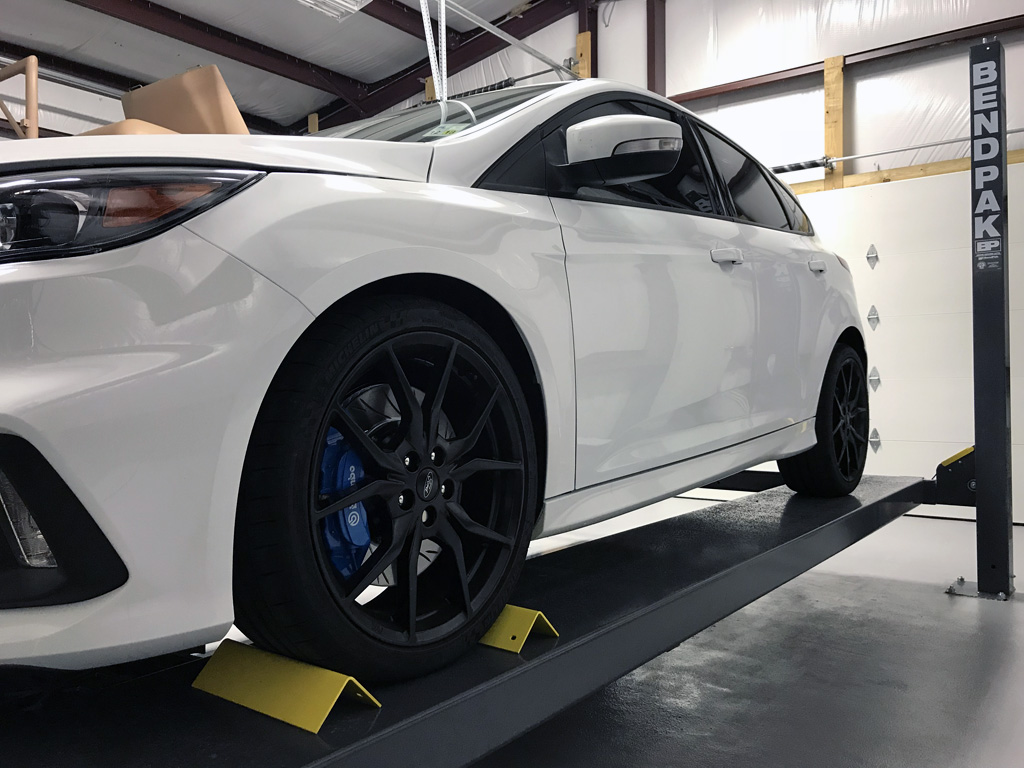
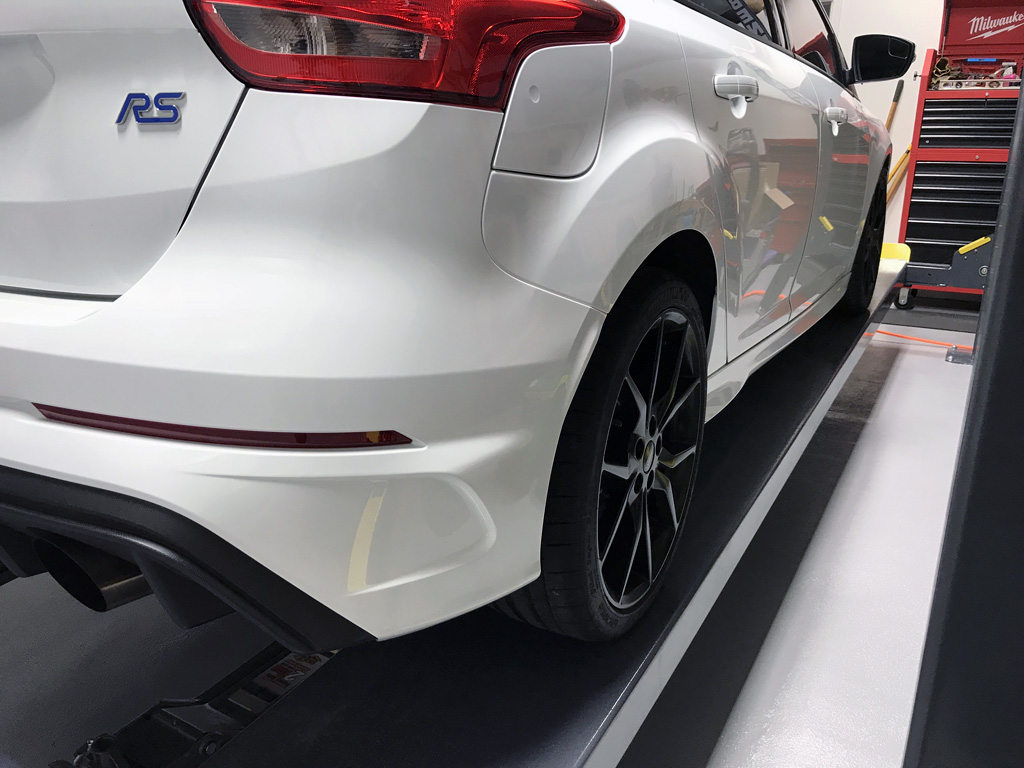
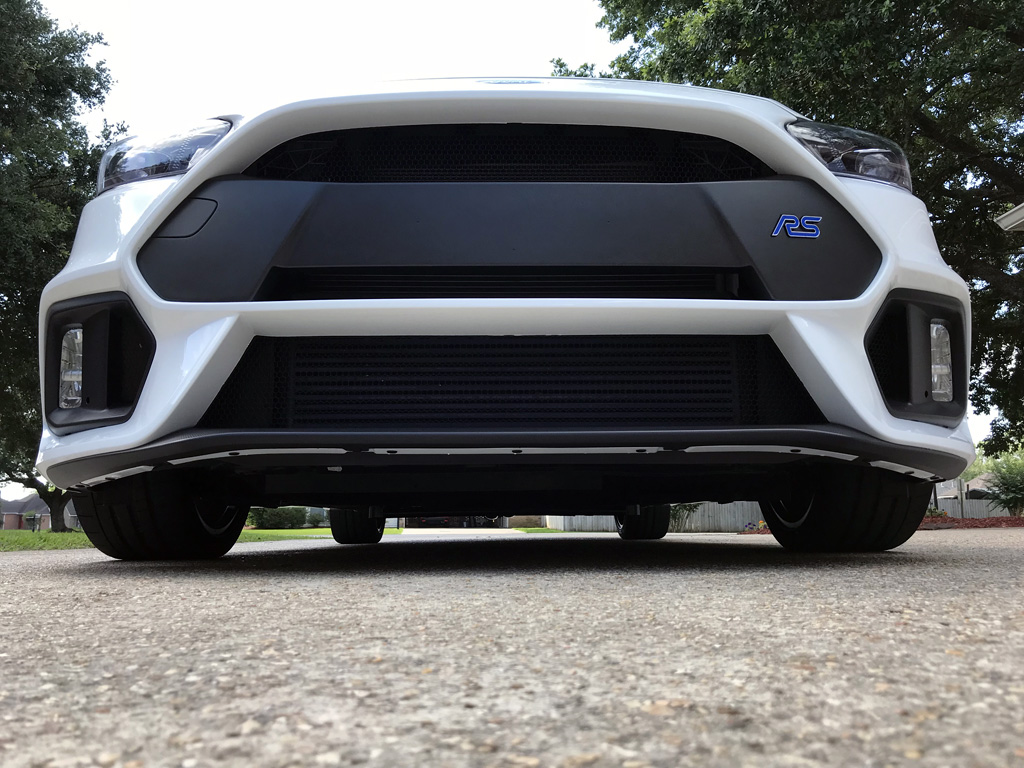
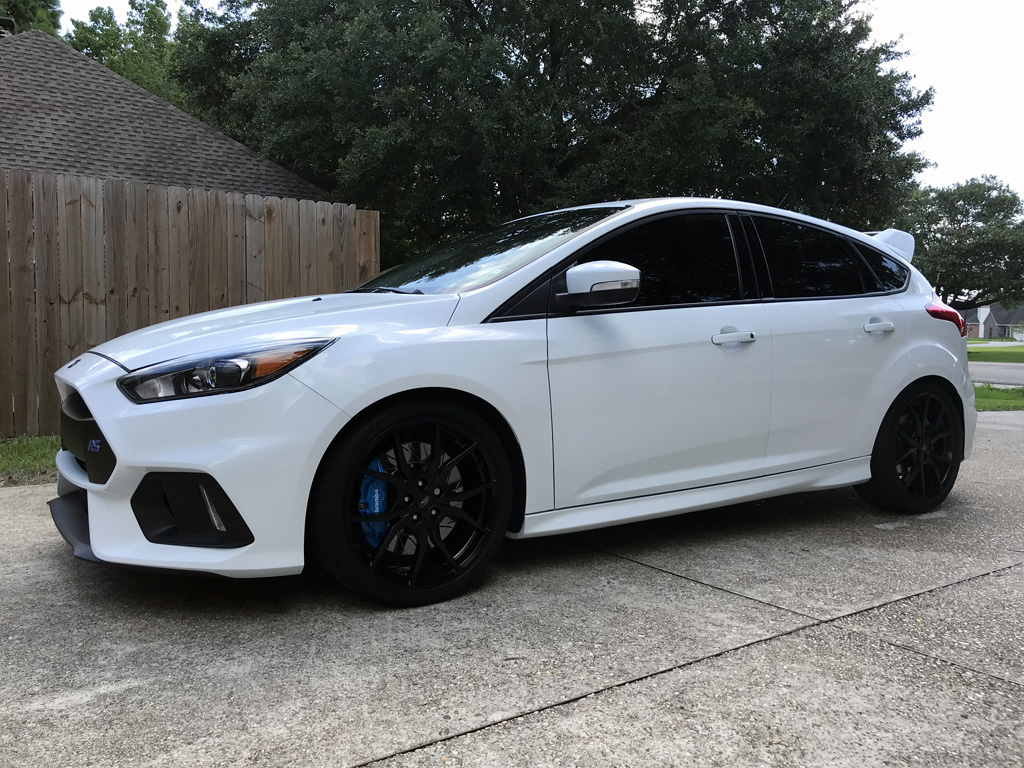
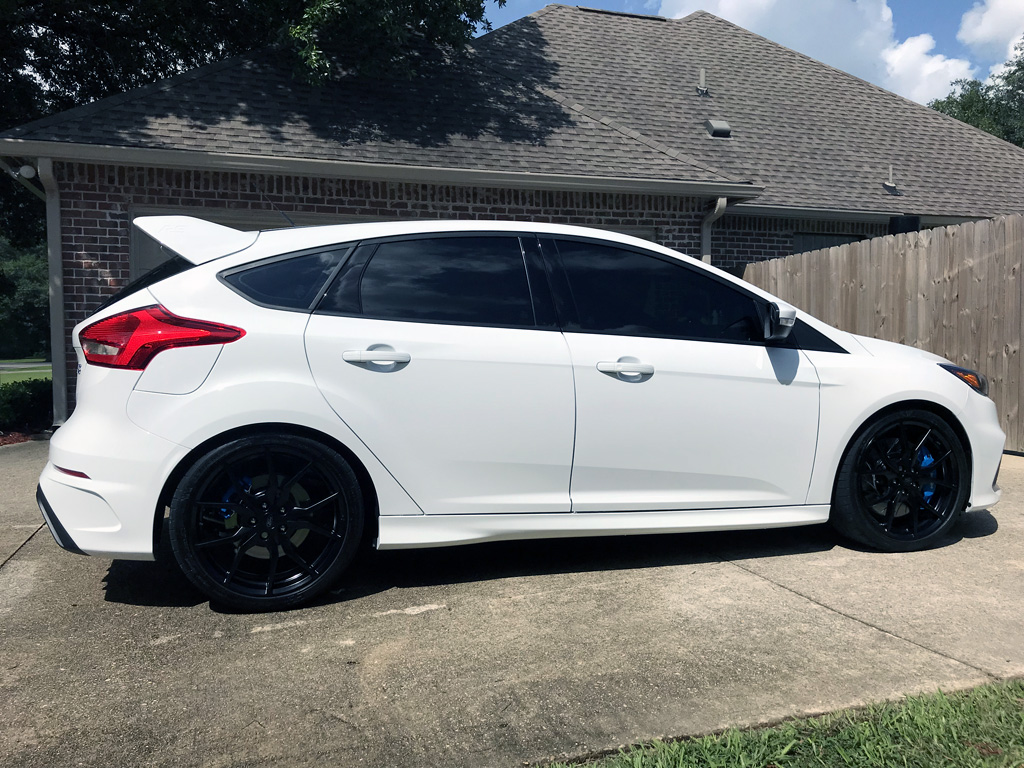
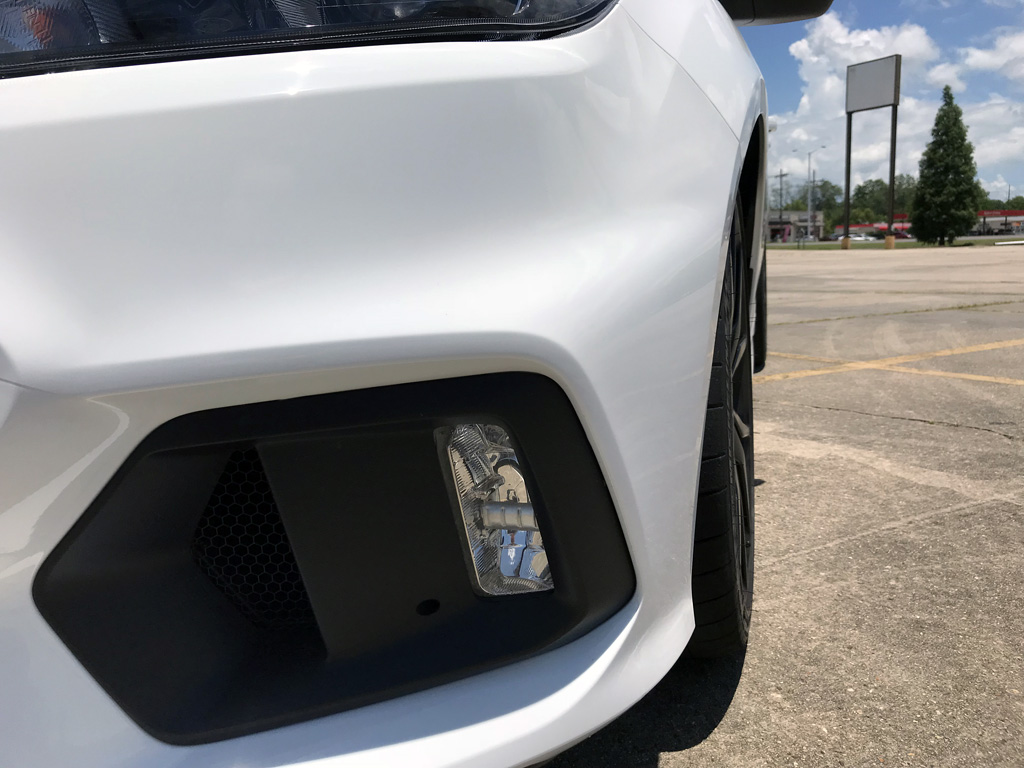
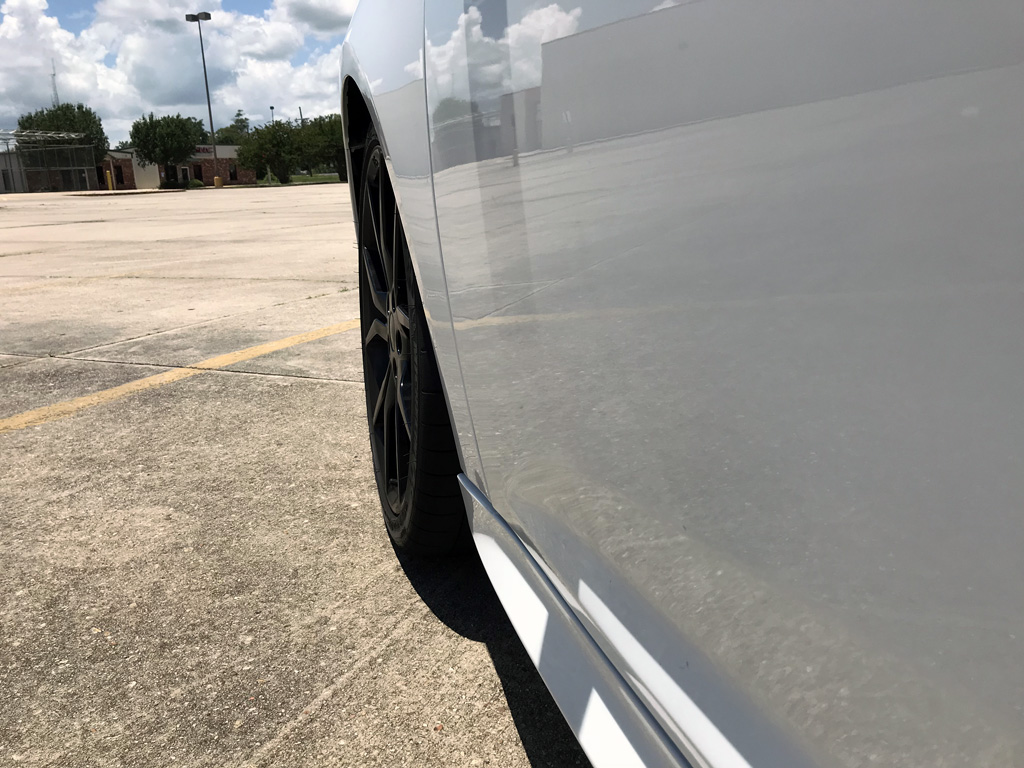
12. Doesn't look stock! :)
13. Reversible back to stock. But why would you?
14. Weights:
OE front strut assemblies = 34.00 lb. Vorshlag/MCS TT1 front strut assemblies = 25.00 lb. Weight reduction = 9.00 lb.
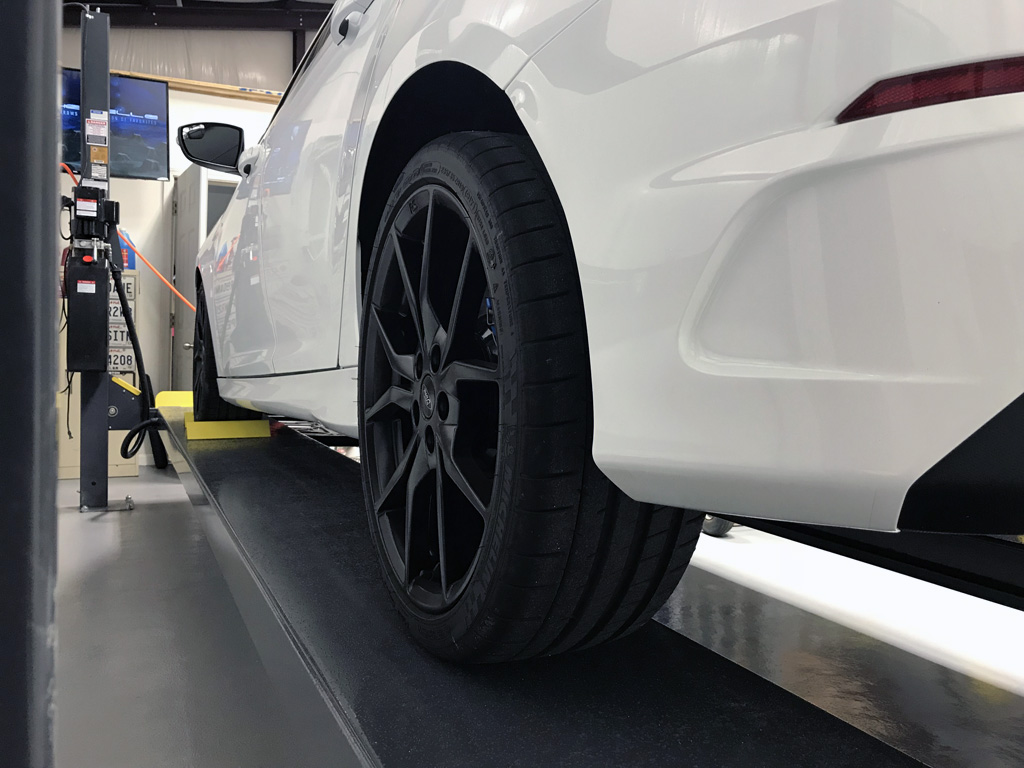
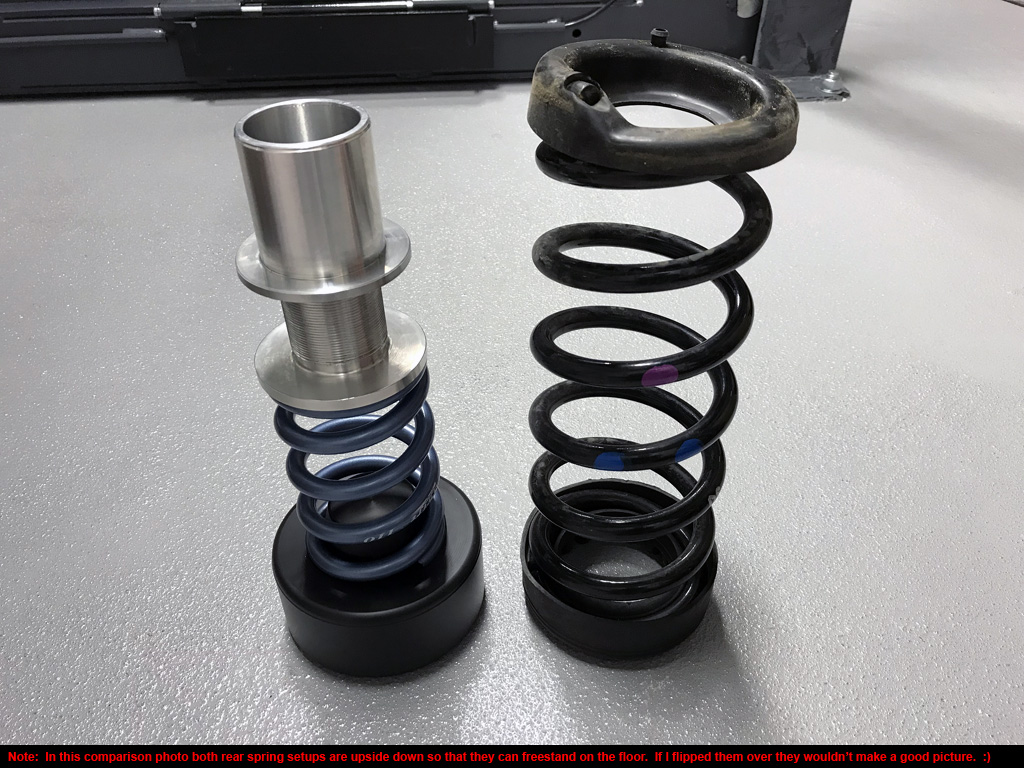
OE rear shocks/springs = 21.20 lb. MCS TT1 rear shocks/springs setup + factory upper mounts = 16.60 lb. Weight reduction = 4.60 lb.
Total weight reduction = 13.60 lb.
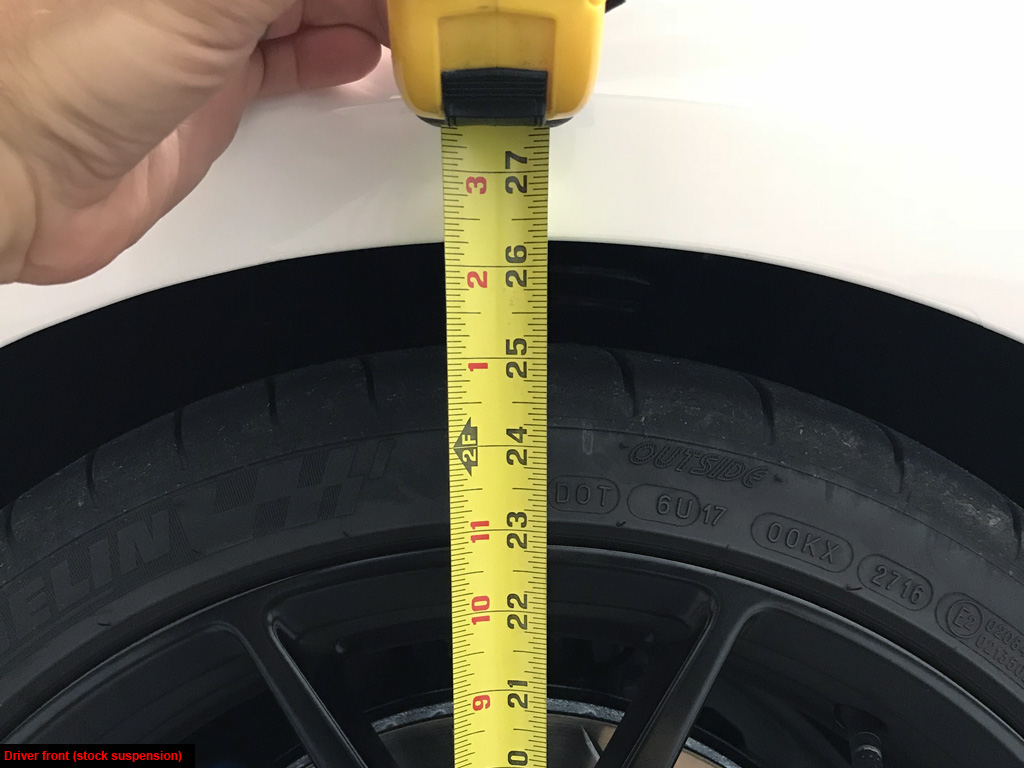
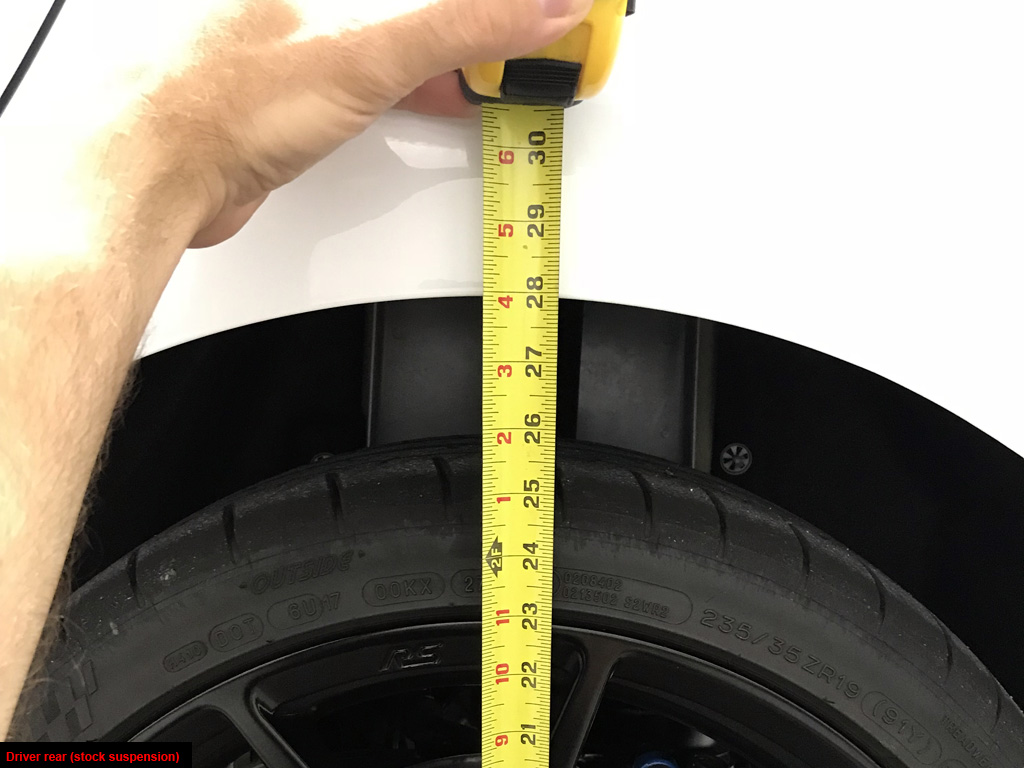
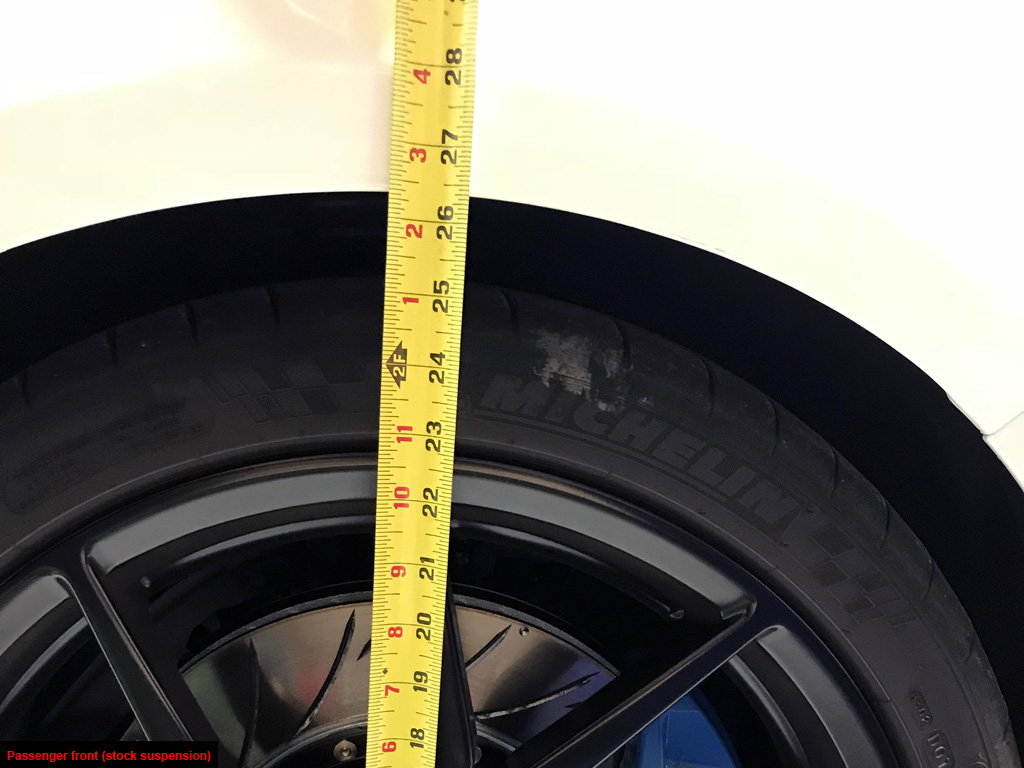
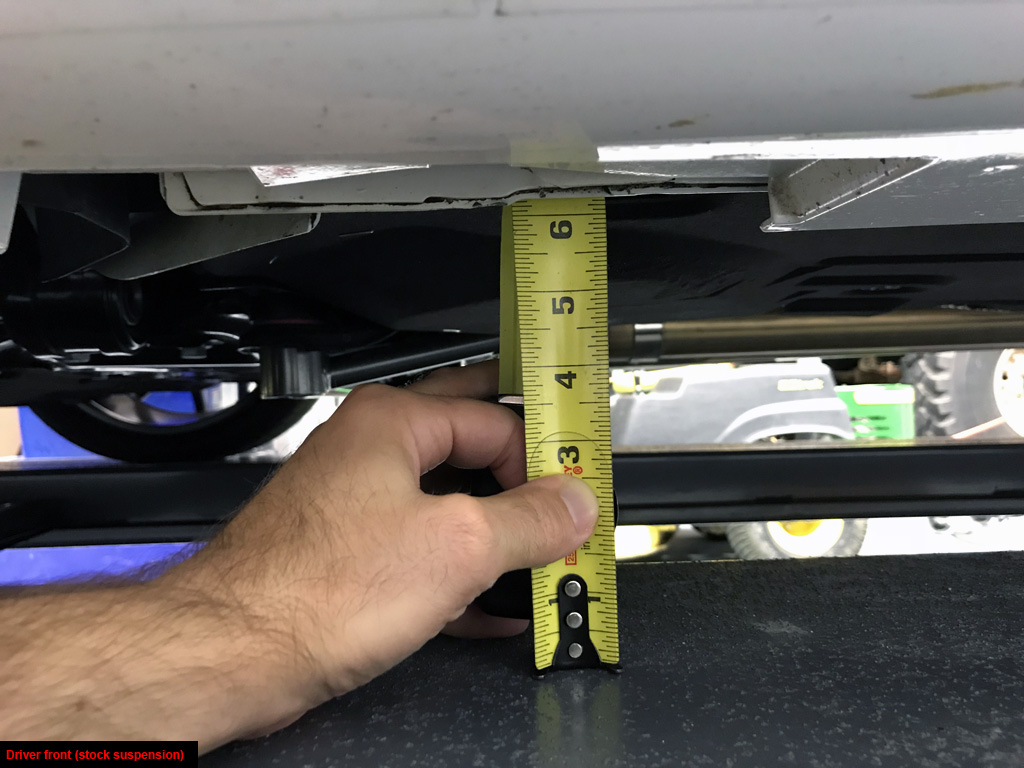
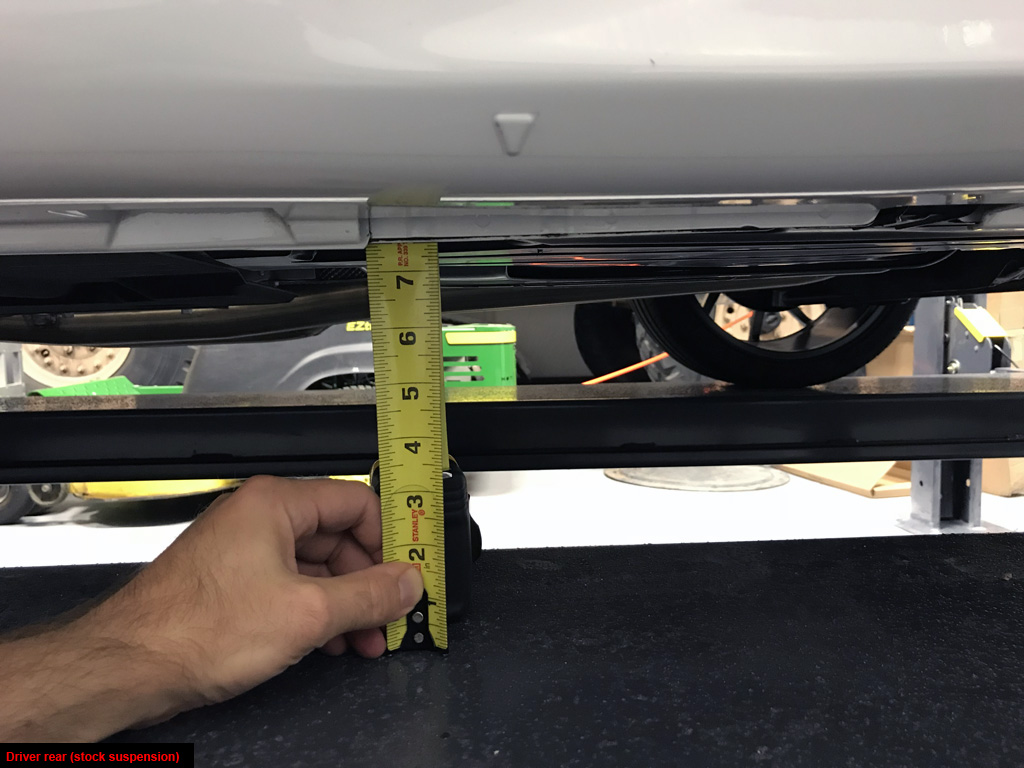
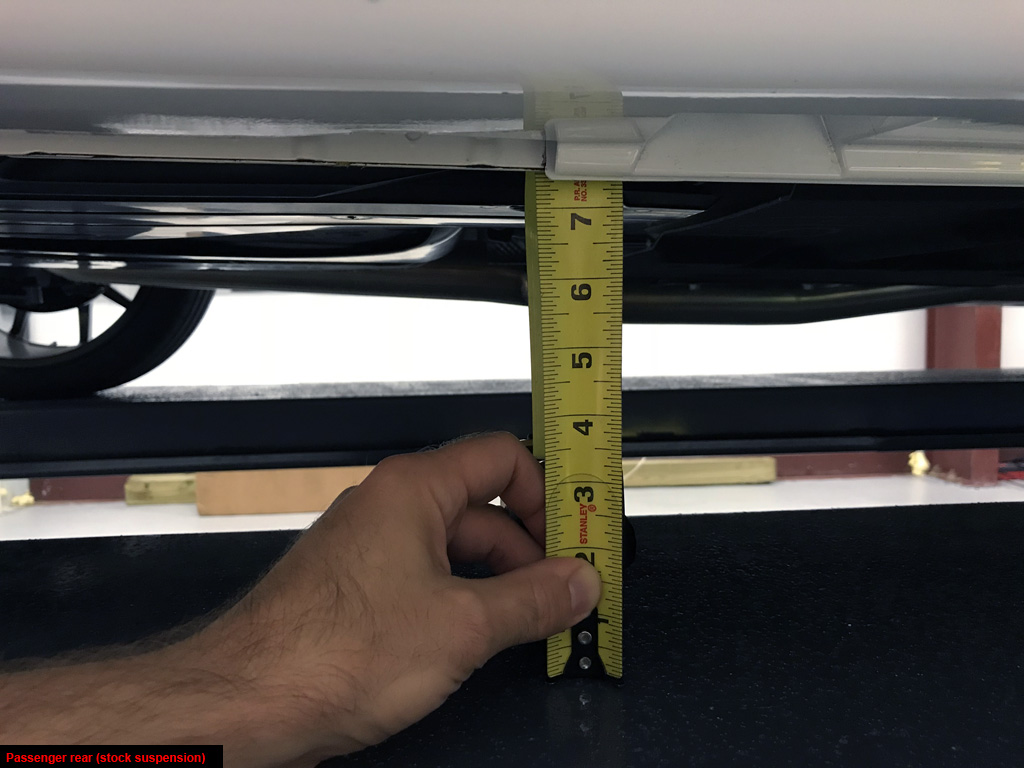
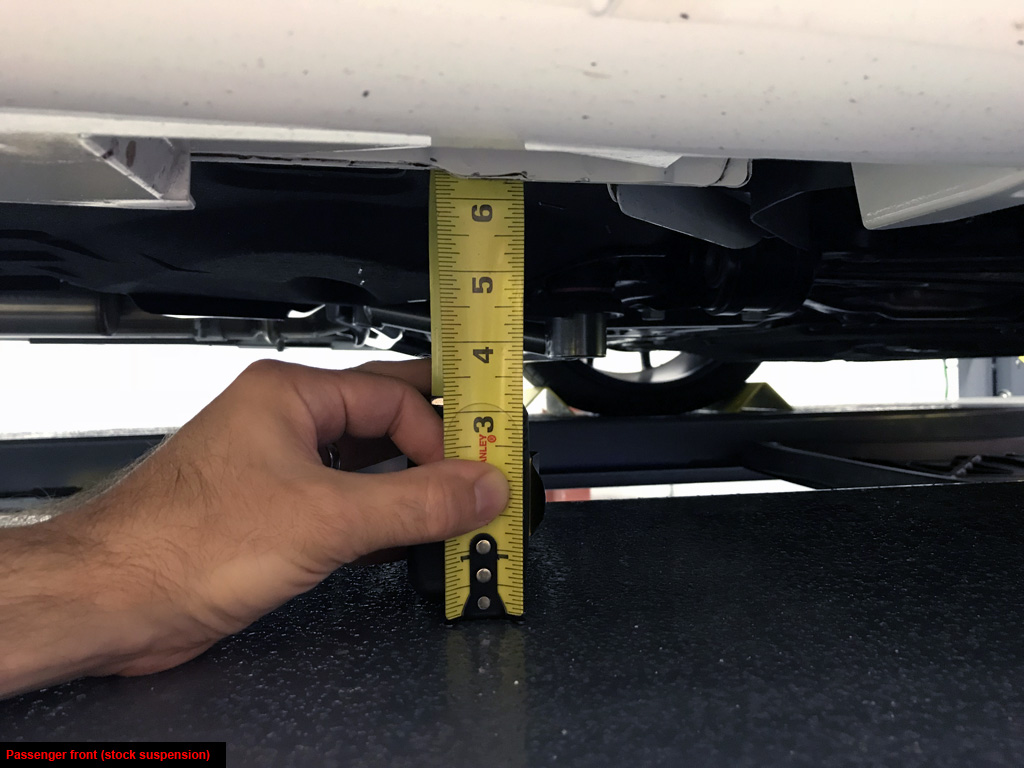
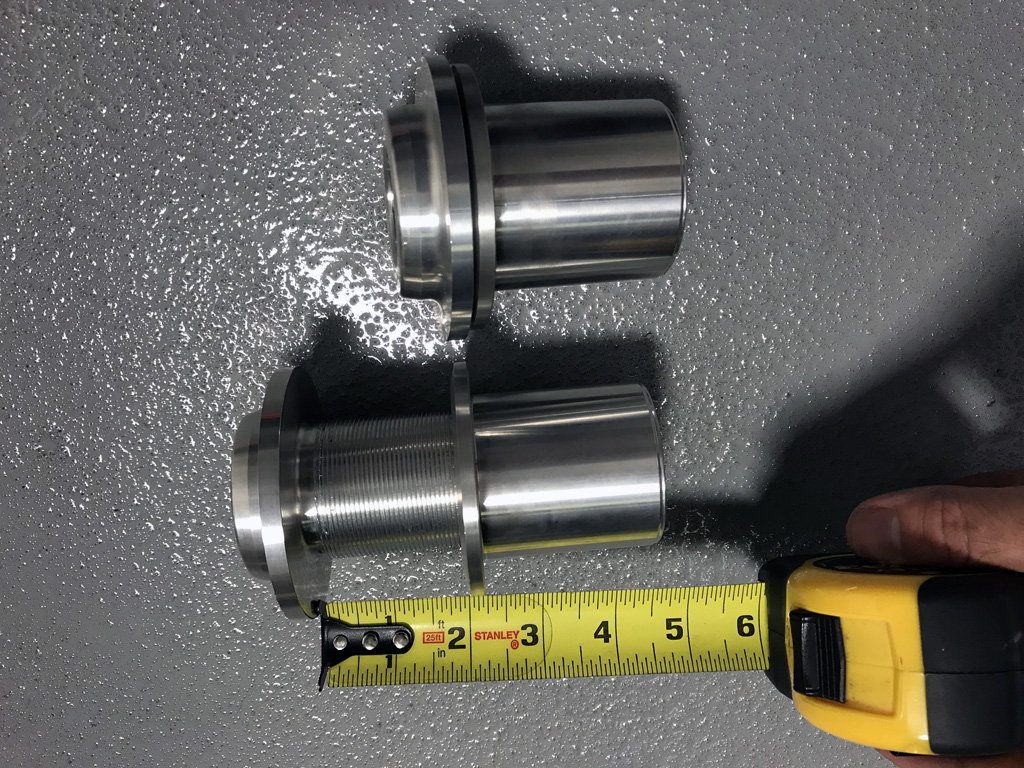
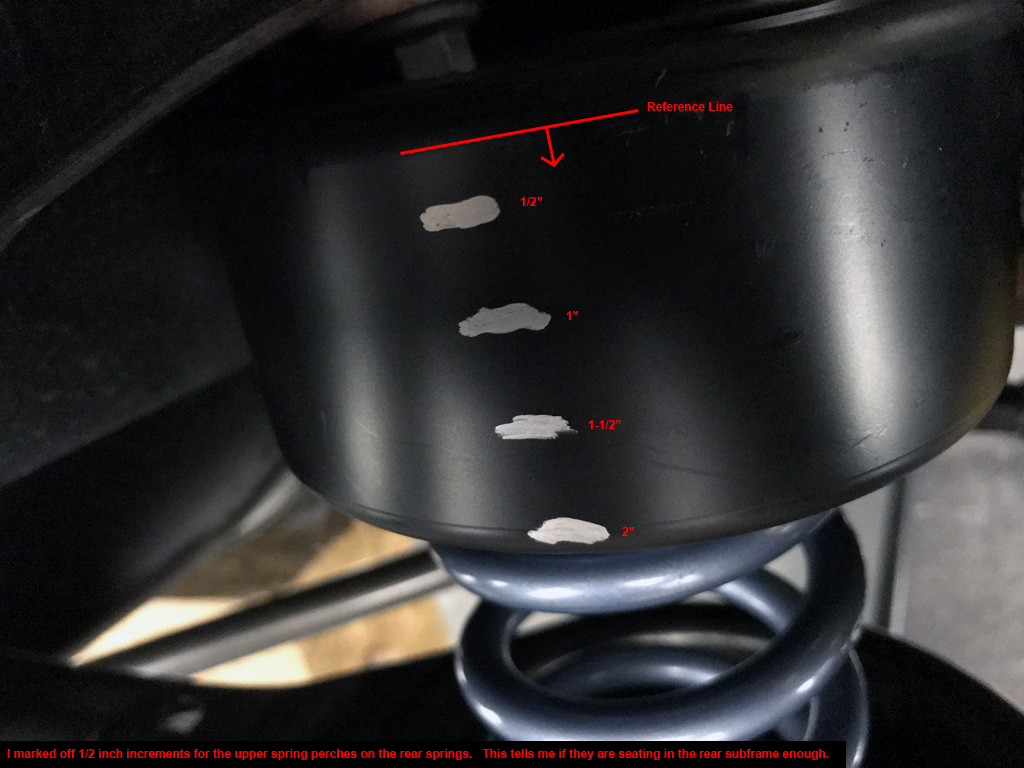
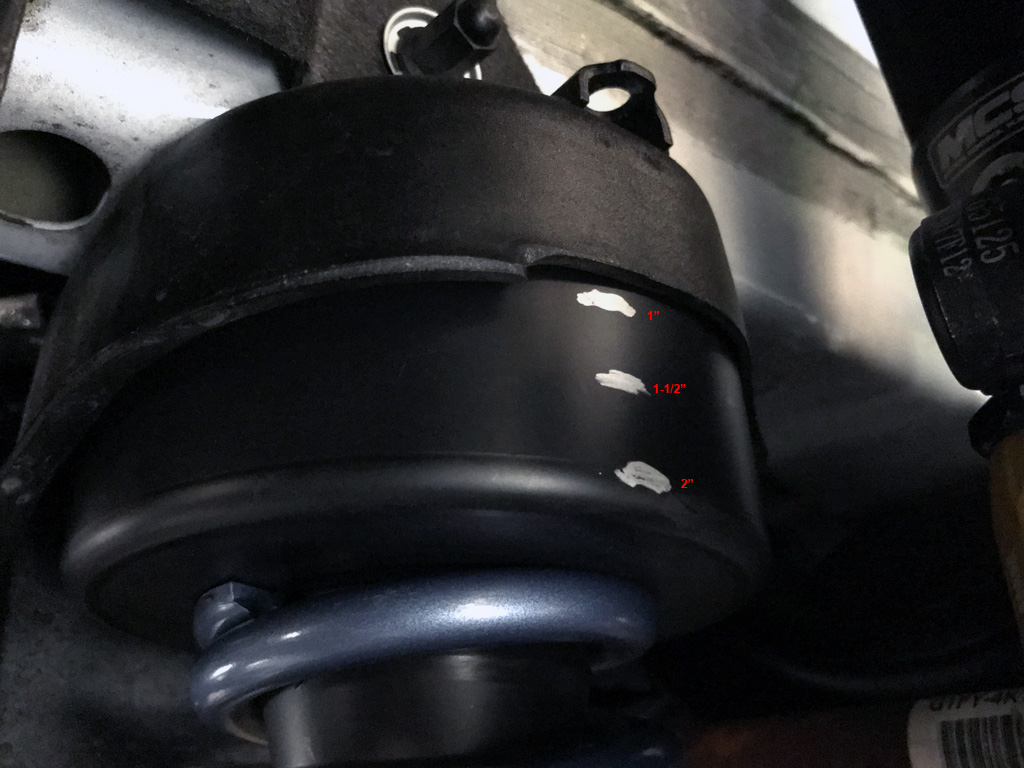
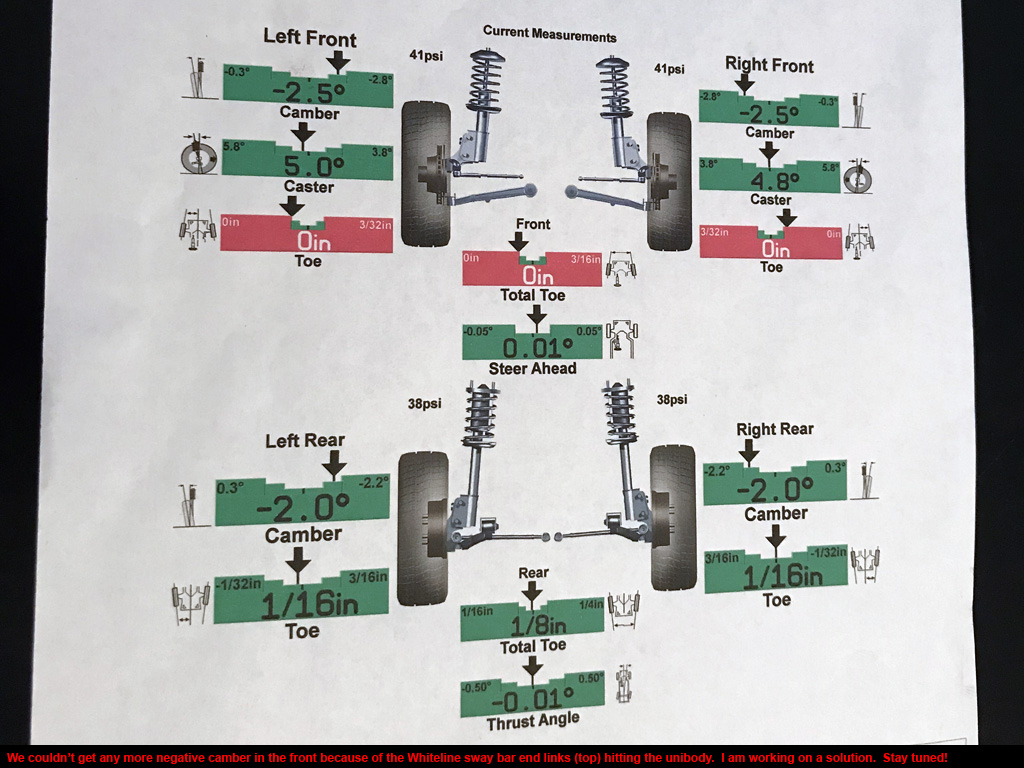
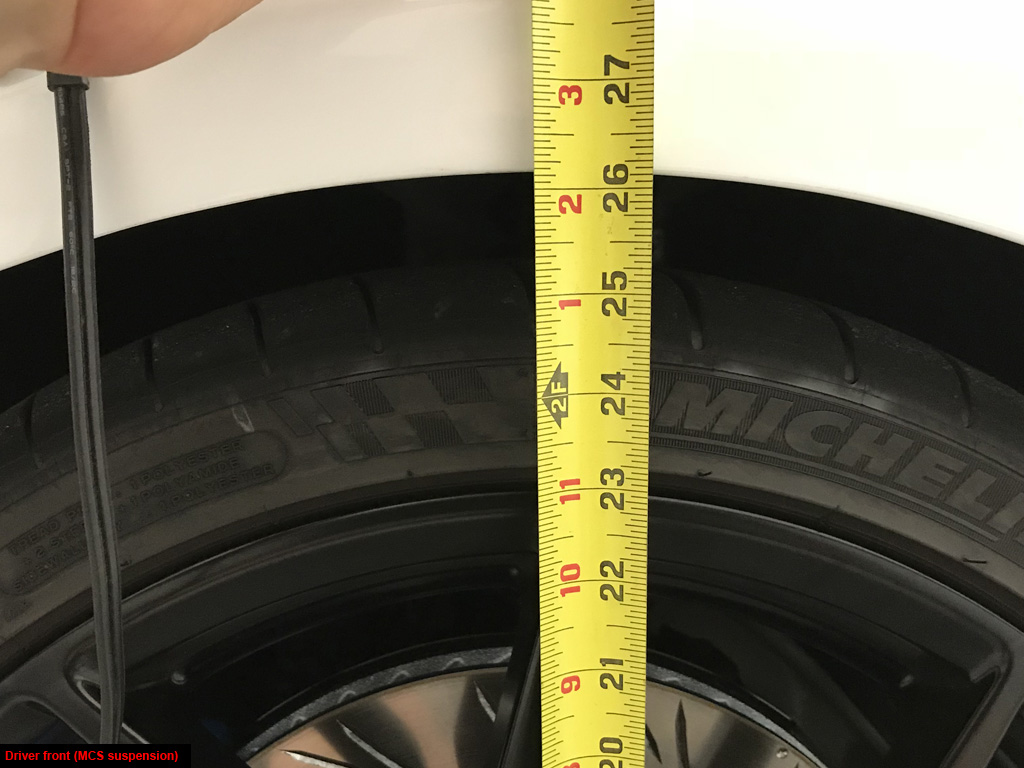
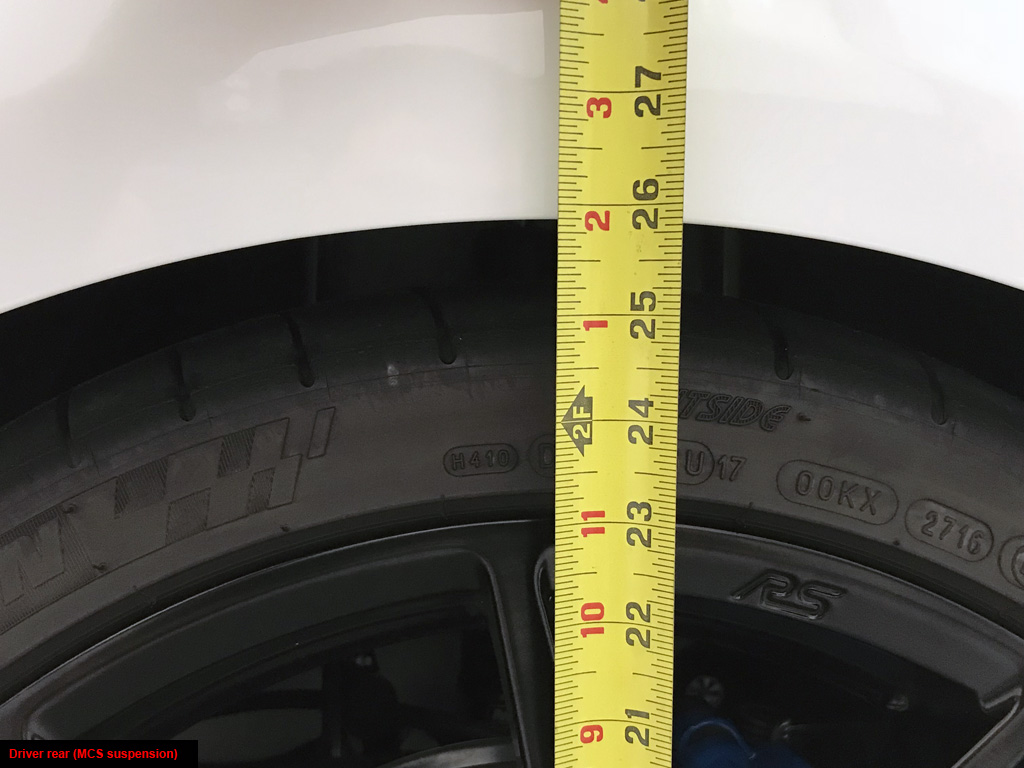
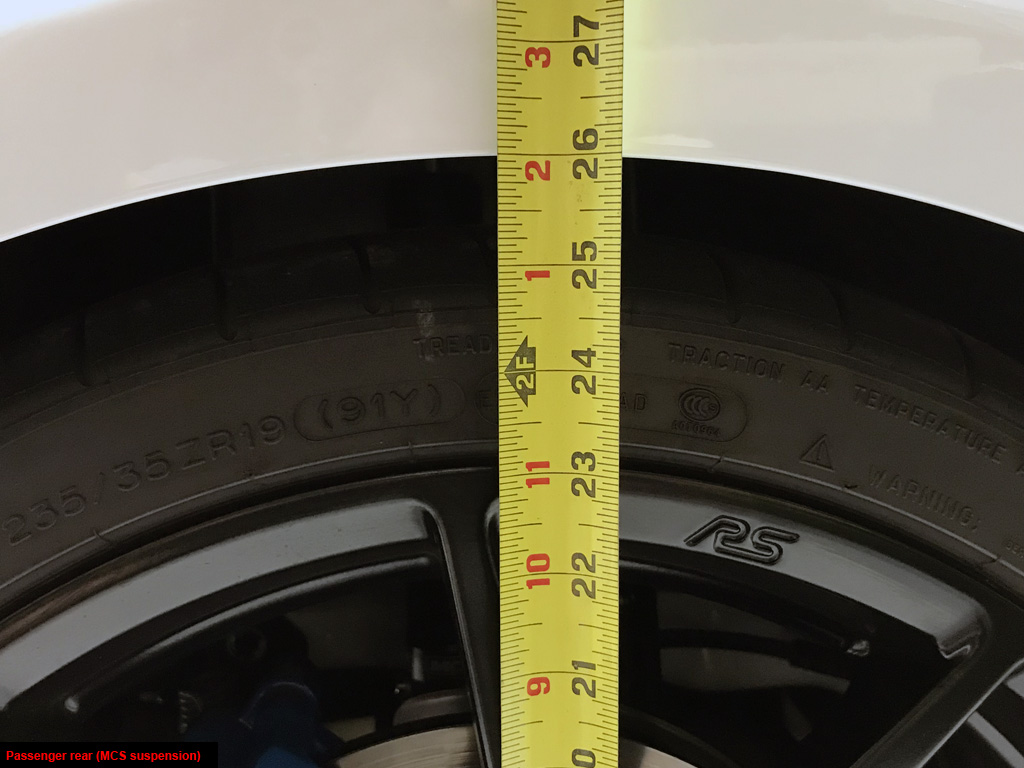
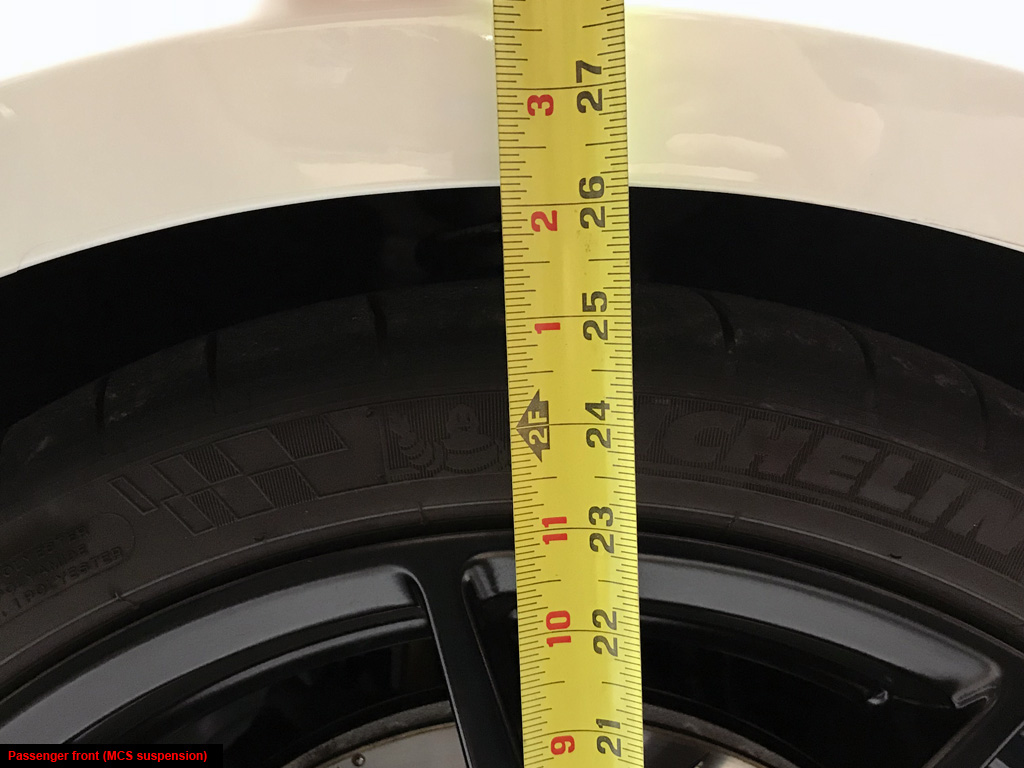
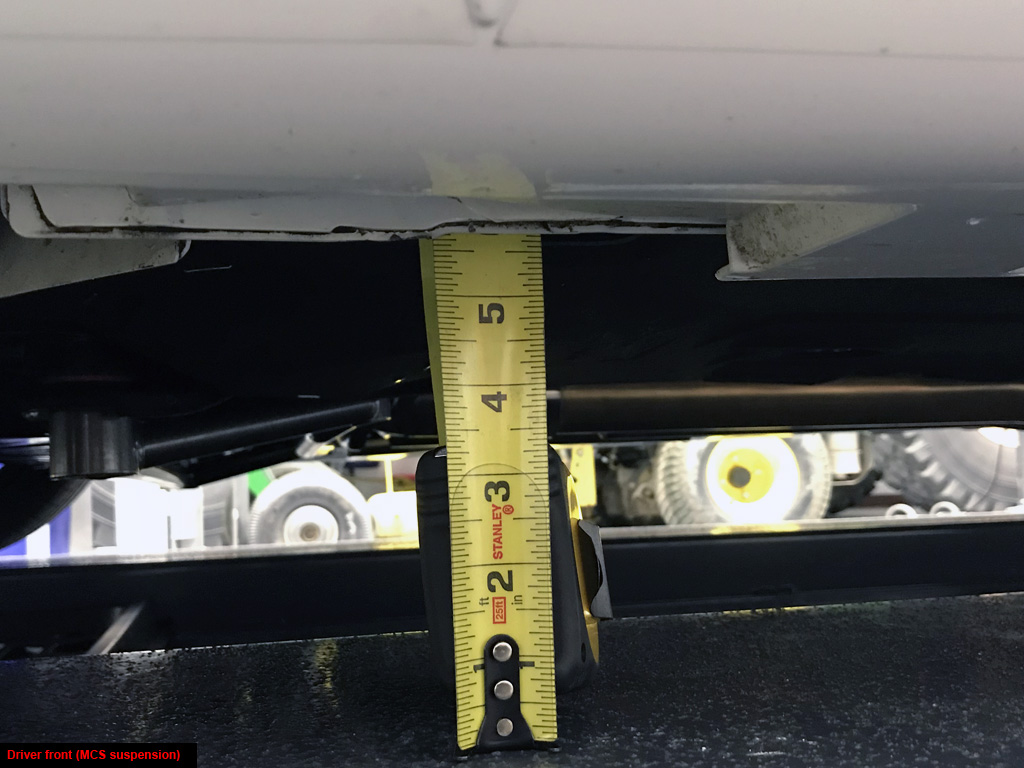
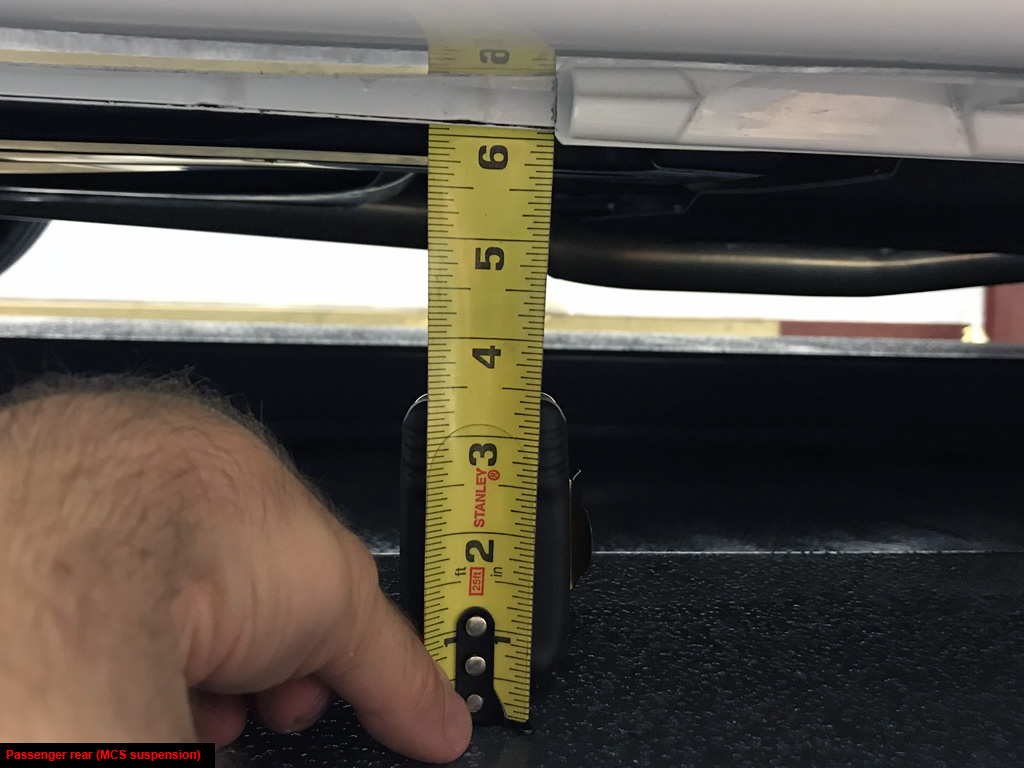
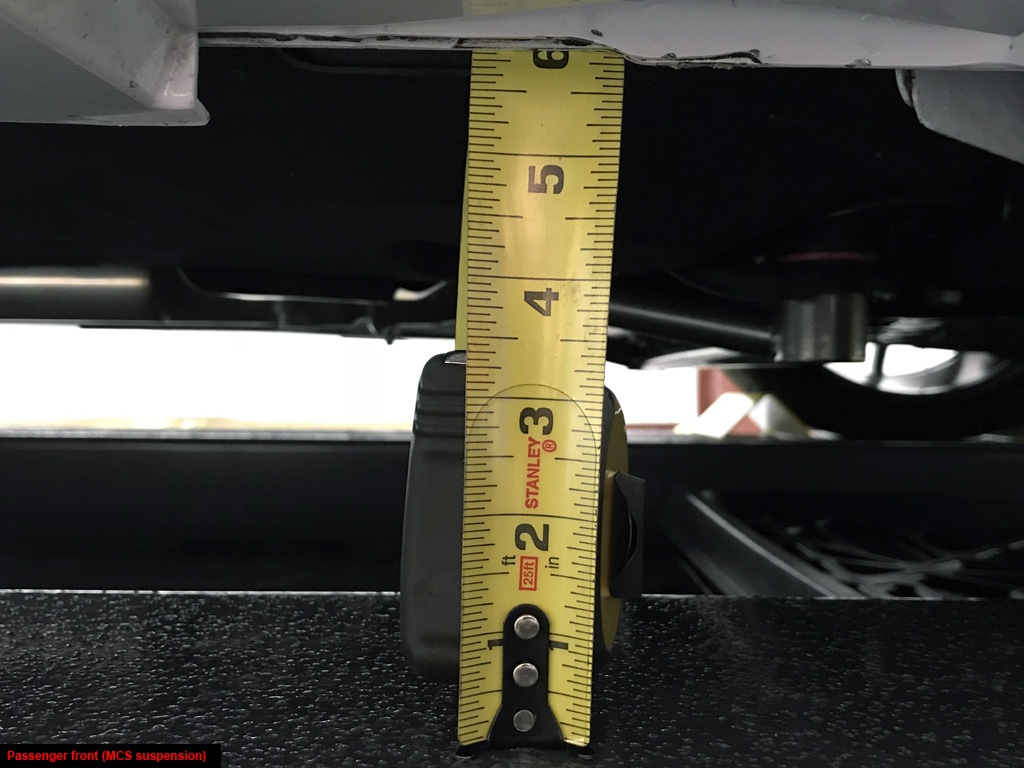
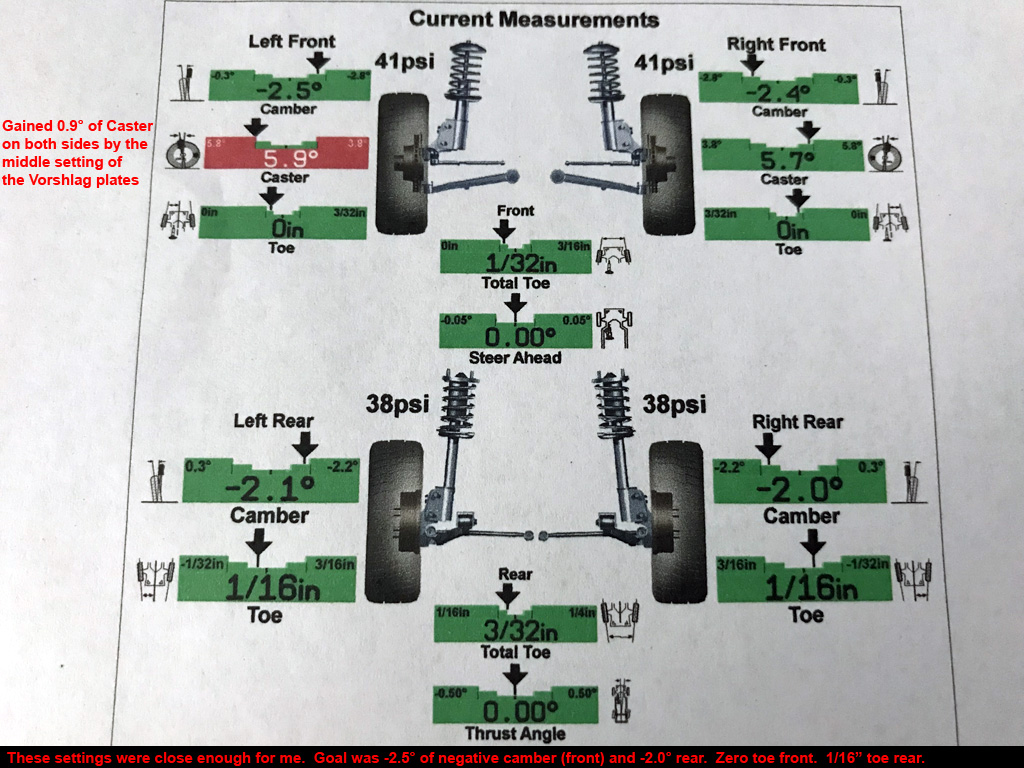
15. Measurement comparison:
06/29/18 Edit:
1. See pictures 156 through 194.
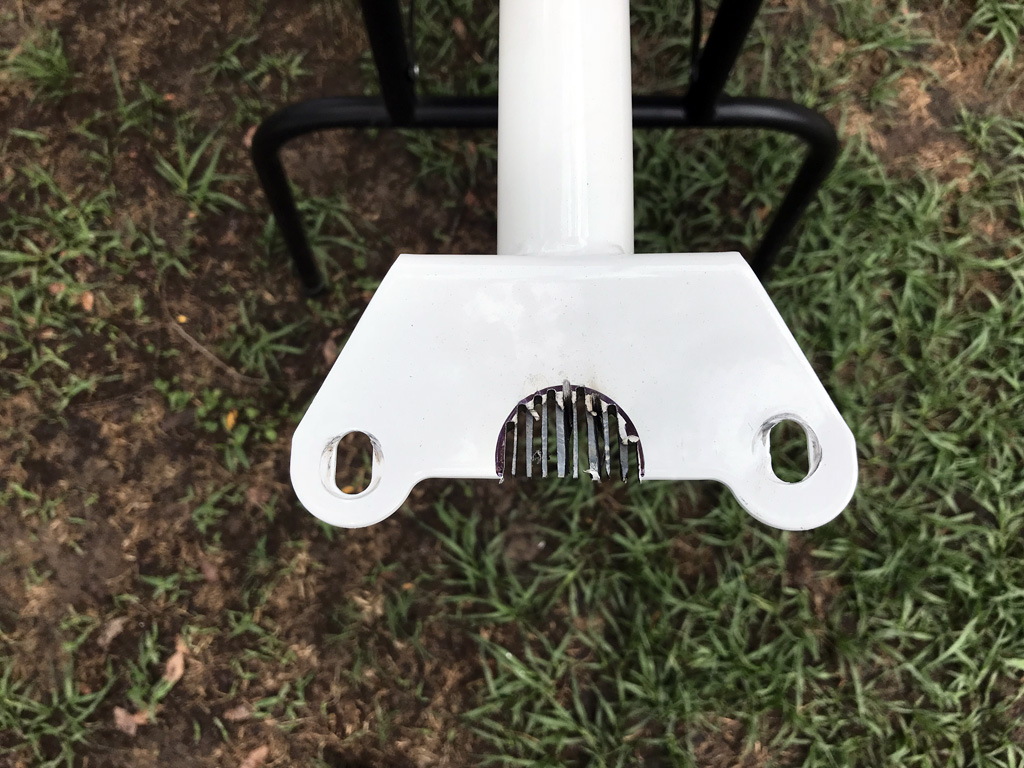
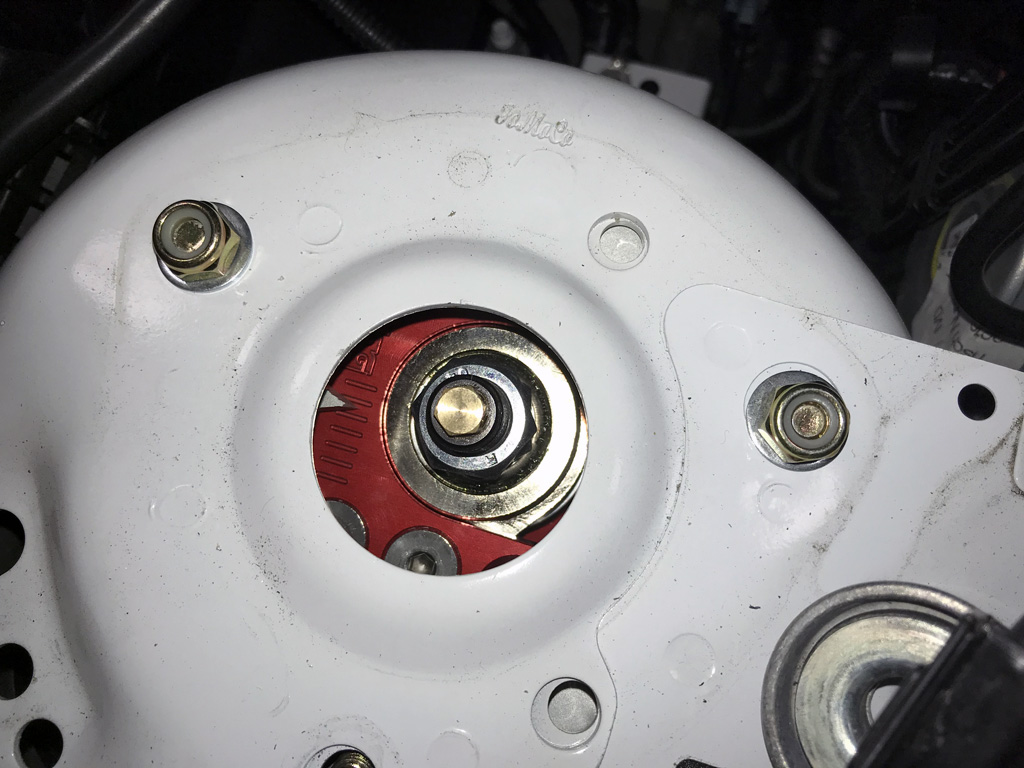
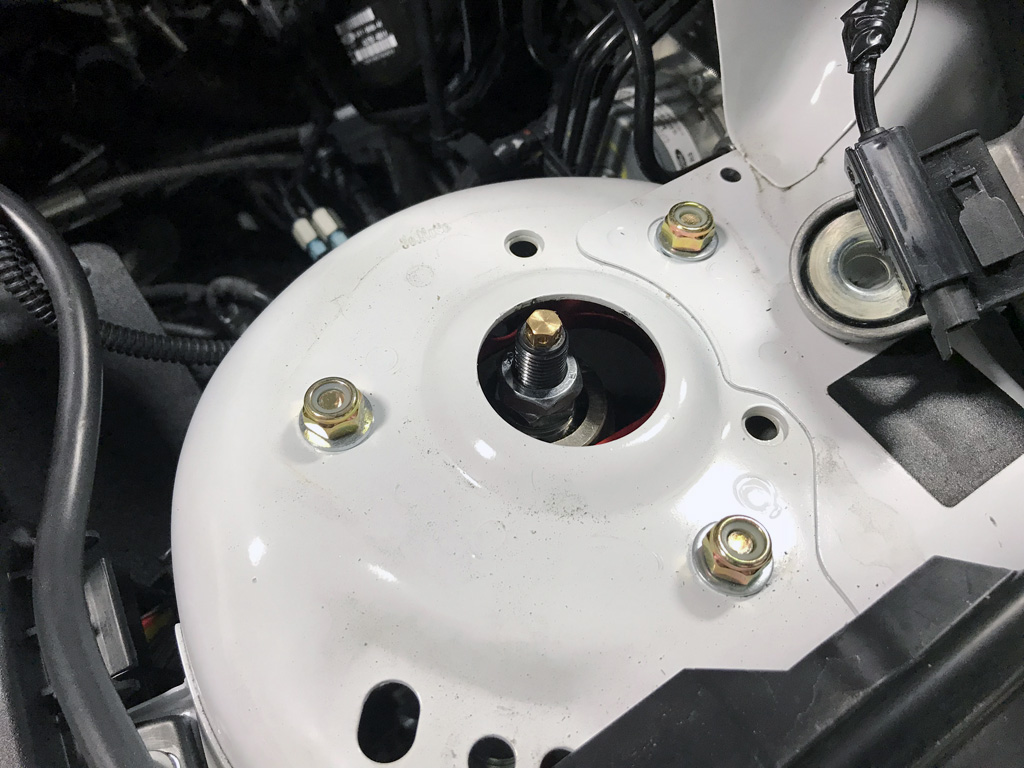
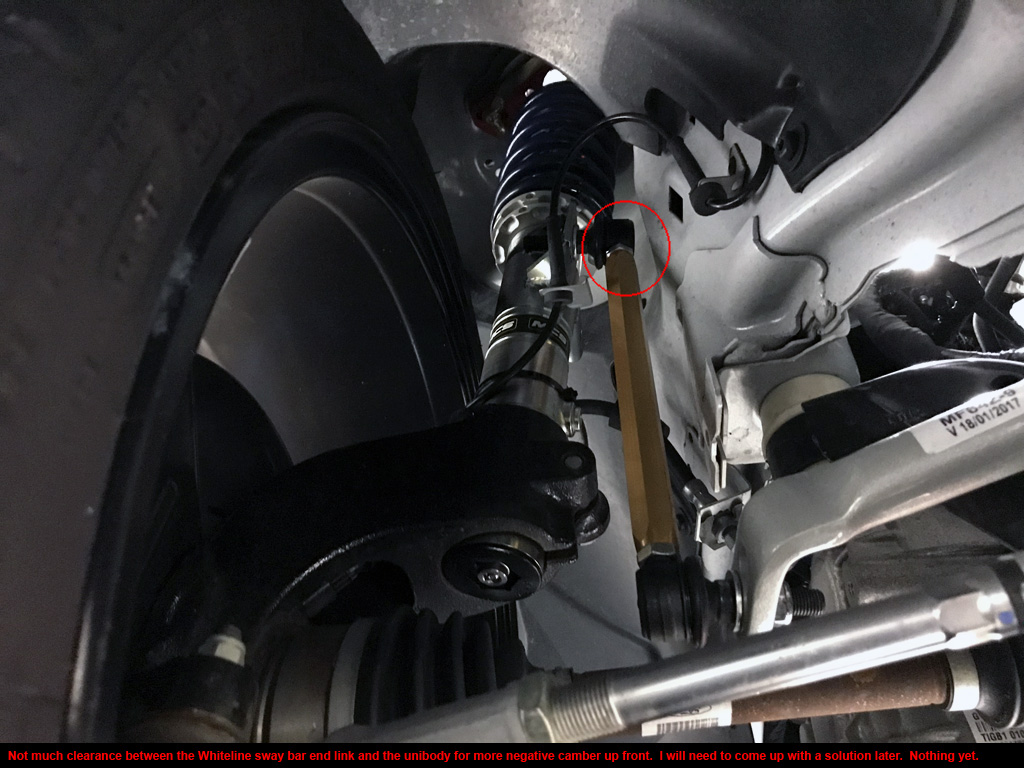
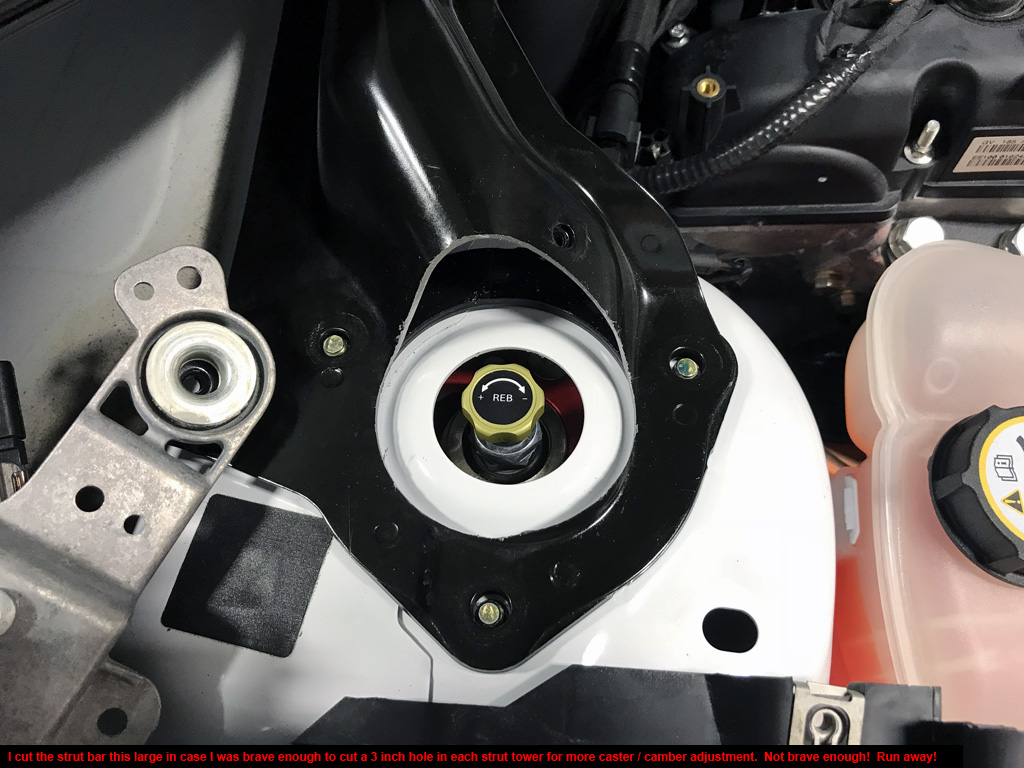
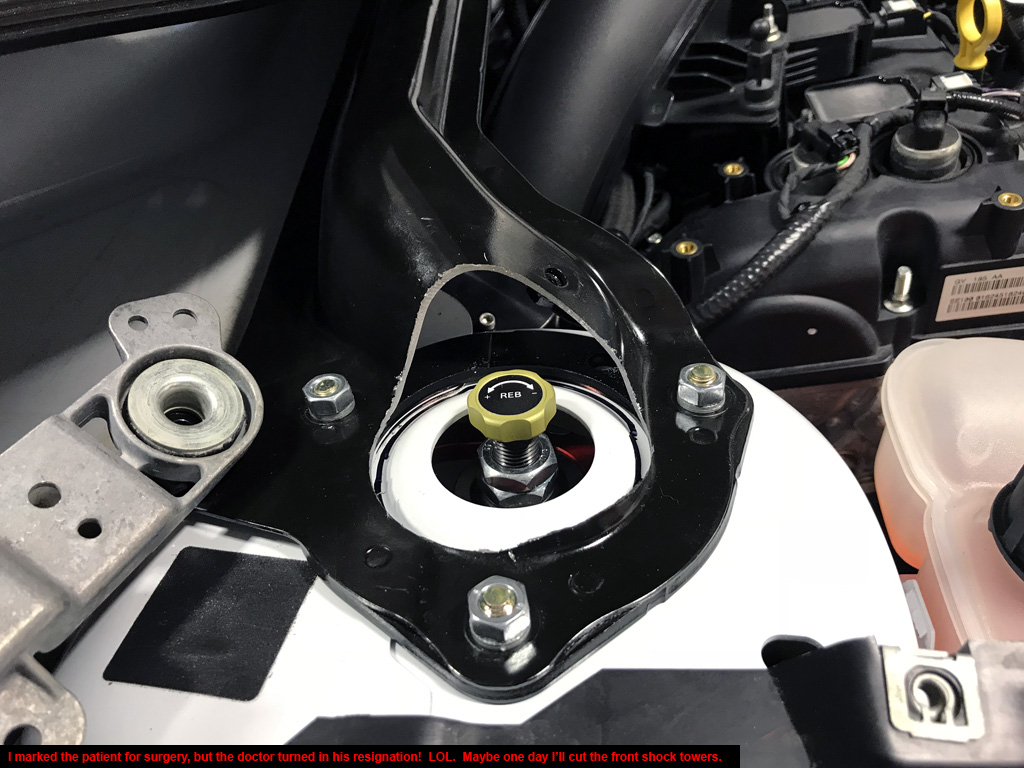
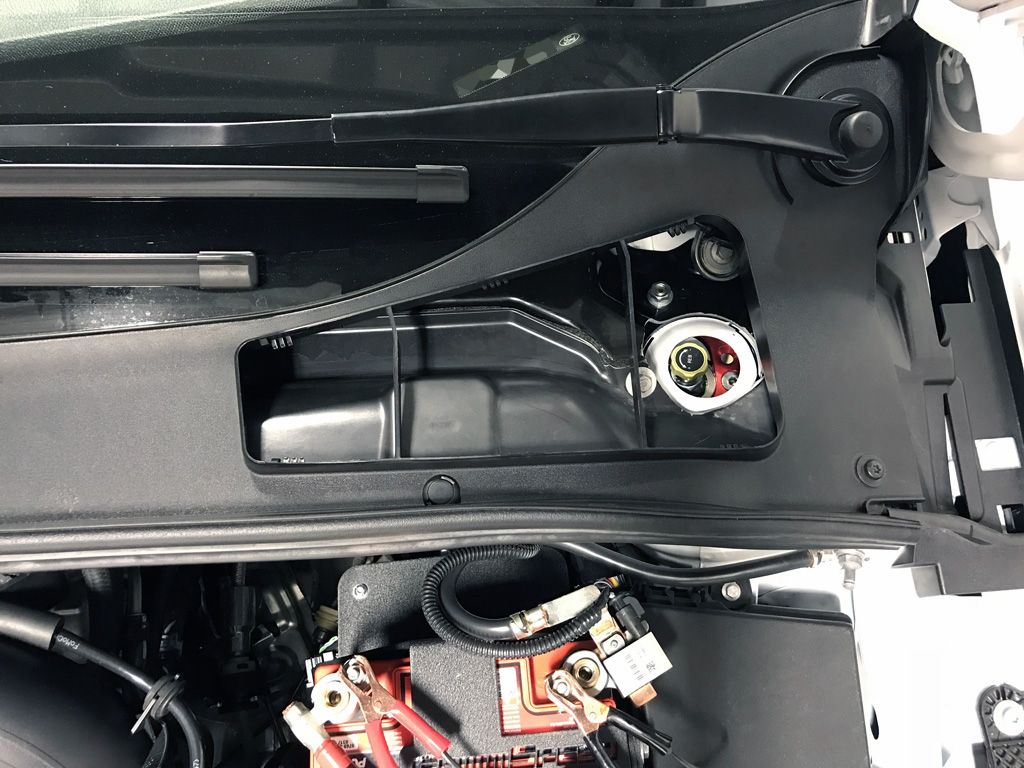
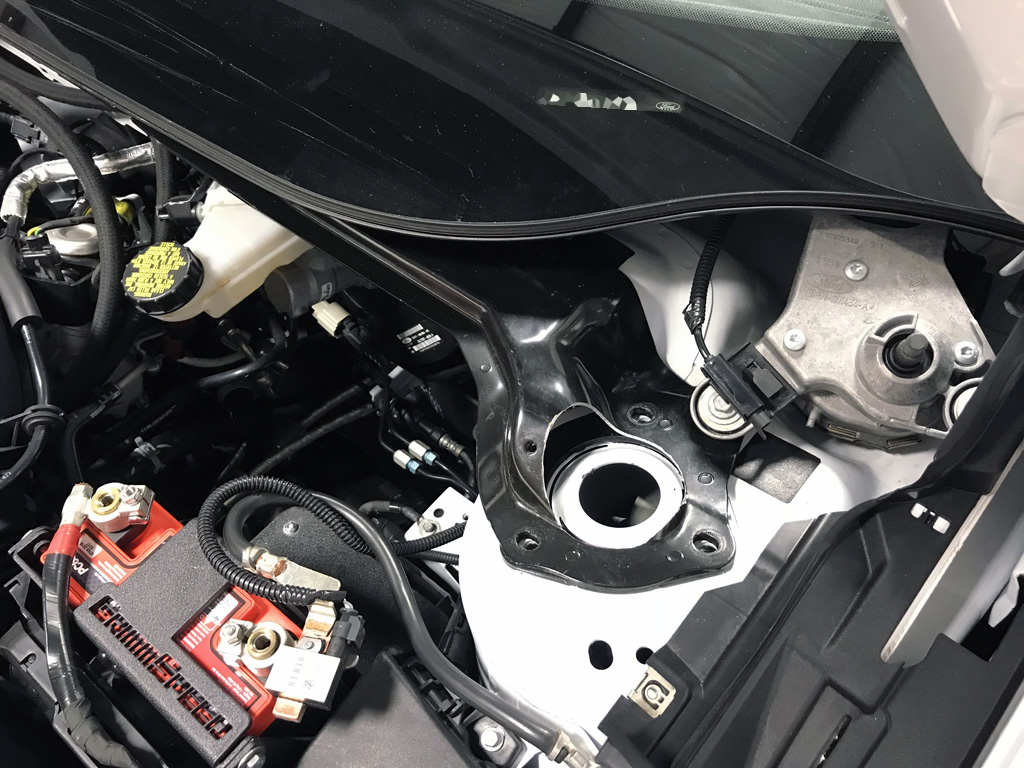
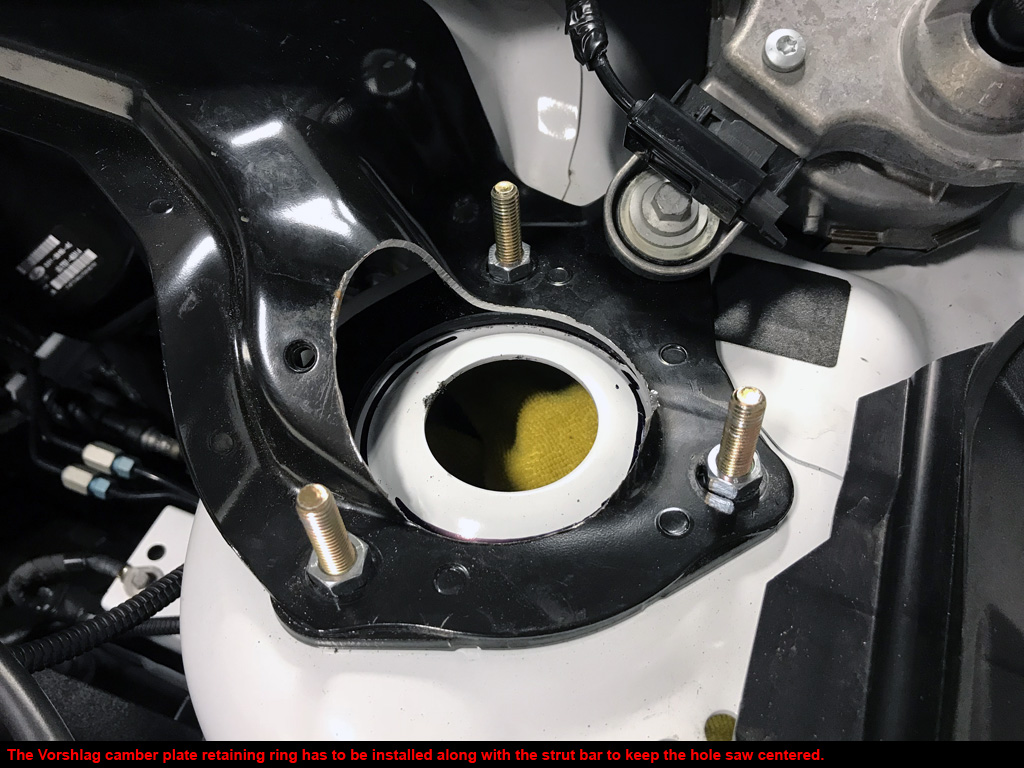
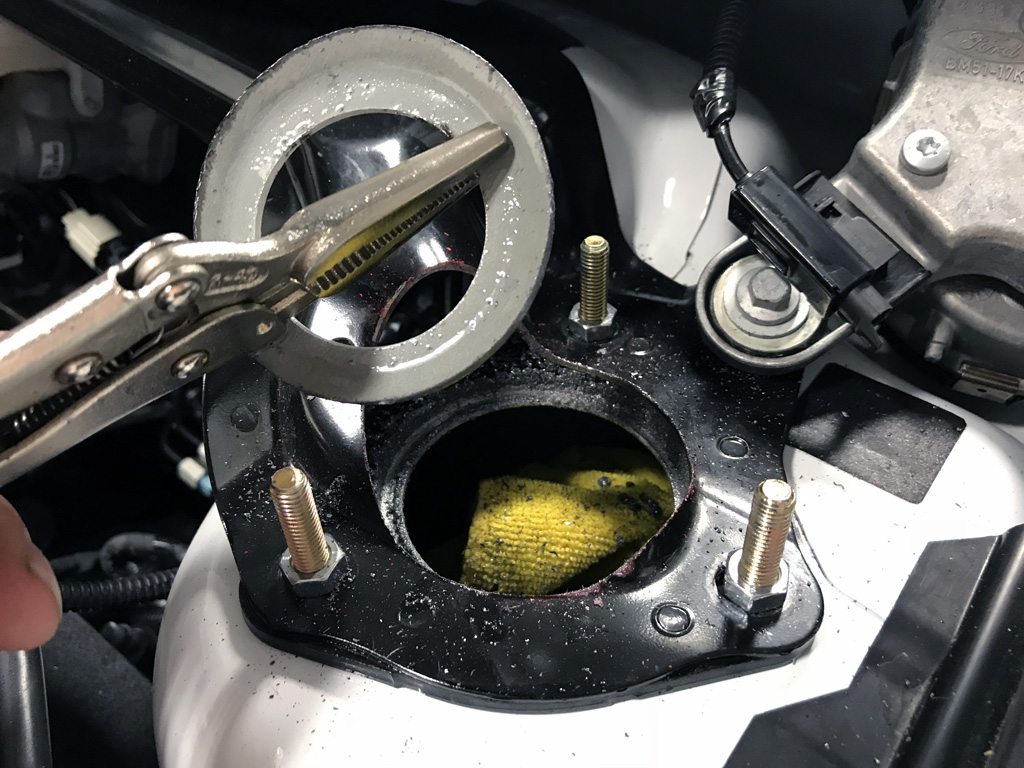
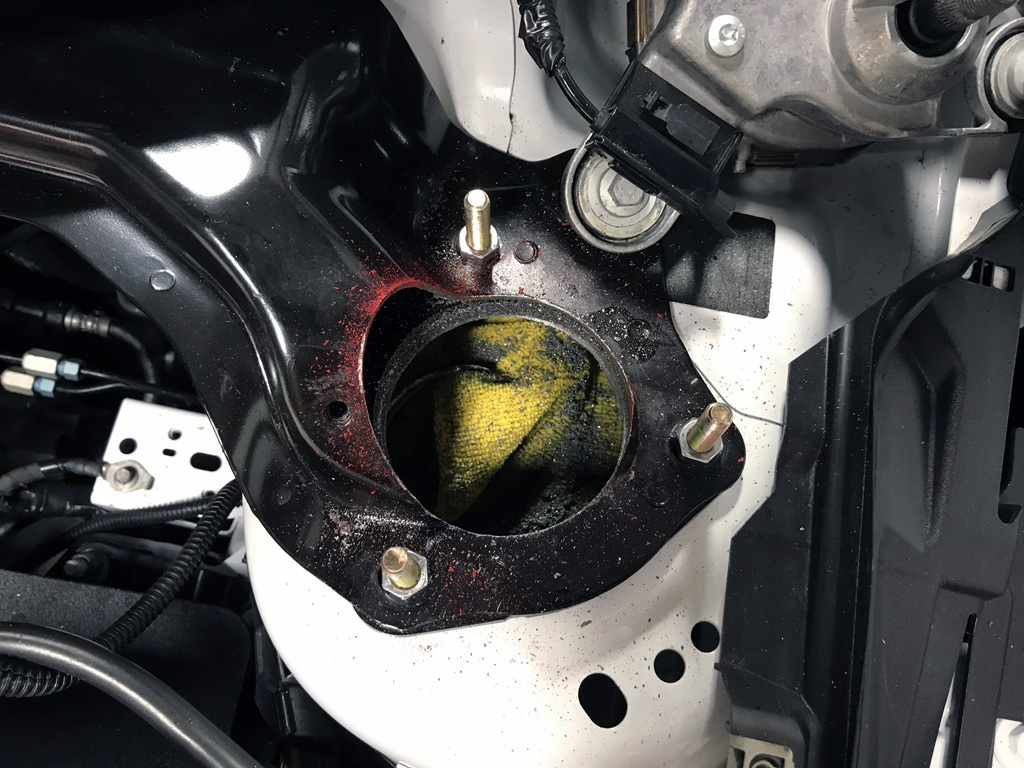
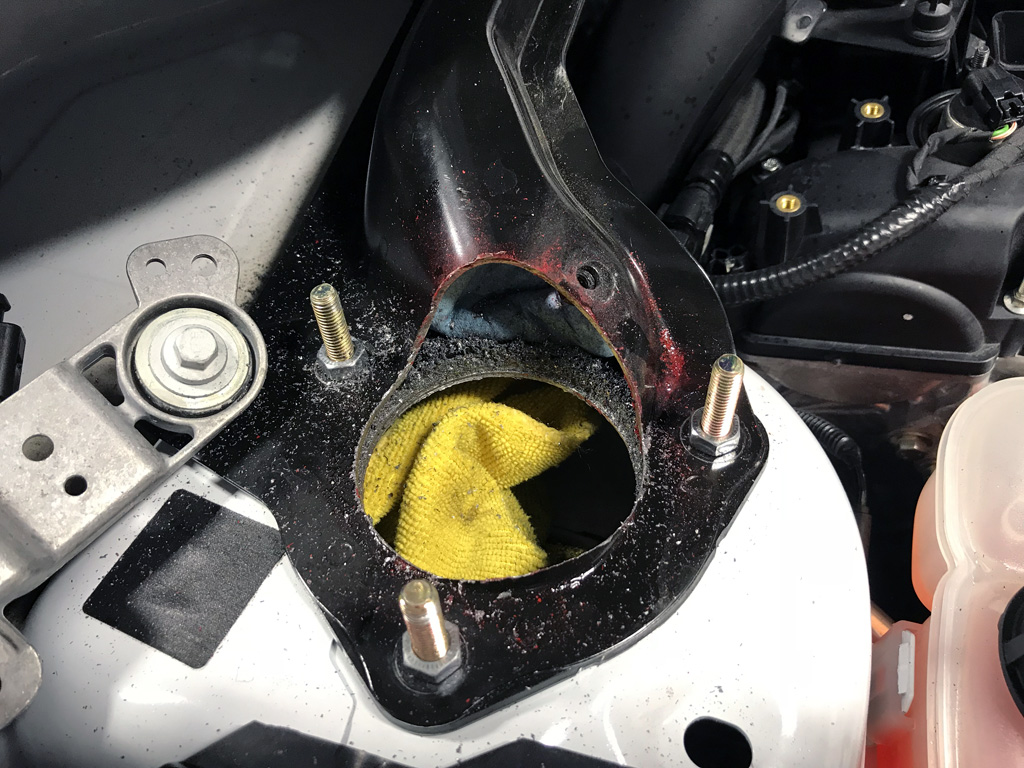
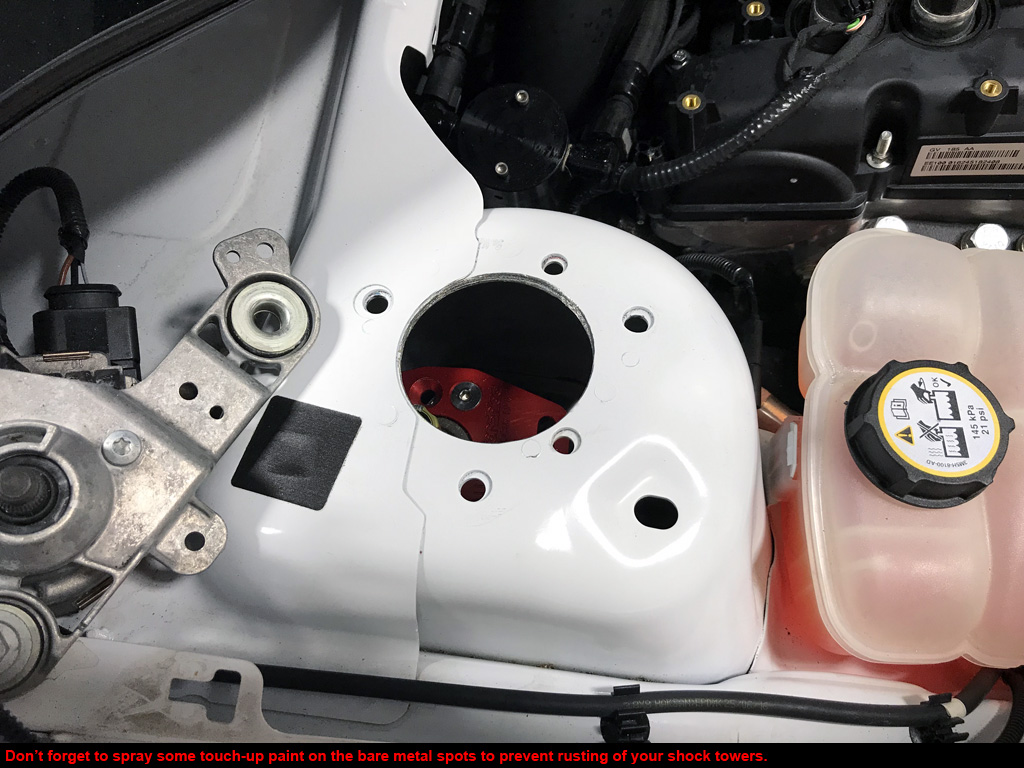
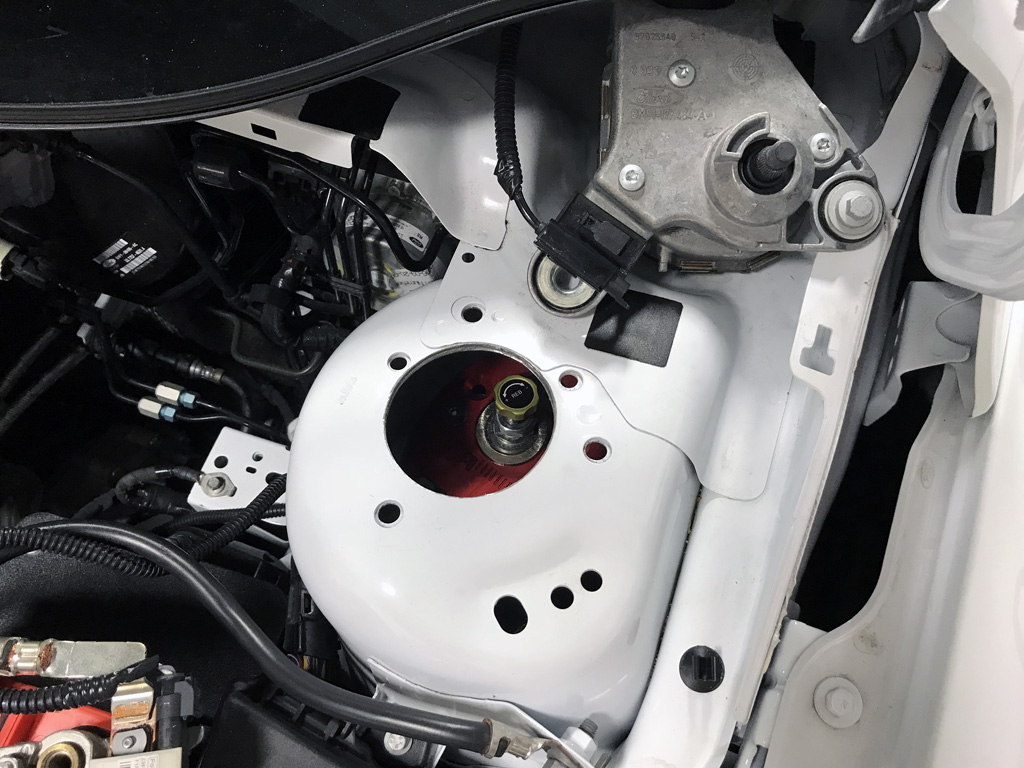
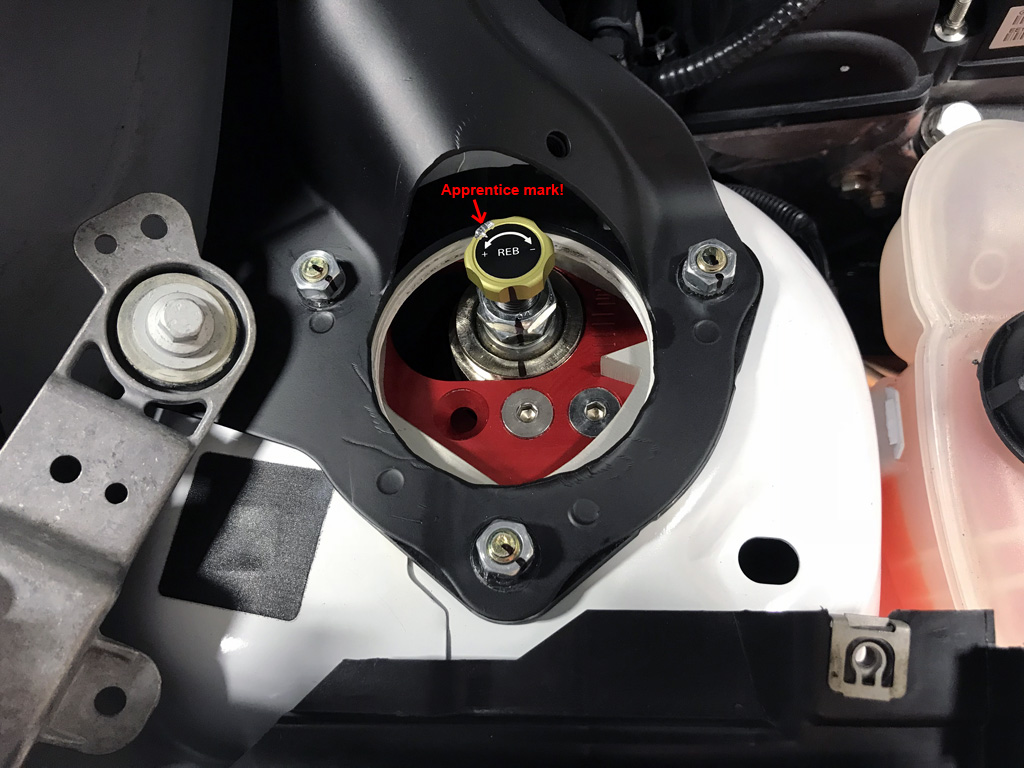
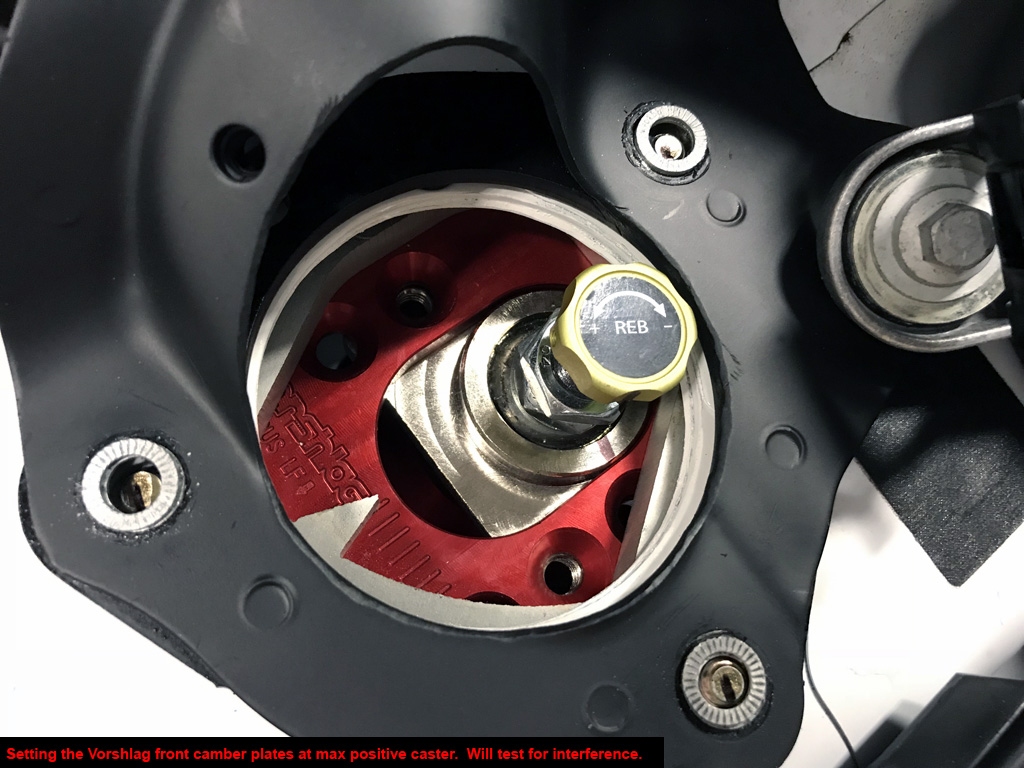
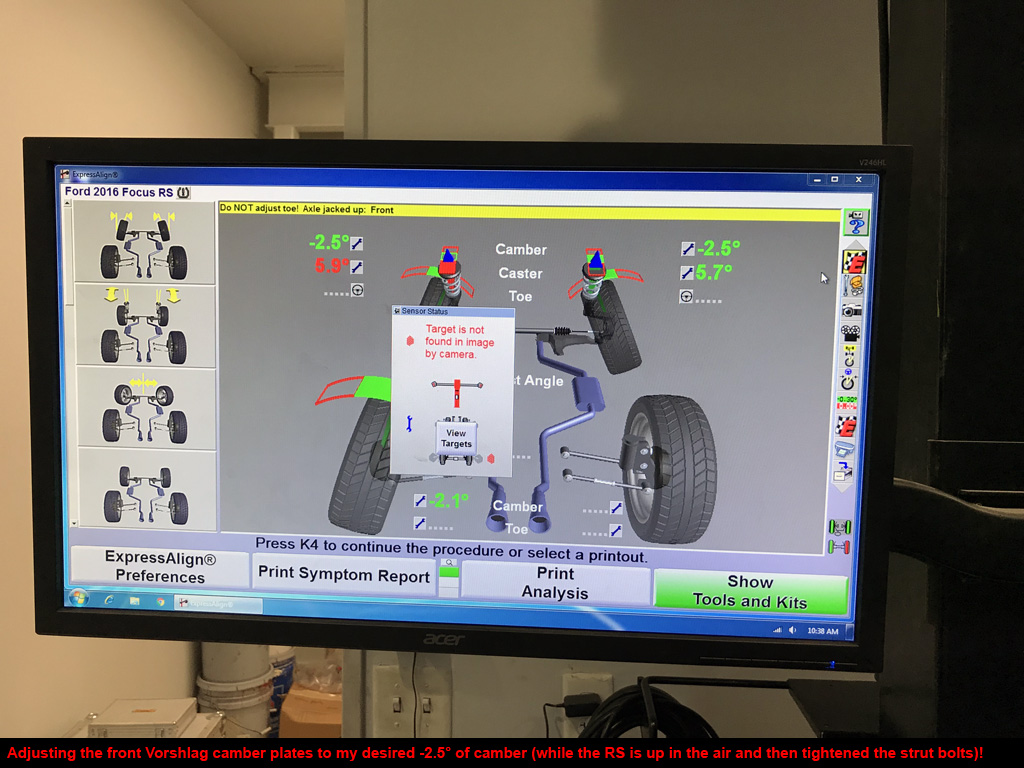
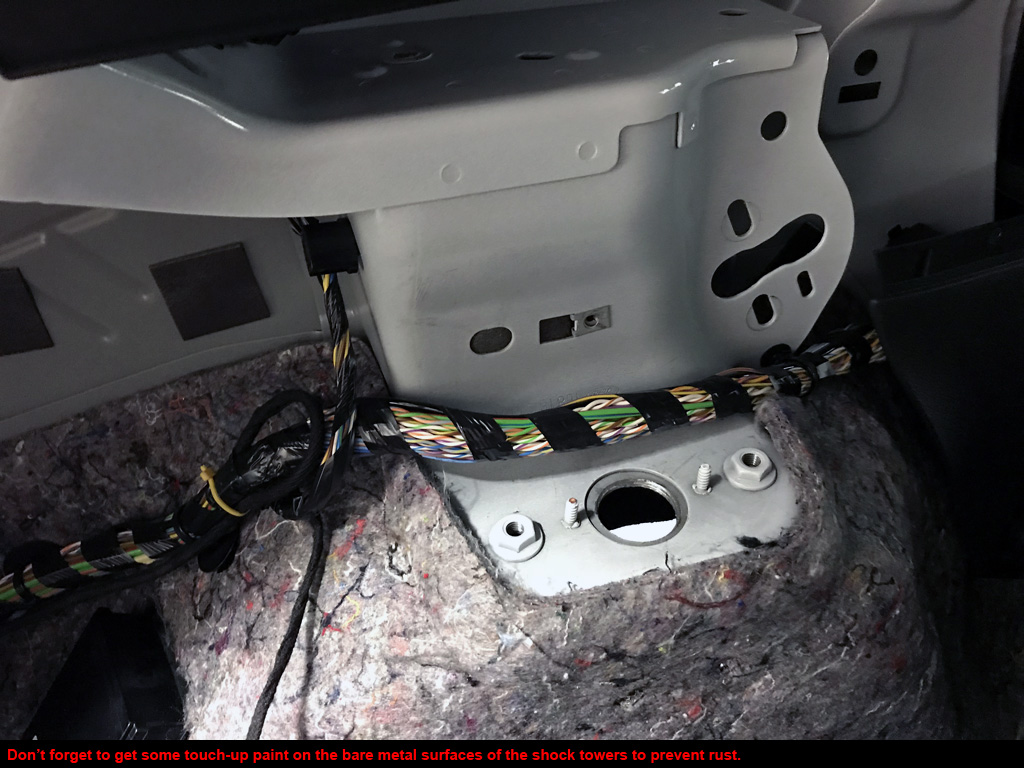
2. I got brave and used a 3" hole saw on my front shock towers for more camber/caster adjustment.
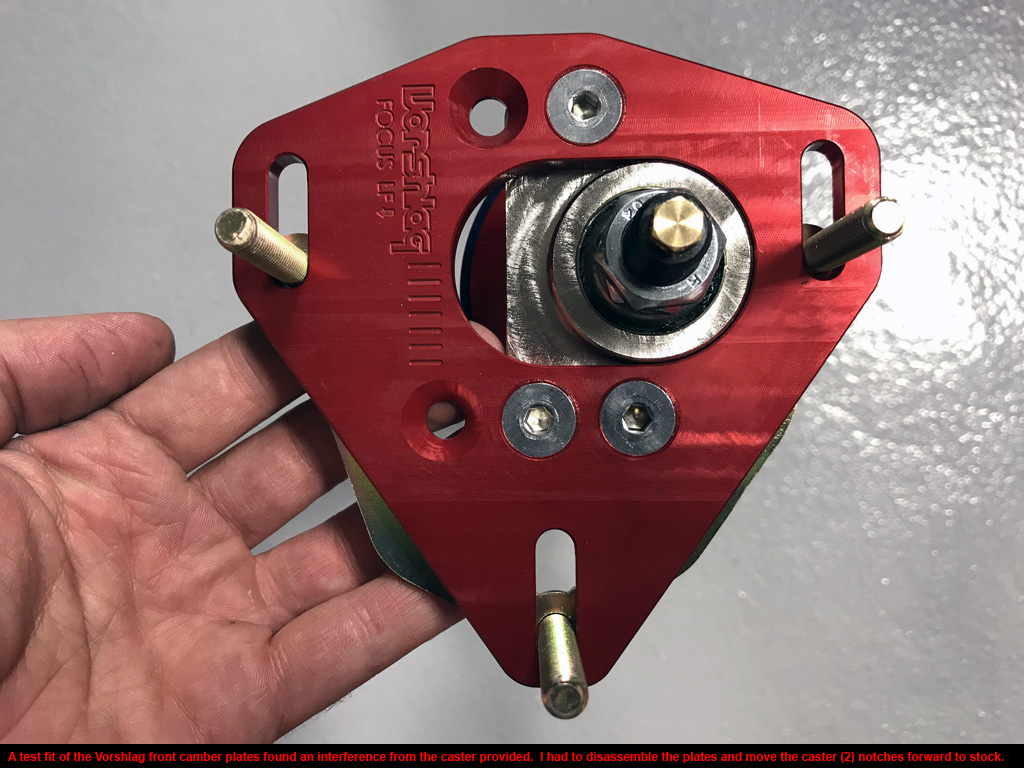
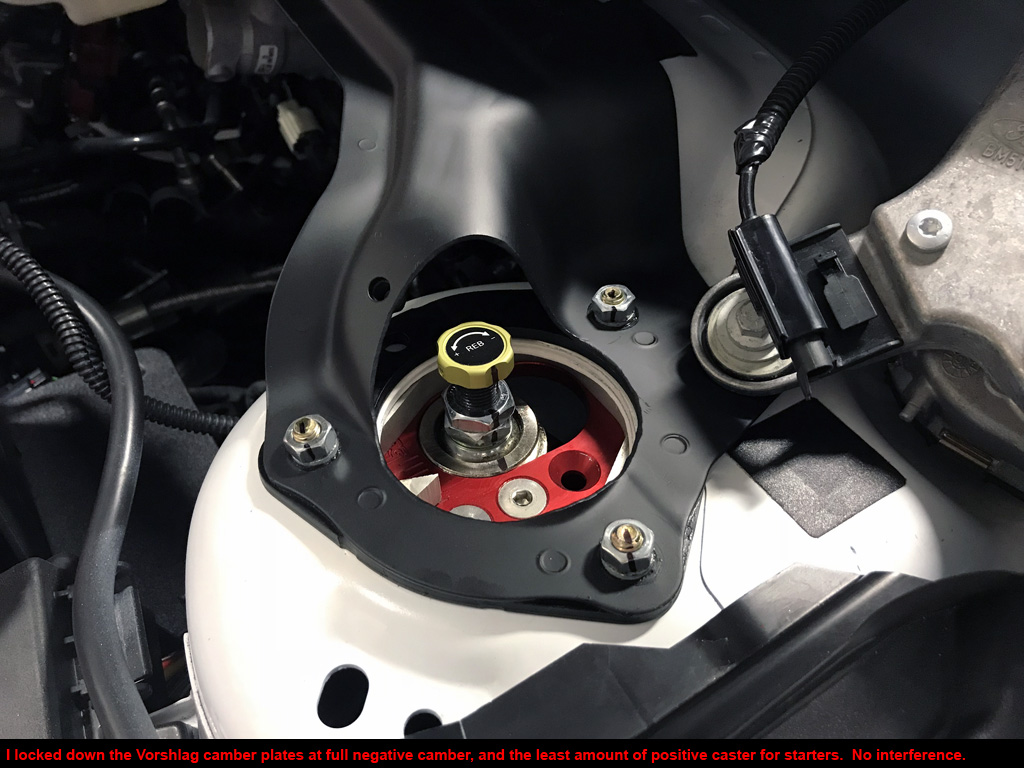
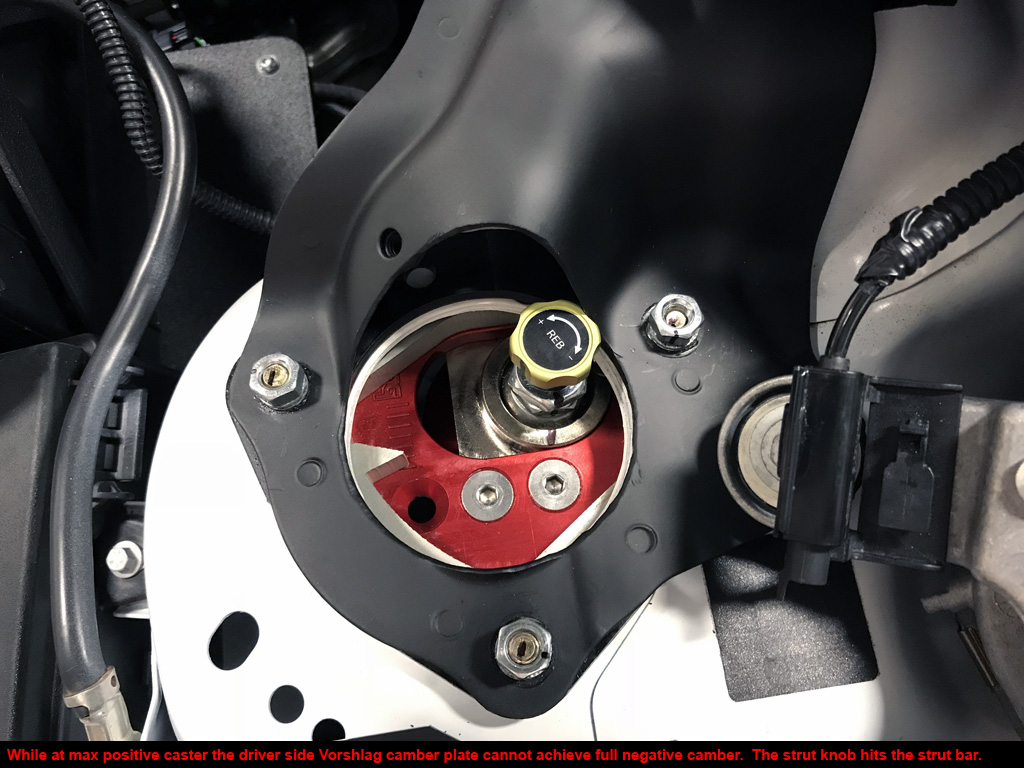
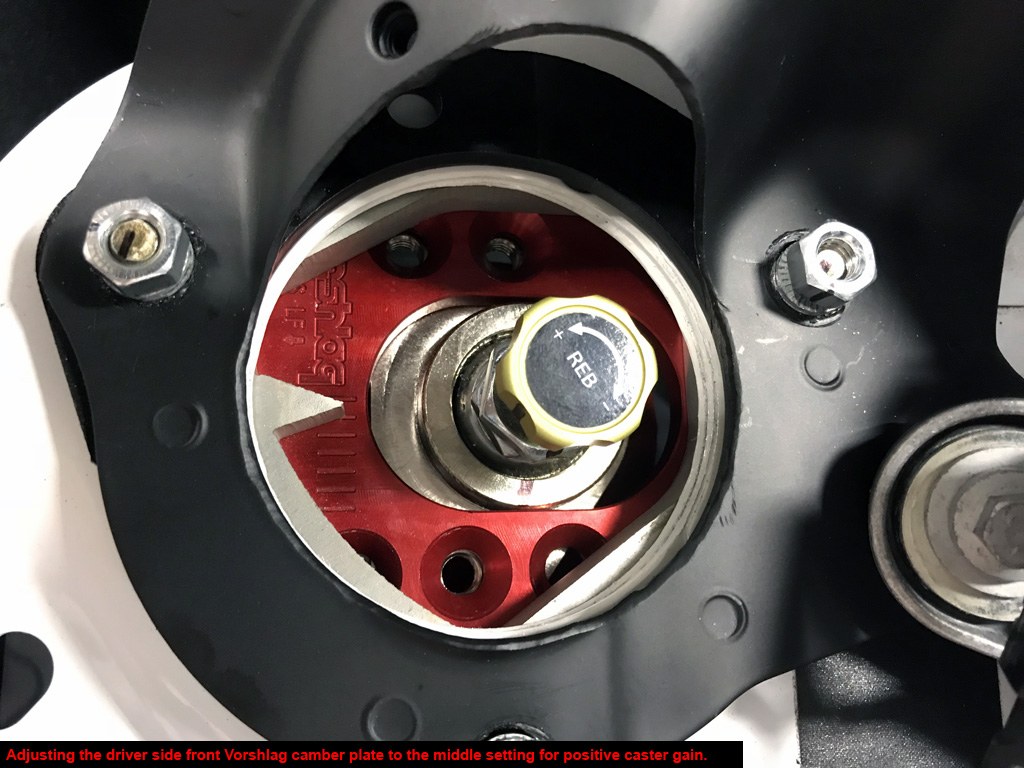
3. I ended up able to get max negative camber, but only the middle caster adjustment due to interference with the strut bar on the MCS strut knob.
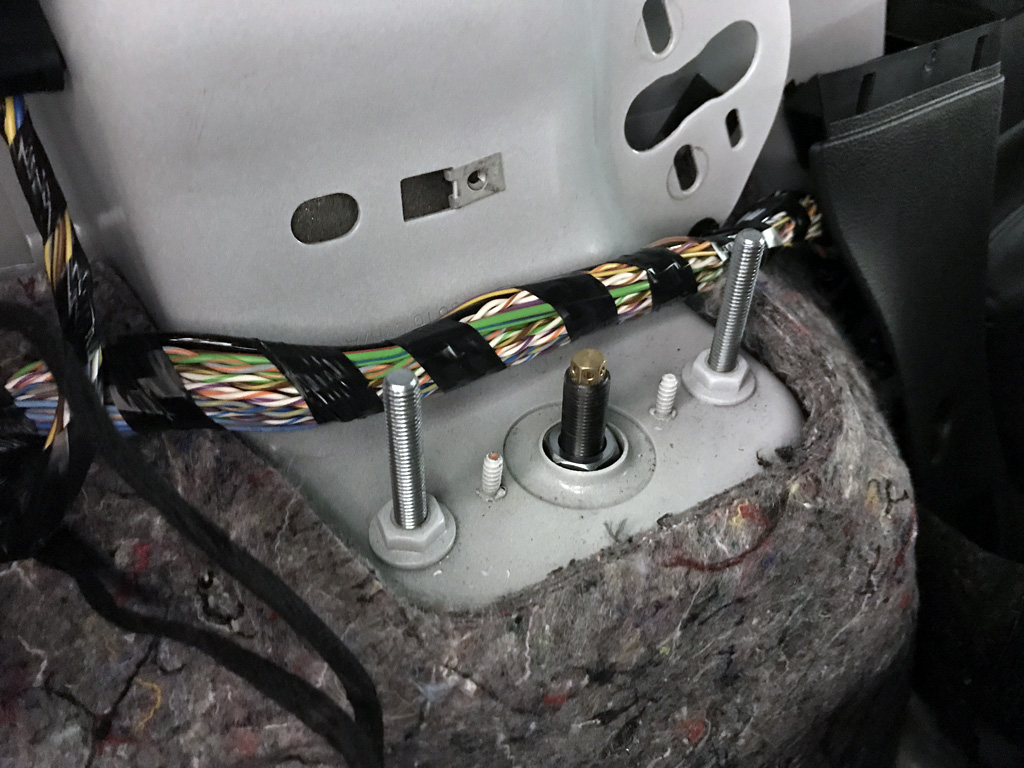
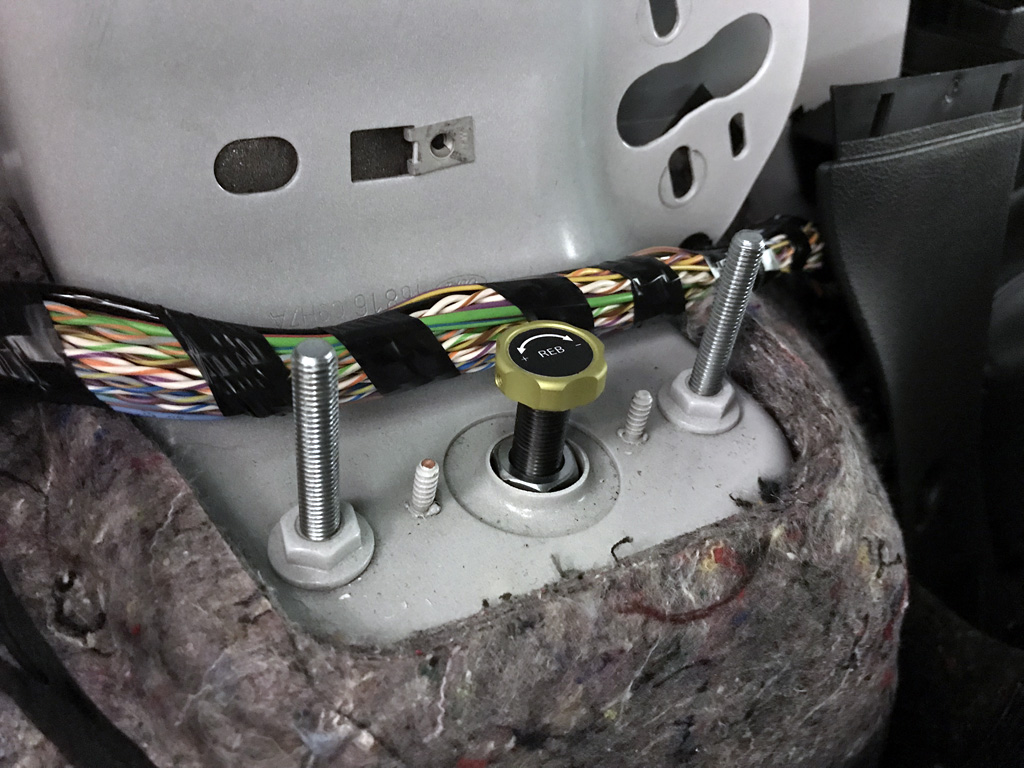
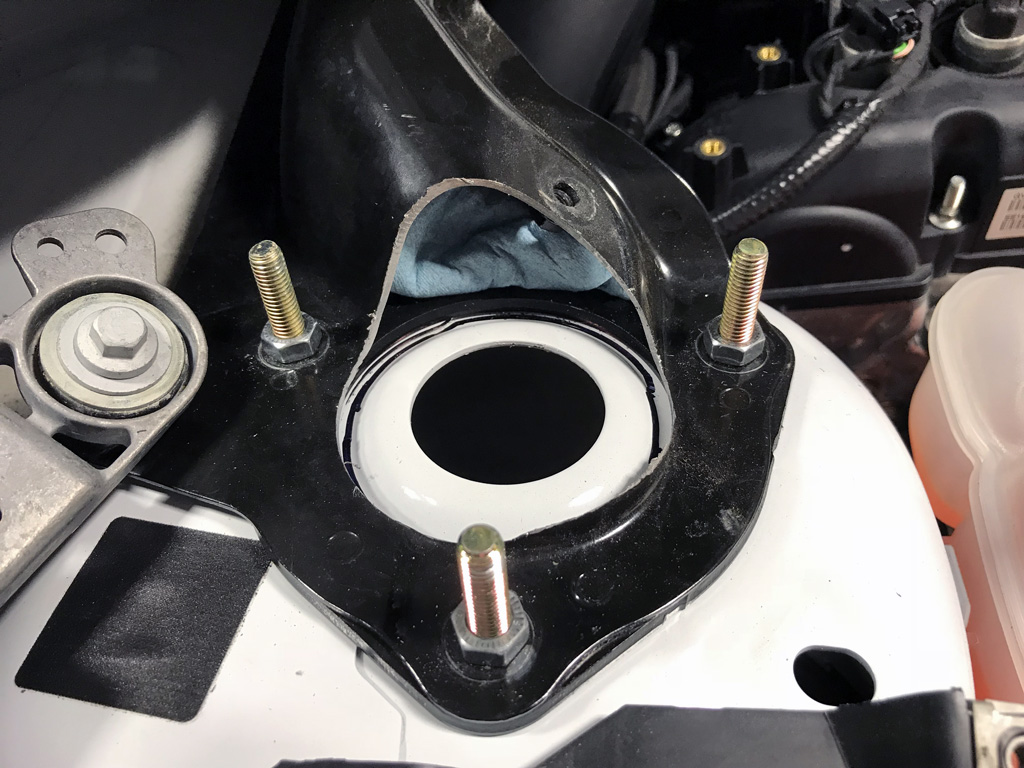
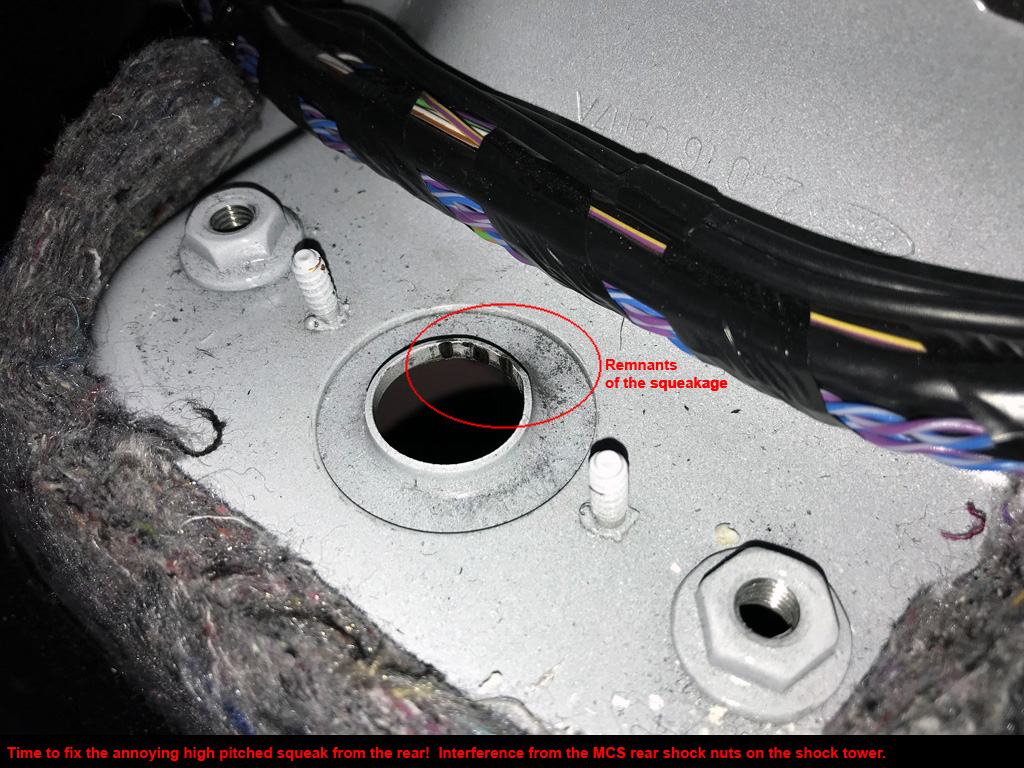
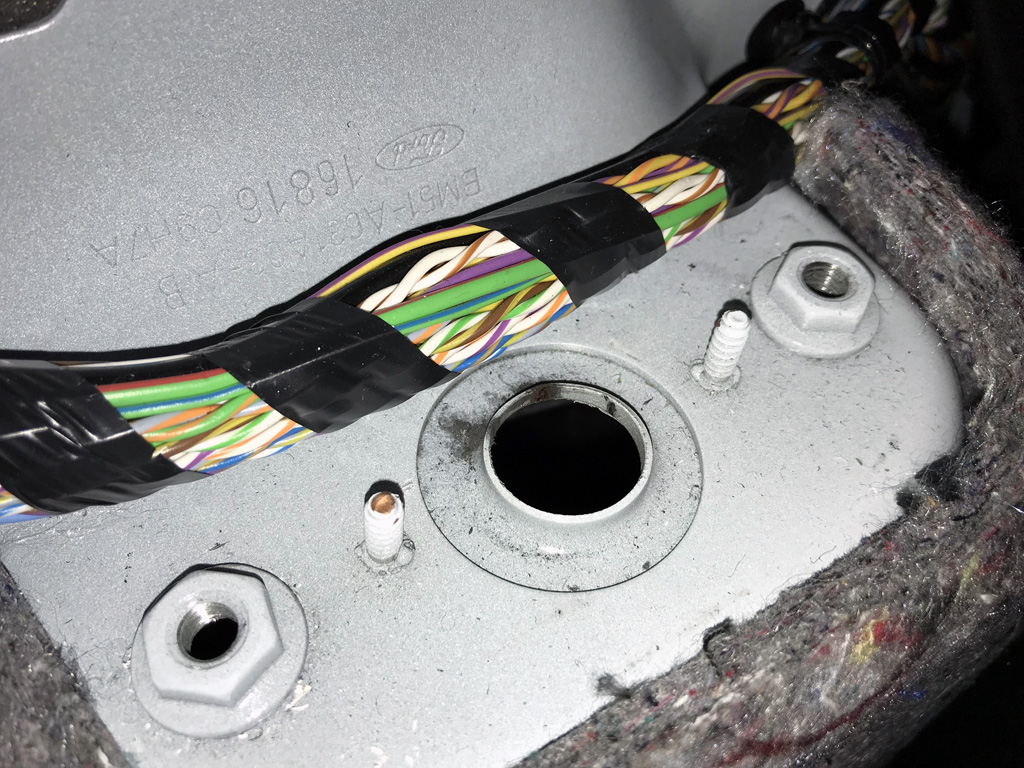
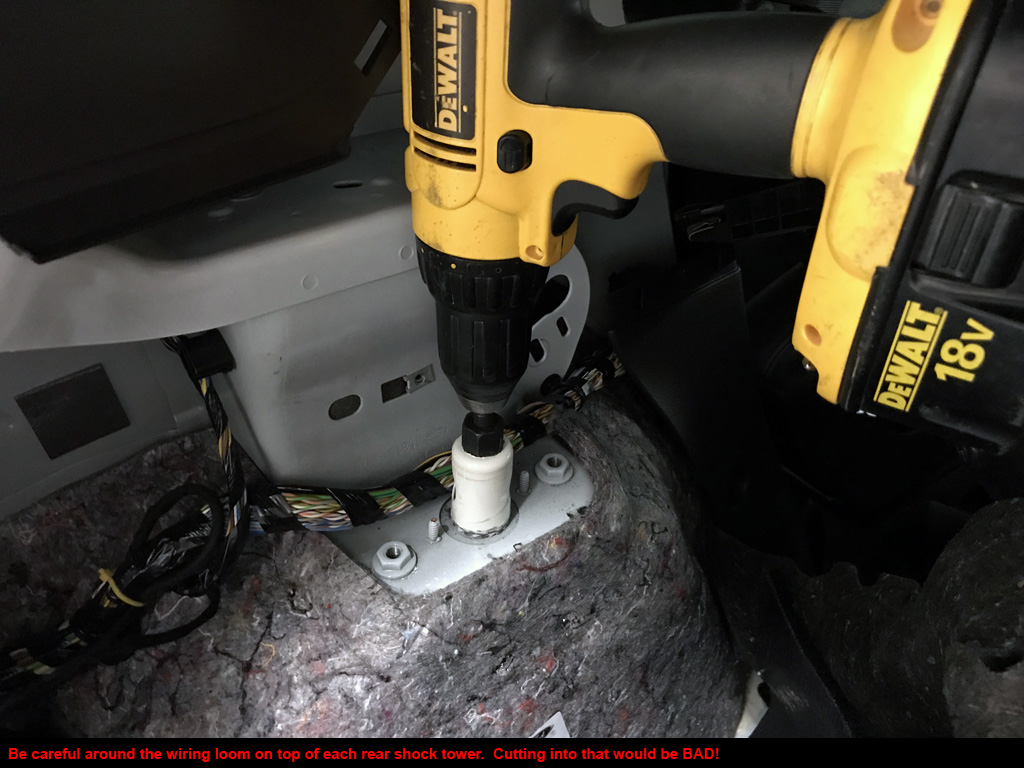
4. To eliminate loud squeaking from the rear shock towers, I used a 1 1/4" hole saw to enlarge the hole for the MCS strut nuts. No more interference!
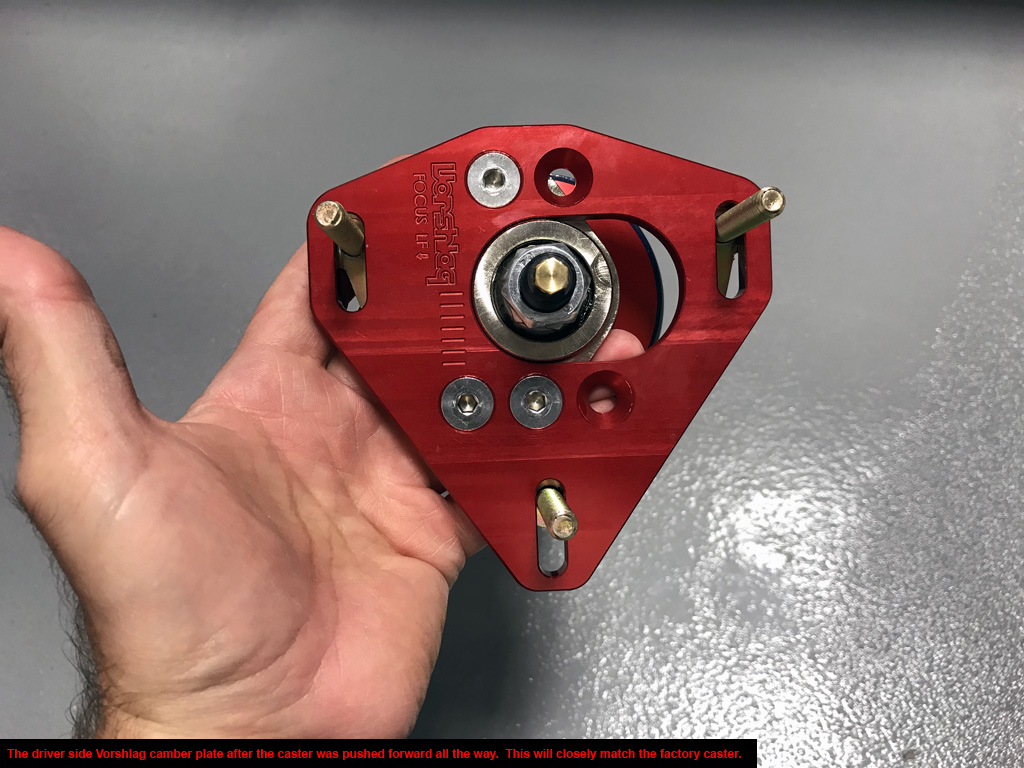
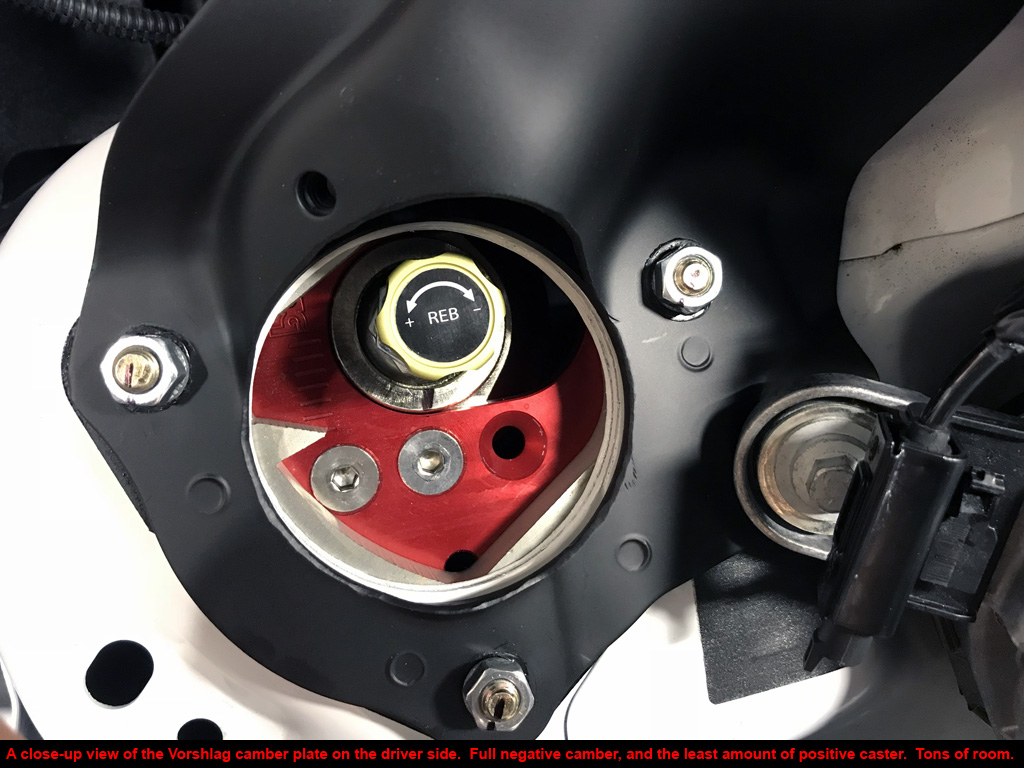
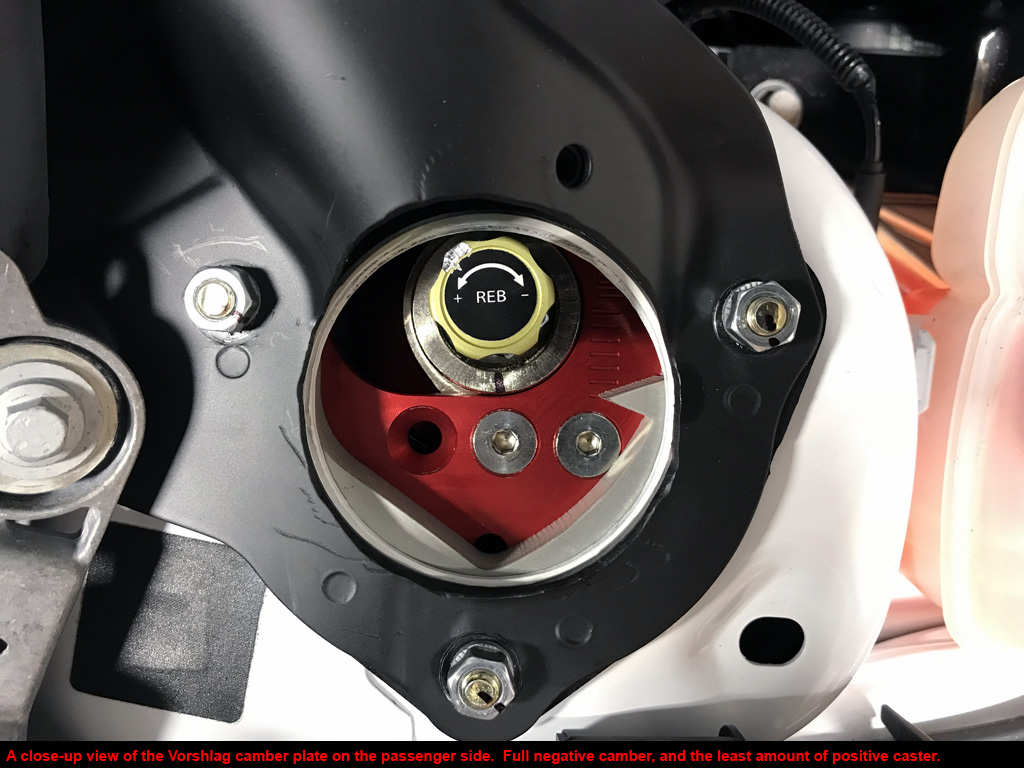
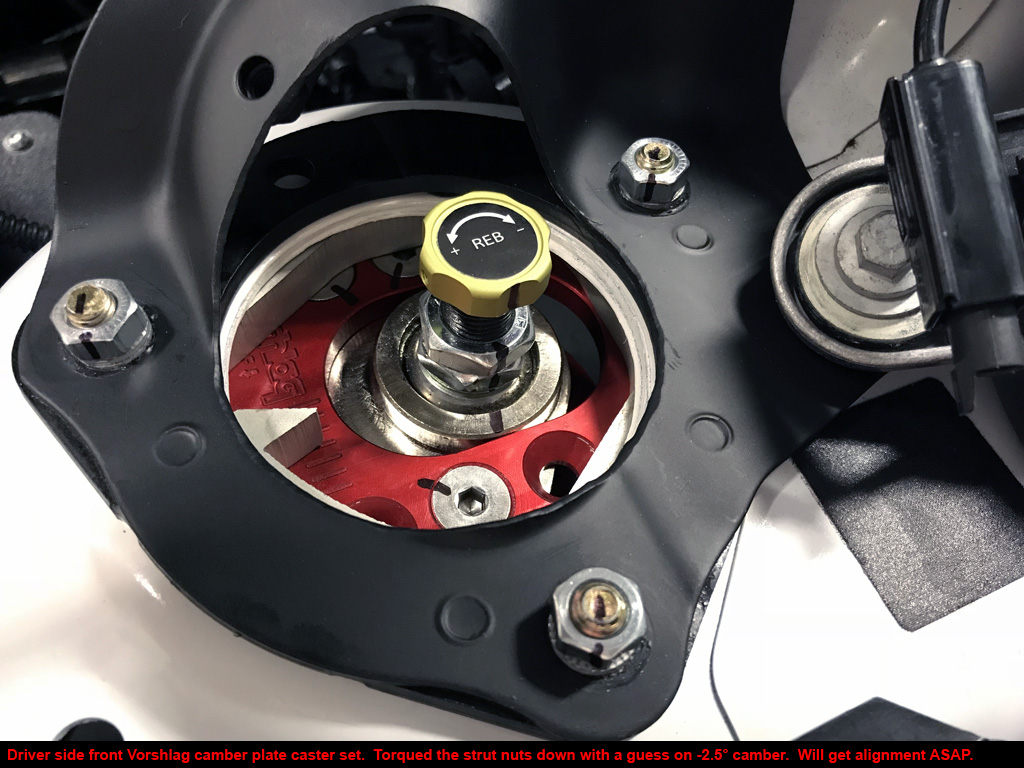
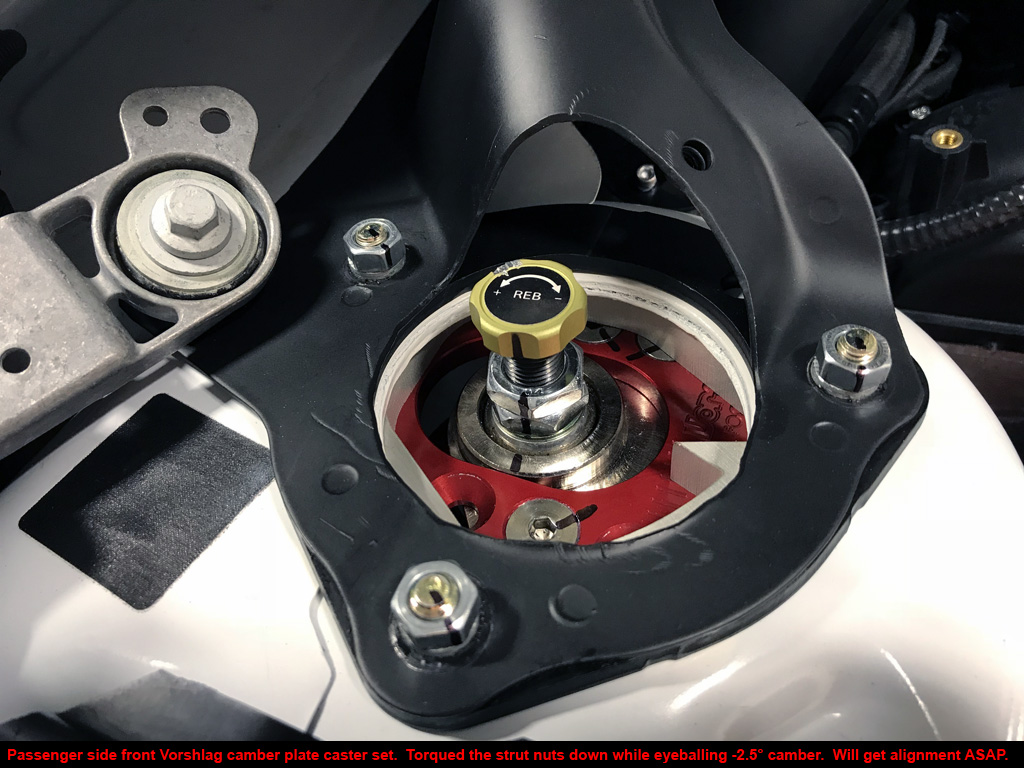
5. Vorshlag Camber Plate chart below.
*Note: Driver side is 0.4 - 0.5° different from the passenger side because the front subframe is not exactly centered anymore. No worries because I only need -3.0° in the front.


|