modifications > JBR Transmission Mount
Why did you put a JBR Transmission Mount on your RS?
The factory Focus RS motor and transmission mounts are not made very stiff in order to reduce Noise, Vibration, and Harshness (NVH). Because Ford and other OEMs are cheap they use rubber mounts. Rubber is too forgiving in most engine & transmission
mount applications for any type of racing, so we must upgrade the mounts.
James Barone Racing (JBR) offers the trilogy set of mounts for the Focus RS. I chose their driver side transmission mount as well as their passenger side engine mount. For my rear motor mount (RMM) I chose CP-E stage 2. Click on those
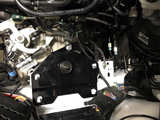
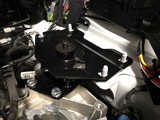
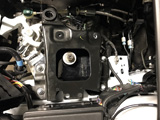
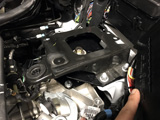
items on my modifications page for more information. This page is for the JBR Transmission Mount only that installs on the driver side of the engine bay.
Date Completed:
06/18/17
Materials:
- JBR Transmission Mount (Black/Small = 88 Durometer - Drag/Track)
- Sweet Tea (optional)
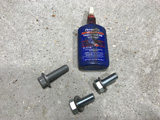
- Loctite red for lower part of JBR mount
Tools:
- 3/8" drive ratchet, 1/2" breaker bar, handful of extensions, (15mm, 19mm sockets)
- T-30 torx bit and chingadera or flatblade screwdriver to remove bottom tray
- 15mm combination wrench for the forward-most factory RS transmission mount bolt (lower bracket).
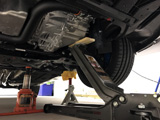
- Floor jack and something soft to prop up RS transmission. I used a block of wood.
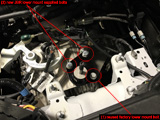
- Needle nose pliers or a chingadera to remove the (2) wiring harness attachment points on the battery tray.
- Torque Wrench set to torque required in JBR literature.
- Roku shop TV with Pandora blaring (optional)
*A friend for moral support is always optional.
*A freaking 10,000 lb 2-post lift would have been nice! Just jackstands today. :(
Notes:
1. Install takes about 1.5 hours or so. I took my time because of taking pictures for this website.
2. This could probably be done on a warm engine. I always do work on a cold engine.
3. Follow my steps on installing the K&N air filter and the Scorpion downpipe to see how to remove the airbox and battery respectively.
4. Lay everything out as you go (old vs new). JBR has nice instructions, but I think their socket sizes are wrong. If it doesn't fit don't force it.
5. Only (1) wiring plug needs to be disconnected for this swap. Airbox sensor. Battery cables and battery box front cables need to be disconnected.
6. Easily reversible back to stock.
|

