modifications > Front Sway Bar Fix
Why did you have to fix the front sway bar on your RS?
Some aftermarket manufacturers provide parts that are adjustable for a range of other modifications. Not in this case for my 2016 Focus RS. Manufacturers typically think they know what's best for the consumer, so they setup a particular modification for a safer, more reliable, long term solution.
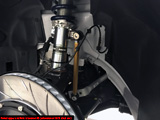
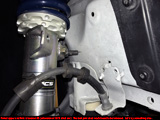
Case in point would be the disagreement between the MCS front struts and the Whiteline front sway bar upper end links. They just don't go together with a lowered suspension with camber greater than -2 degrees while turning full lock during autocross (or any driving). An easy solution would be to send the MCS front struts back to the manufacturer for modification. I doubt they would do that and maintain any type of warranty. I don't recommend welding lowered tabs on the MCS struts due to them being charged with nitrogen.
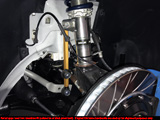
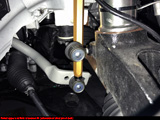
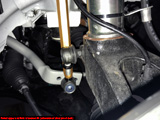
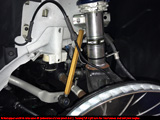
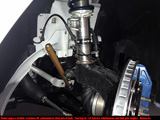
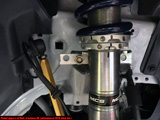
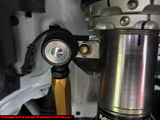
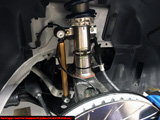
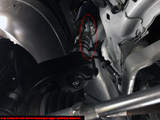
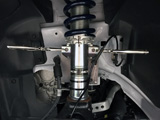
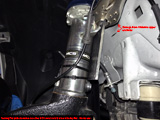
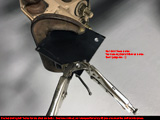
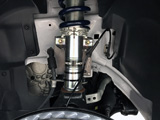
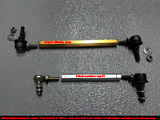
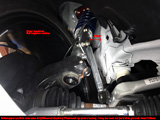
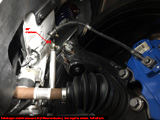
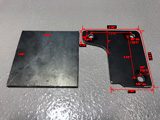
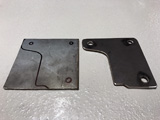
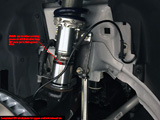
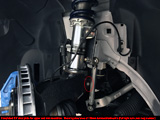
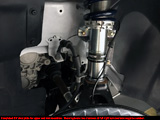
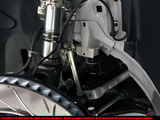
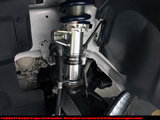
I chose to find a solution to this problem myself. It took (5) tries to get it right! After fabbing up some DIY strut plates to lower the upper sway bar end links, I sourced shorter turnbuckles and spherical rod ends to complete the fix. Add some Nord-Lock washers to make sure everything stays put and the job is done.
Note: I purchased the aluminum 120mm length turnbuckles too, but I'm too chicken to install them. The Whiteline turnbuckles were aluminum, but these 120mm aluminum turnbuckles feel too damn light to me. There's just something about the heavier 120mm steel turnbuckles in this application that makes me have a warm and fuzzy feeling. I'm fine with the added weight. :)
Date Completed:
06/29/18
Materials:
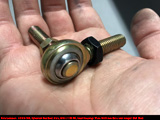
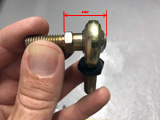
- (2) ASMM-10S, Spherical Rod End, Male, M10x1.50 RH, Steel Housing with Integral Ball Stud (MidwestControl.com - Link)
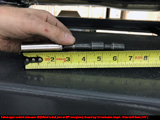
- (2) MHT-M10-120, Turnbuckle, M10x1.50 LH/RH Threads, 120mm Overall Length, Zinc Plated Steel Hex Bar Tube (Midwest Control.com - Link)
- (8) 5/16" Nord-Lock washers (Industrial Screw & Supply - local)
- (2) M10x1.50 RH nuts for Spherical Rod End studs into DIY strut plate
- (2) M10x1.50 RH nuts for Spherical Rod Ends / Turnbuckles
- (4) 3/8" x 1 1/2" Grade 8 bolts/nuts
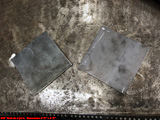
- Steel plate (4 1/2" x 4 1/2" x 3/16" thick = 2 pieces)
- Sharpies to mark bolts for movement, mark plates for cutting
- Permatex Anti-Seize Lubricant for end link studs
- Zip ties (because race car)
Tools:
- 3/8" & 1/2" drive ratchets, various sockets (13mm, 15mm, 17mm, 19mm)
- Combination wrenches (13mm, 16mm, 17mm, 5/8")
- 3/8" Torque wrench (40 lb-ft)
- 1/2" Torque wrench (75 lb-ft)
- Measuring tape
- GoPro Camera
- Vise grips for mock-up purposes
- Drill, various drill bits (3/8", 7/16")
- Die grinder with cut-off wheel, carbide bits
- 9,000 lb 4-post lift (optional, but highly recommended!)
*A friend for moral support is always optional. If friend isn't available Pandora will suffice.
Failed Tries:
1. Extension of strut pinch bolt. Angles were all wrong.
2. Extension of MCS strut ear. Upper ball joint stud hit uni-body. Turnbuckle hit knuckle.
3. Whiteline ball joint on DIY strut plate. Not enough clearance from ball joint to uni-body.
4. Spherical Rod End with 150mm turnbuckle. Sway bar ends not parallel. Need shorter turnbuckle.
Notes:
1. Install takes a few hours or so once you engineer the parts. :) I took my time because of taking pictures for this website.
2. Undertray removal is not required.
3. No wiring plugs need to be disconnected for this swap.
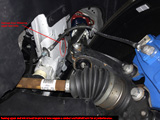
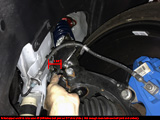
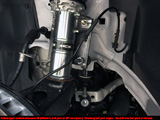
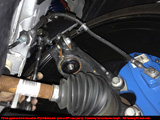
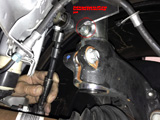
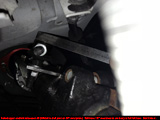
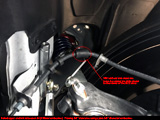
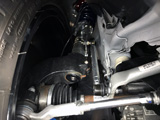
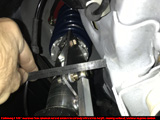
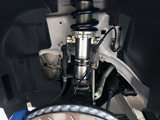
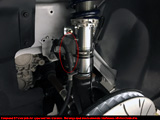
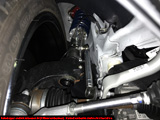
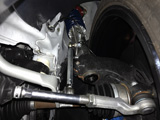
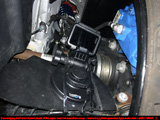
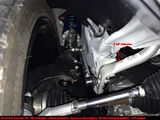
4. Follow along in the pictures for removal/replacement process.
5. Loosen lug nuts before jacking up your RS. Jack up RS. Remove everything. Replace everything.
6. Torque specs = 40 lb-ft for (2) spherical rod end nuts each side, 100 lb-ft for lug nuts.
*Note: I put anti-seize on my front lugs. Reduced my torque to 75 lb-ft (25% reduction due to lubricated threads).
7. Leftover parts = (2) Whiteline upper end links, (2) Whiteline turnbuckles.
8. Doesn't look stock! :)
9. Suspension is reversible back to stock.
10. I won't sell these to the public. Please fab your own plates and source the parts from MidwestControl.com. I've provided enough information. Thanks.
11. This setup is safe with the Vorshlag camber plates MAXED OUT in negative camber at -3.0° driver side, -3.5° passenger side. No interference. 0.5° degree probably from corner balancing.
12. I settled at -2.5° negative camber (driver/passenger front).
Video:
Pictures:
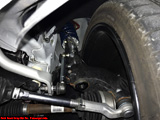
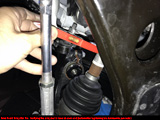
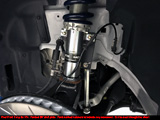
|

